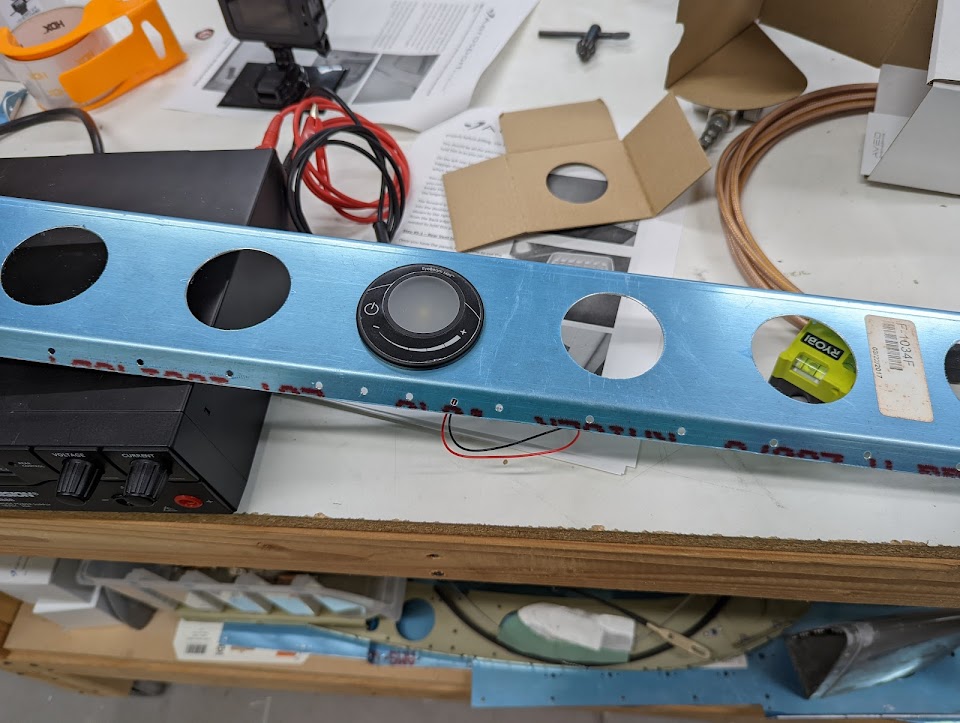
Before fabricating the forward overhead insert from carbon fiber, I wanted to try it out for ergonomics and for wire routing, so I laser-cut it in cheap acrylic and mounted it on - turns out the screw holes from the CAD model were slightly off, and I need to move the O2 distributors slightly forward:
Overhead console insert mockup
I also tested out the GoPro mounting position, and it gives a nice view:
GoPro's view of the cockpit when attached to the overhead console
Once I removed the pilot's seat, I could finish drilling the stick grip connector hole on that side:
Pilot stick grip connector hole underneath the pilot's seat
One of the last large steps was to embed the TAS antenna ground plane on the cabin cover (and since there's only a small amount of information about this on other blogs/forums, I'll try to be detailed here) - we covered the plane to keep the dust out, and carved it with the Dremel (using the router accessory) to the depth of 2 fiber layers plus the metal:
Airplane covered up for carving the cabin cover
Cabin cover center before carving (with metal tube trimmed flush to it)
Carving the cabin top for the ground plane
Caved cabin cover top after sanding (with ramps at the edges for the fiberglass to bond to)
We then sanded the surface to be as close to flat as possible, added a layer of fiberglass to bond any exposed foam core, and trimmed the center pipe flush with it.
We used a 3D printed jig the same shape as the antenna (by 3D scanning the antenna) for alignment and drilling the antenna attachment holes straight. I included a center slot for alignment with the aircraft's axis, a protrusion that will go into the center tube, holes for drilling the antenna attachment, and some extra margin around the antenna (which will be filled with sealant anyway):
GA58 installation jig
GA58 jig compared to 3D scanned antenna
3D printed GA58 mockup jig
(I added this jig to my Designs folder in case anyone wants it)
The slot at the center helped us perfectly align it with the airplane's centerline using a laser (or it fits a ruler for similar purposes):
Aligning the drilling jig using the laser through the center slot
Laser through the aircraft's centerline, for alignment
Antenna, perfectly aligned at the center thanks to holes drilled through the jig
We then bonded the metal ground plane (which I had already tested before and passed the GTS test), using the same jig to compress it flat against the fiberglass at the center, and clamps and weights around the edges:
Metal ground plane bonded to the cabin cover, with jig holding it flat in place
Metal ground plane bonded to cabin cover, with well-aligned holes
Still using the jig, we scuffed the parts of the ground plane that the jig didn't overlay, and laid 3 more layers of fiberglass to bring the structure as close as possible to the original, while leaving an antenna-shaped section of the metal still exposed for direct contact:
Scuffing the TAS antenna ground plane where it'll be underneath fiberglass
Fiberglass layers on top of the TAS antenna ground plane
We also installed Clickbonds on the wire covers and around the bulkheads to secure wires and the pressure tubes so they avoid the interior cover parts and other screws:
Overhead wires secured to wire cover
Pitot and AoA tubes secured to bulkheads
I received the last part of the Mountain High kit (nevermind that prices more than doubled :( but at least it was just the last kit), with the cylinder, regulator and masks. The regulator they sent with the cylinder is the 2nd generation IPR, which is great, but had some changes from the 1st generation that I had to account for - notably, they changed the emergency O2 switch, from a simple 2-port pneumatic switch to a 4-port one (presumably so it can positively operate the valve in either direction?), which required me to change the switch on the panel, and I'll need to run one additional tube to it:
Old IPR emergency O2 switch installed in place
New IPR emergency O2 switch installed in place
I will only install the cylinder and all tubing once I'm done with all dust-generating work (like fiberglass sanding) and have thoroughly cleaned up the plane, so there's no chance of any dust getting into the system.
Next up is probably sanding/finishing the cabin cover fiberglass and attaching that antenna, after which we can finally finish the overhead wiring and attach the doors and windshield.
I installed the rear pax vent arm for the Aerosport panels:
Rear seat vent arm installed in place
We then finally attached the O2 fill port and Aveo baggage light to the seat back brace closeout, attached Clickbonds inside the seat back brace for tubes and wires, and riveted the closeout in place:
O2 fill port secured to the seat back brace closeout
O2 fill port secured in place
We then attached Clickbonds to the inside of the rear seat back brace, to secure both the oxygen line and (some distance from that) the baggage light wire:
Attaching Clickbond fasteners inside the seat back brace
With this in place, we also match-drilled and riveted the Aerosport baggage door gas strut, which holds the door open (I'm not using their baggage door cover, just the strut)
Baggage door gas strut installed in place
With this, the only thing left for this section is the final attachment of the remaining covers, which I can probably only do after the DAR inspection.
After attaching the cabin cover with resin/flox, it quickly became apparent that protecting the aluminum with tape was a bad idea, as some of the tape actually got caught underneath the resin, and it took us many hours to get it removed:
Tape caught between the cabin cover and underlying structure :(
After digging all the out, we then filled the gap around the edge at a right angle to the aluminum, with resin and microballoons/cab-o-sil (this time using just packing tape, which was pretty easy to remove), then sanded it until it was actually at a right angle:
Cabin cover edge, filled with resin/micro
Sanding the cabin cover edge filling
Cabin cover edge, sanded down to a right angle
We then started the finishing of these edges, filling them:
Filling holes in cabin cover edge filling
Next we need more sanding (and filling, and sanding, and filling, and sanding...) to fully finish the edges, then prime and paint them (the tape we used also removed a lot of the cheap rattle-can paint we used on the aluminum, so that needs to be re-covered).
Sand, fill, sand, fill, sand, fill, prime, sand, fill, prime, paint, sand, fill, prime, paint...you get the point :) Thankfully only a small part of the cabin cover will stay uncovered - the whole aft section was primed just for protection but will be covered by the headliner, and all the center portion will be covered up by the overhead console - so we didn't have as much surface to finish.
First layer of primer applied to the cabin cover
Finishing the conduit outlets
Painting the forward center section
Overhead console resting on cabin cover
Primed and painted cabin cover
The parts that are still pink are the ones that will be finished in place by joining them to adjacent metal parts.
Finally, in preparation for attaching the overhead console, we had it clear coated by a local body shop, then attached clickbonds to the inside for running conduits
Clickbond conduit attachments inside overhead console, after curing
Next steps are to attach the overhead console, prepare the headliner (ordered in April but I still haven't received it), and the finally attach the cabin cover in place. I already have the transparencies from Cee Bailey's, too.
I got my interior lights from Aveo, and verified that their Dome does fit well in the seat back brace closeout:
Aveo Dome light attached to a hole of the seat back brace closeout
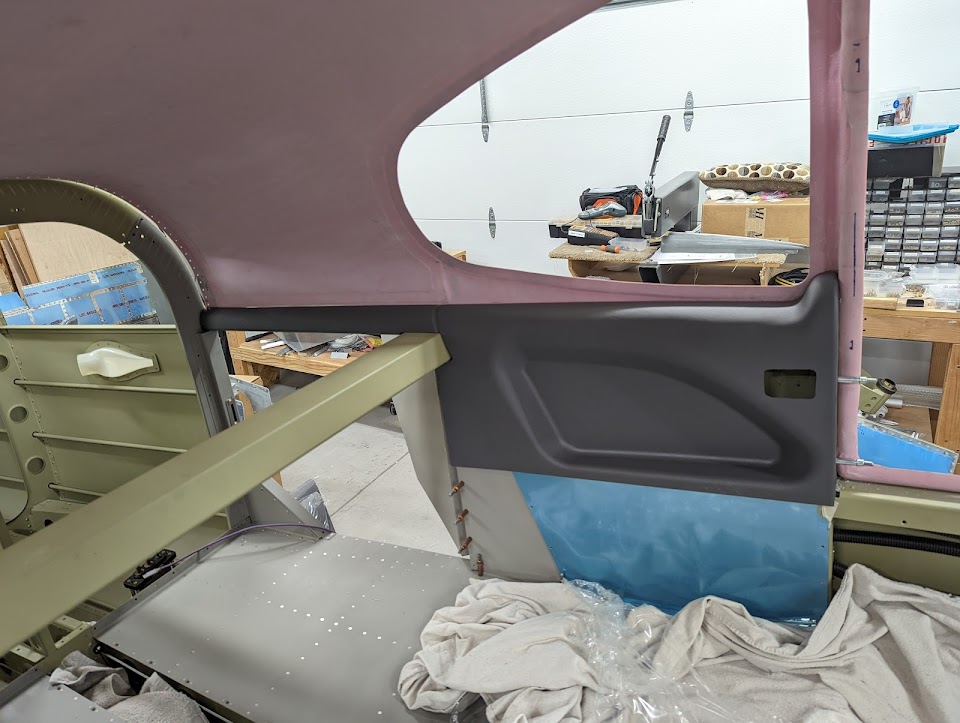
I also got my interior panels from Aerosport, and started the process of fitting and attaching them. They get attached by surprisingly few screws (some of them going through the longeron), but once that's done they actually feel pretty firm.
Left rear and baggage panels in place
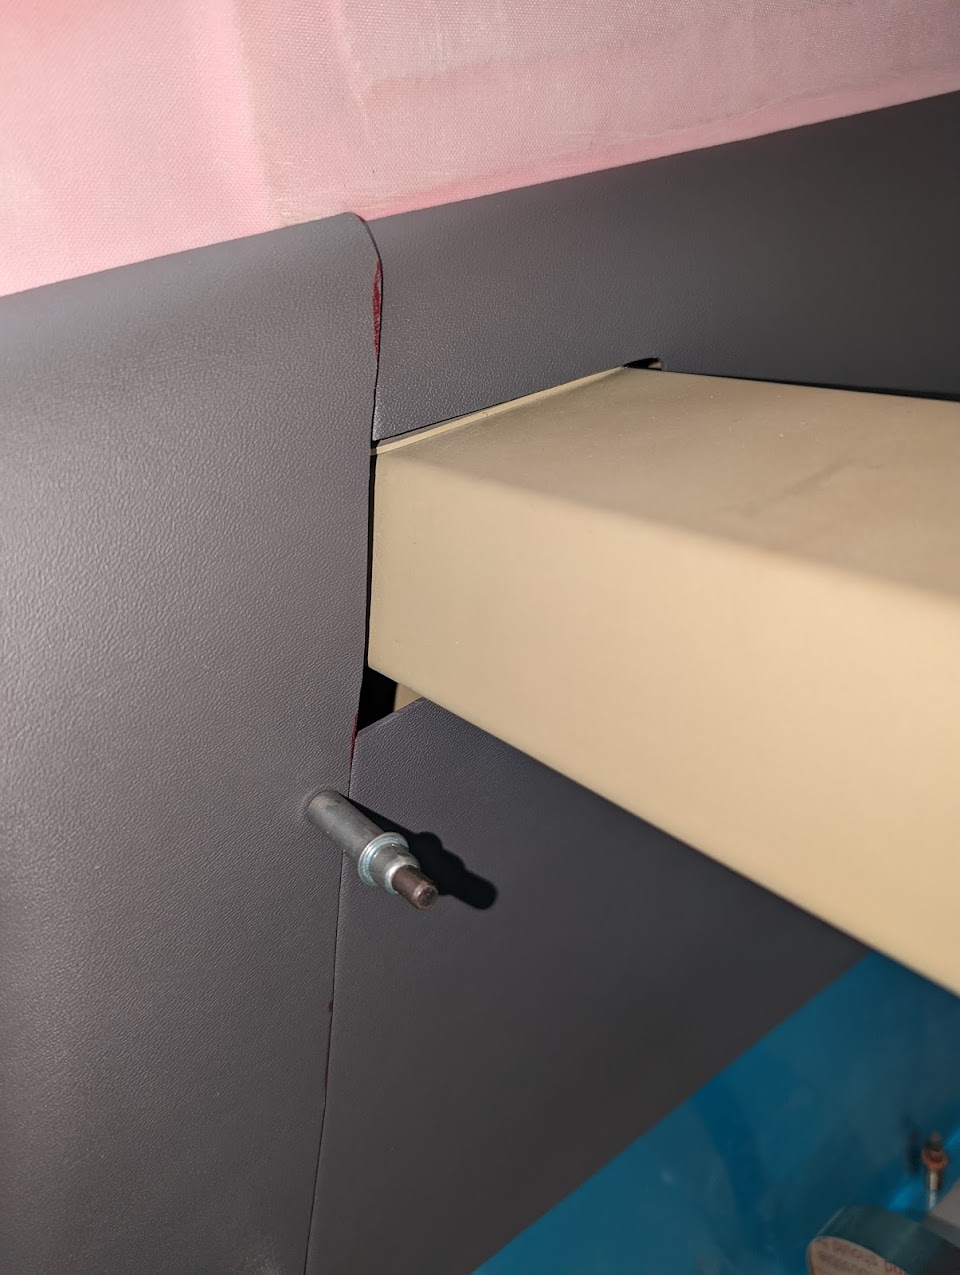
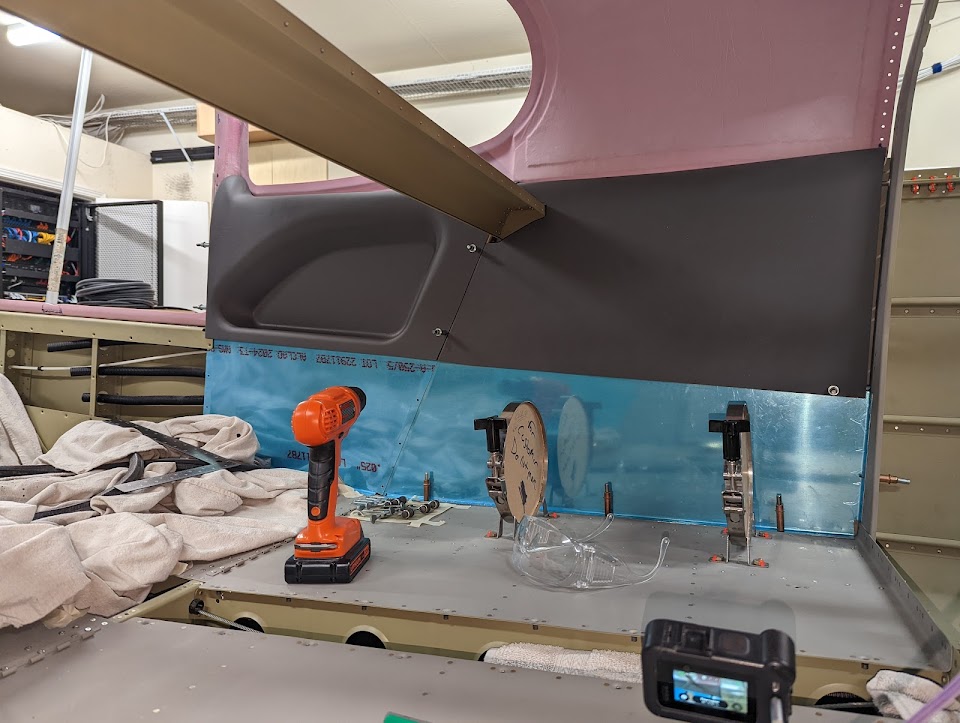
While it's true that there's not a lot of trimming to be done on these parts in terms of dimensions, the little trimming that's required needs to be done very slowly since there's no way to add back material if one removes too much, plus it takes some fiddling to adjust their alignment among themselves and with the airplane structure - for one, because plastic is flexible so they align a bit differently depending on how you hold them. After a lot of small adjustments, I got a pretty good fit:
Overlapping joint between the right rear and right baggage interior panels
Right interior panels attached in place after trimming
I still need to attach some of the nutplates for these panels (which will be easier to do once the cabin cover is off again), and haven't started work on the front panels yet, but the rear and baggage panels are done.