Sand, fill, sand, fill, sand, fill, prime, sand, fill, prime, paint, sand, fill, prime, paint...you get the point :) Thankfully only a small part of the cabin cover will stay uncovered - the whole aft section was primed just for protection but will be covered by the headliner, and all the center portion will be covered up by the overhead console - so we didn't have as much surface to finish.
First layer of primer applied to the cabin cover
Finishing the conduit outlets
Painting the forward center section
Overhead console resting on cabin cover
Primed and painted cabin cover
The parts that are still pink are the ones that will be finished in place by joining them to adjacent metal parts.
Finally, in preparation for attaching the overhead console, we had it clear coated by a local body shop, then attached clickbonds to the inside for running conduits
Clickbond conduit attachments inside overhead console, after curing
Next steps are to attach the overhead console, prepare the headliner (ordered in April but I still haven't received it), and the finally attach the cabin cover in place. I already have the transparencies from Cee Bailey's, too.
The Aerosport seat levers come with a pretty rough surface, both inside and out, so it took me some time to get them smooth:
Seat lever outside surfaces, before and after
Smoothing the seat lever inside and outside surfaces
I then drilled the pivot hole (it uses an AN4 bolt) and test-fit it:
Seat lever test fitting
I didn't want the lever touching the seat frame, so I added some spacing (in the end it ended up being a thinner AN960-416L):
Seat lever attached to frame wish a washer for spacing
The Aerosport levers also came with some rust in them, so instead of painting them black I just did a rust conversion coating, which made them look good enough:
Painted (actually rust-converted) seat levers
The lever attached to the handle with a small (#5) screw - to protect its threads a bit, I added a small spacer (McMaster PN 92320A691, reamed up to 1/8") which can just slide through the lever opening (and is held in place between two small washers):
Tiny spacer to support the #5 screw that connects the lever and handle
With that, I tightened everything up:
Left seat lever installed in place
Left seat lever installed in place
We also took the opportunity to paint the forward fuselage bulkhead which stay visible underneath the seats:
Painted forward fuselage bulkhead, already in place
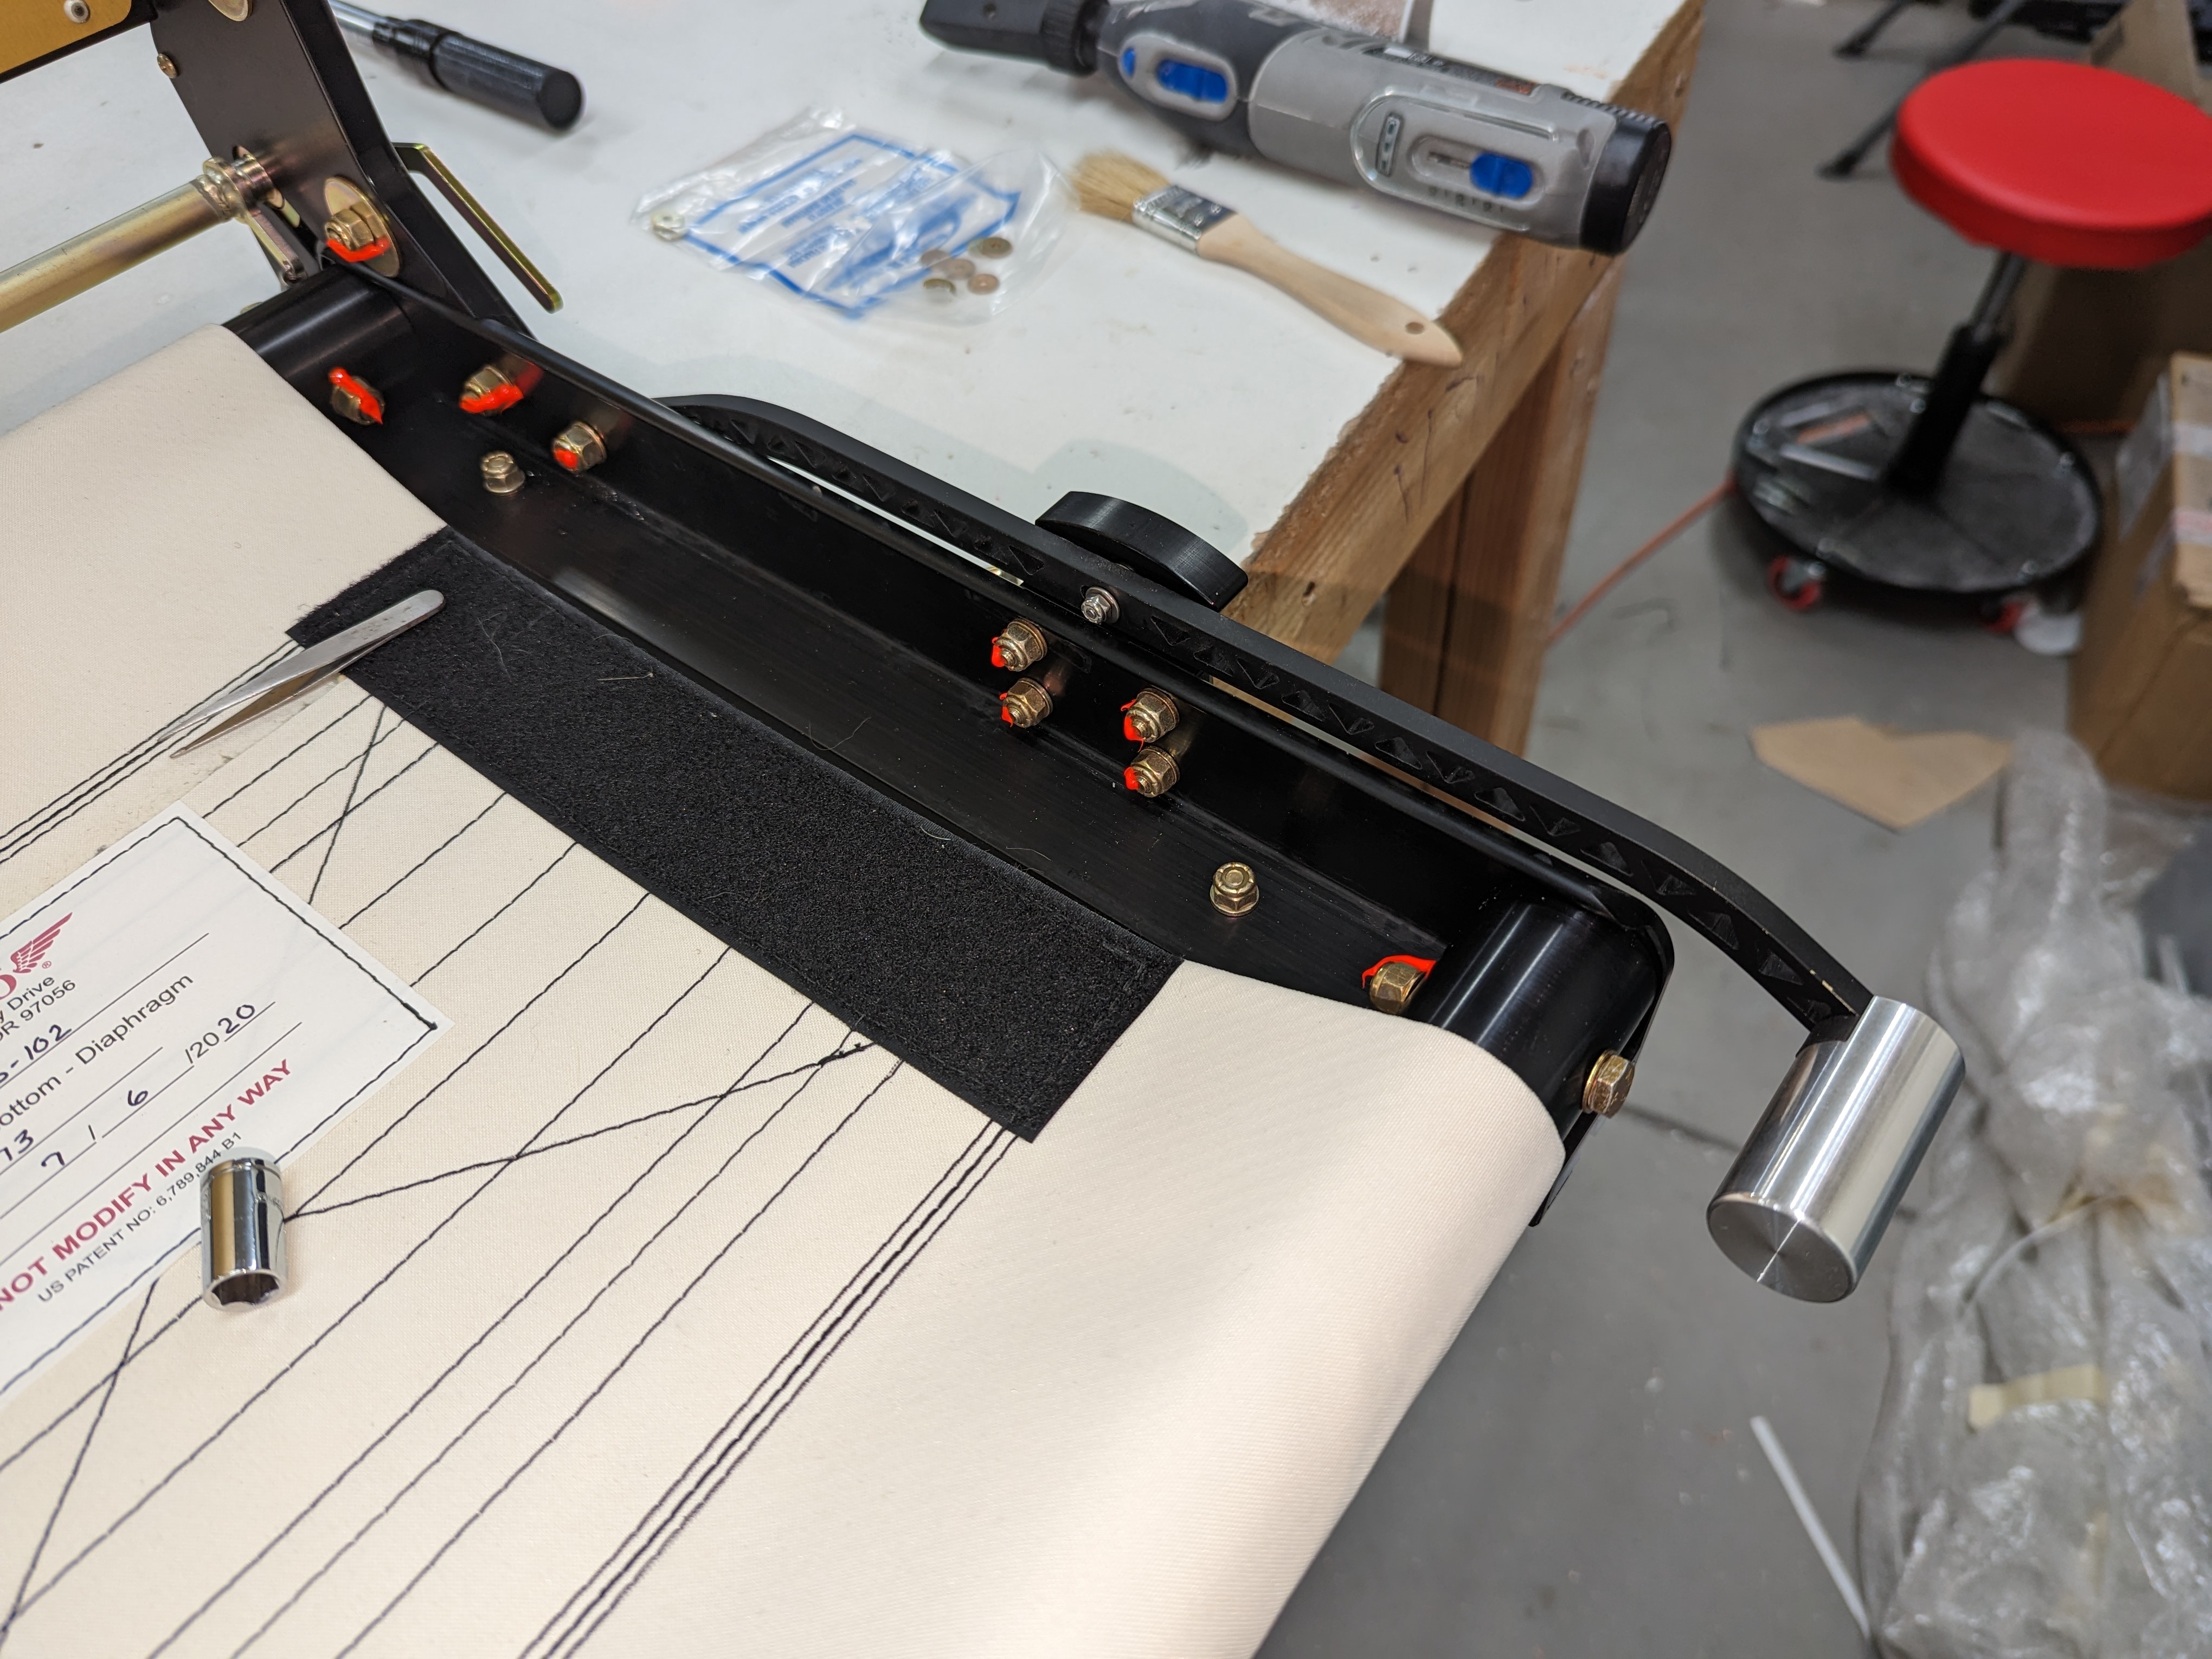
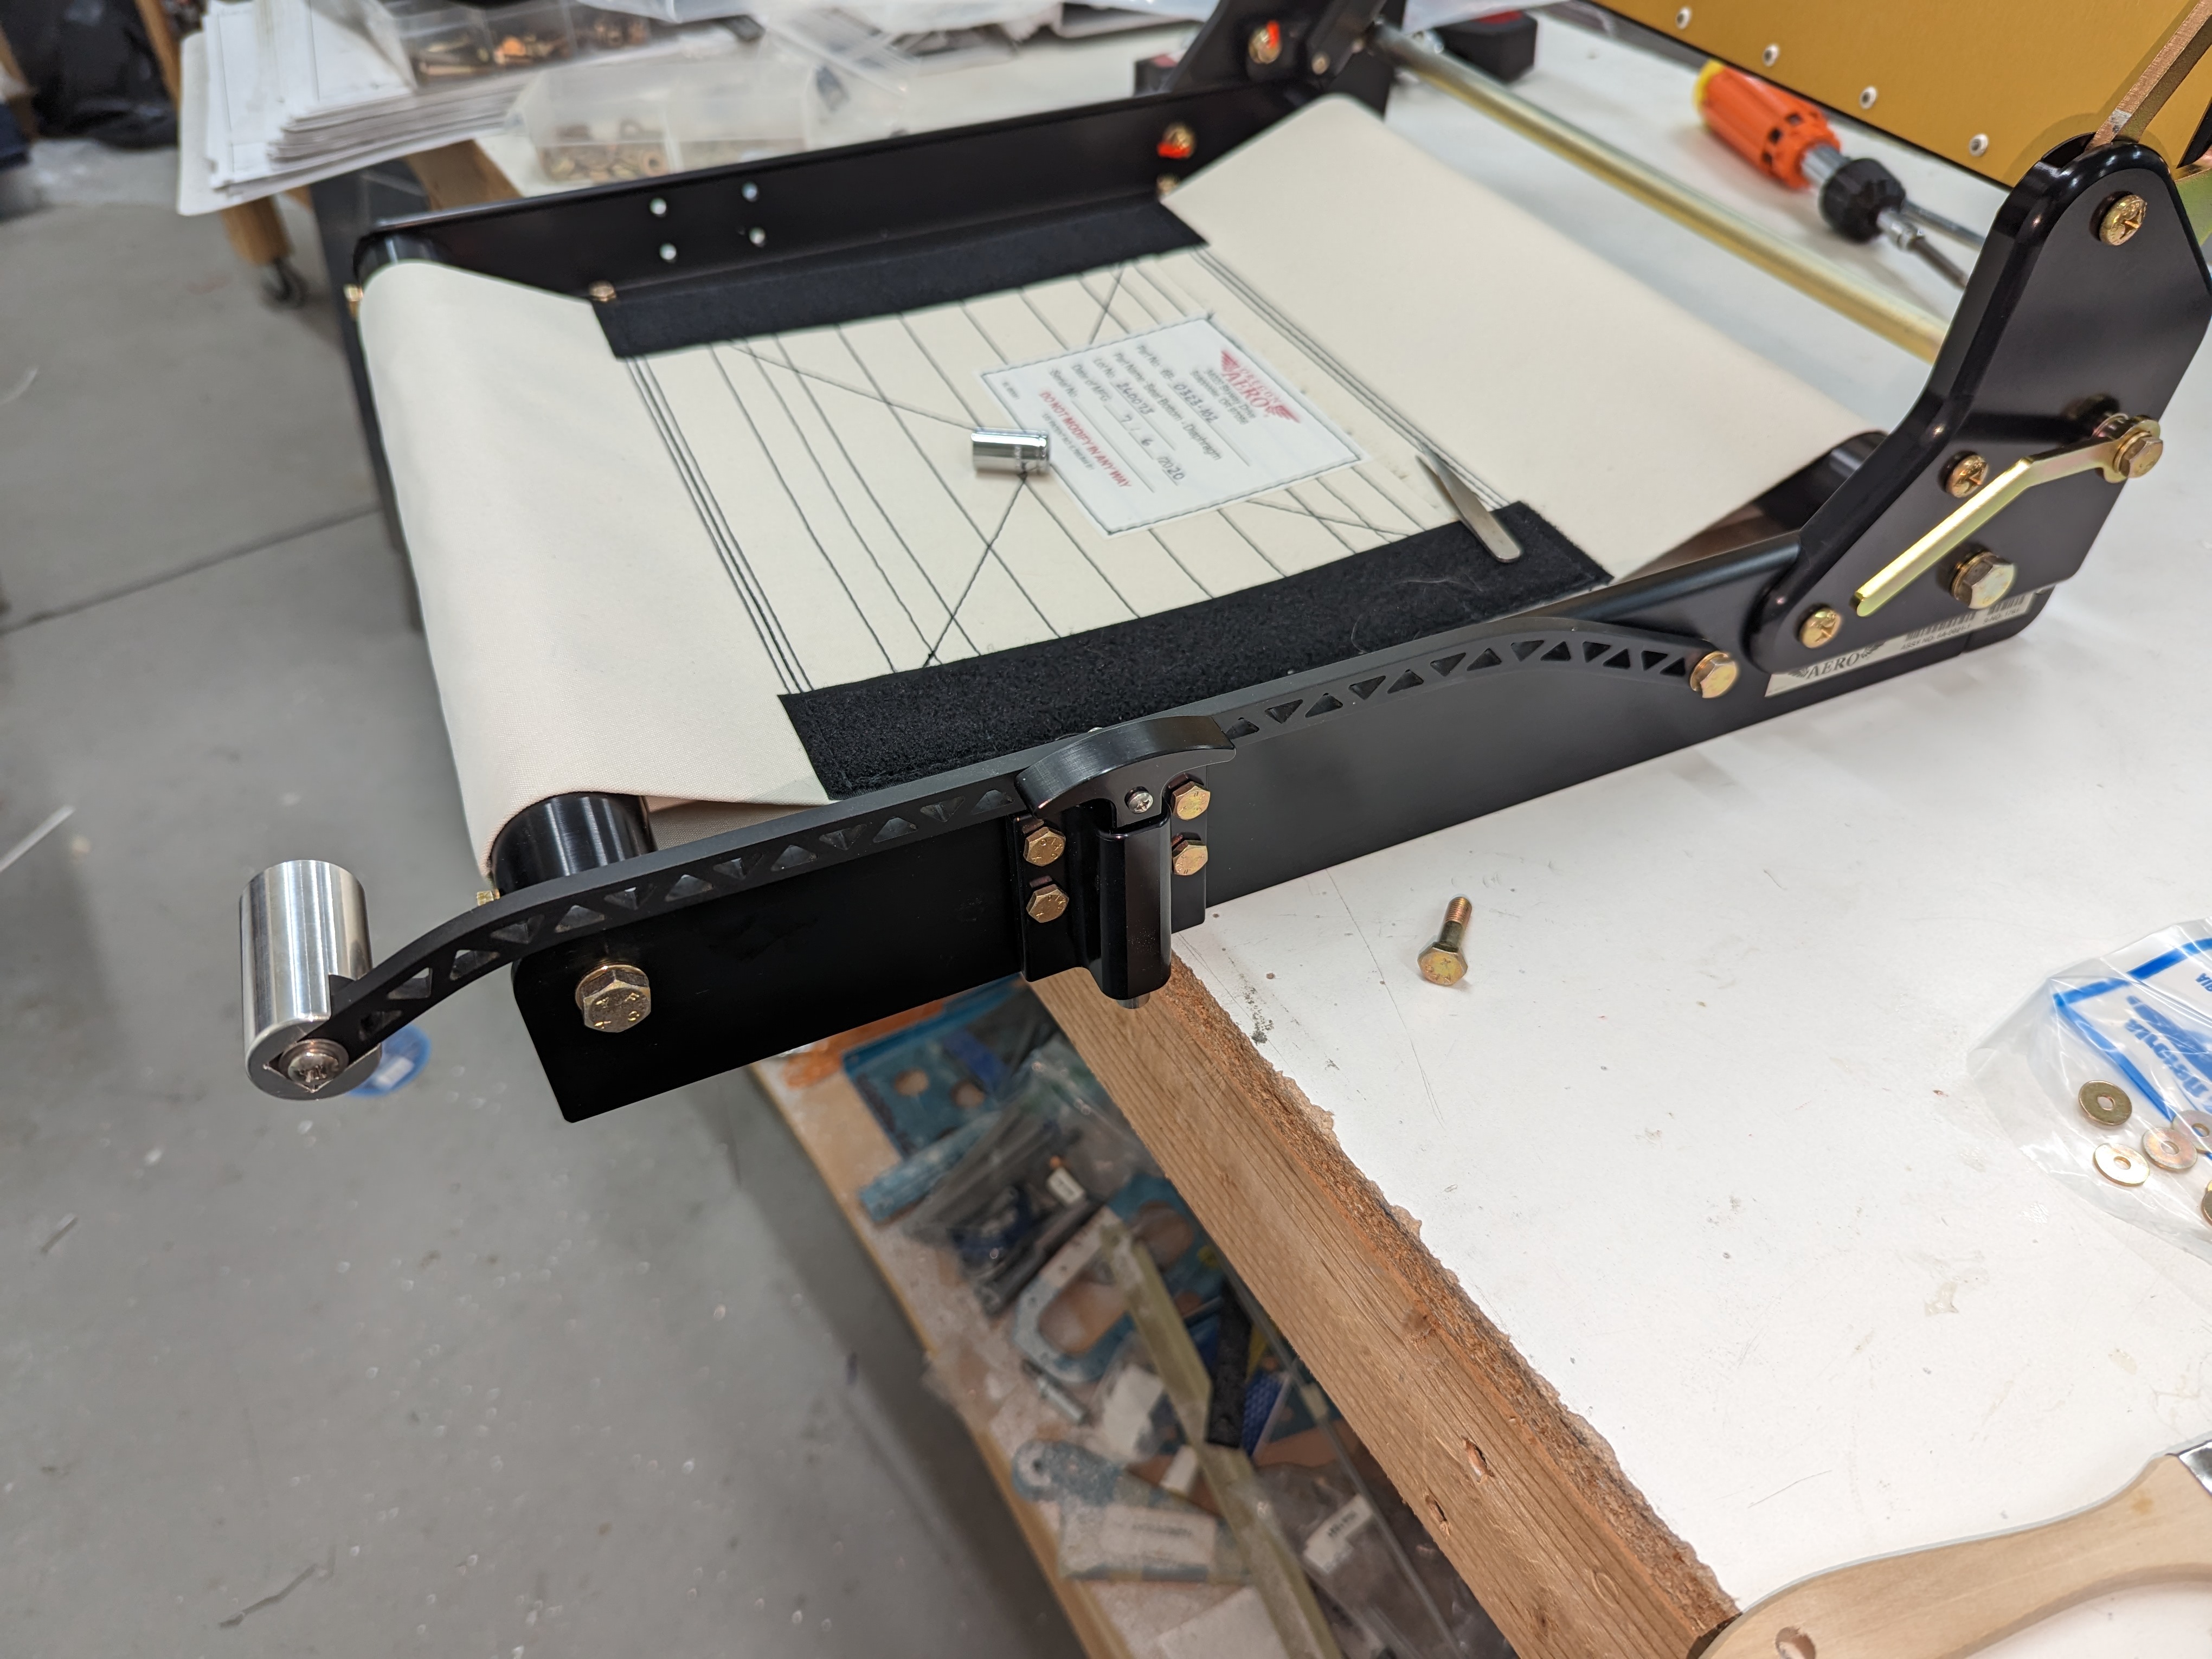
Since I still had the cabin cover out of the fuselage, I took the opportunity to drill the seat belt attachment holes (and I'll countersink them when it's right side up again):
Bolt through the seat belt attachment hardpoint on the cabin cover
We also ordered and received the seat belts from Crow, and will install them later.
To finish up section 12, we riveted the empennage fairing attachment nutplates:
Empennage fairing attachment nutplates
I had a gap on the leading edge of the vertical stabilizer fairing of about 0.05" - I sanded it to remove the gel coat then added a few layers of fiber there to extend the edge:
Gap between vertical stabilizer skin and fairing leading edges
Fiber laid up onto vertical stabilizer fairing leading edge
Vertical stabilizer fairing leading edge after sanding
After a bunch of sanding and filling and primer, this part was done. I also took the opportunity to finish sanding and prime the empennage fairing, which means section 12 is now complete (except maybe for final attachment of the screwed-in parts which will happen much later).