Were it not for this, I might have finished the VS today, since the remaining rivets are all squeezed and thus easier to set. I have more rivets on order (of multiple sizes, just to be sure), and meanwhile the progress on the rudder is also stalled (since the counterweight rib was the next thing to rivet, which also takes -3.5s) - I guess it's time for another round of priming to start riveting the horizontal stabilizer together.
Meanwhile, the inside rivets actually came out quite good (only 3 needed replacement, which has been amazingly easy to do since I got this tool), except for a few scratches on the primer from hitting it with the bucking bar:
Time lapse:
Total vertical stabilizer time: 58h Total vertical stabilizer rivets: 234
Now that I know a bit more about antennas (lots of thanks to Don from Delta Pop Aviation for the patience explaining a lot of it), I've decided that I don't want to add a whisker-type antenna to the vertical stabilizer (more on that later), which means the VS is ready to be finished!
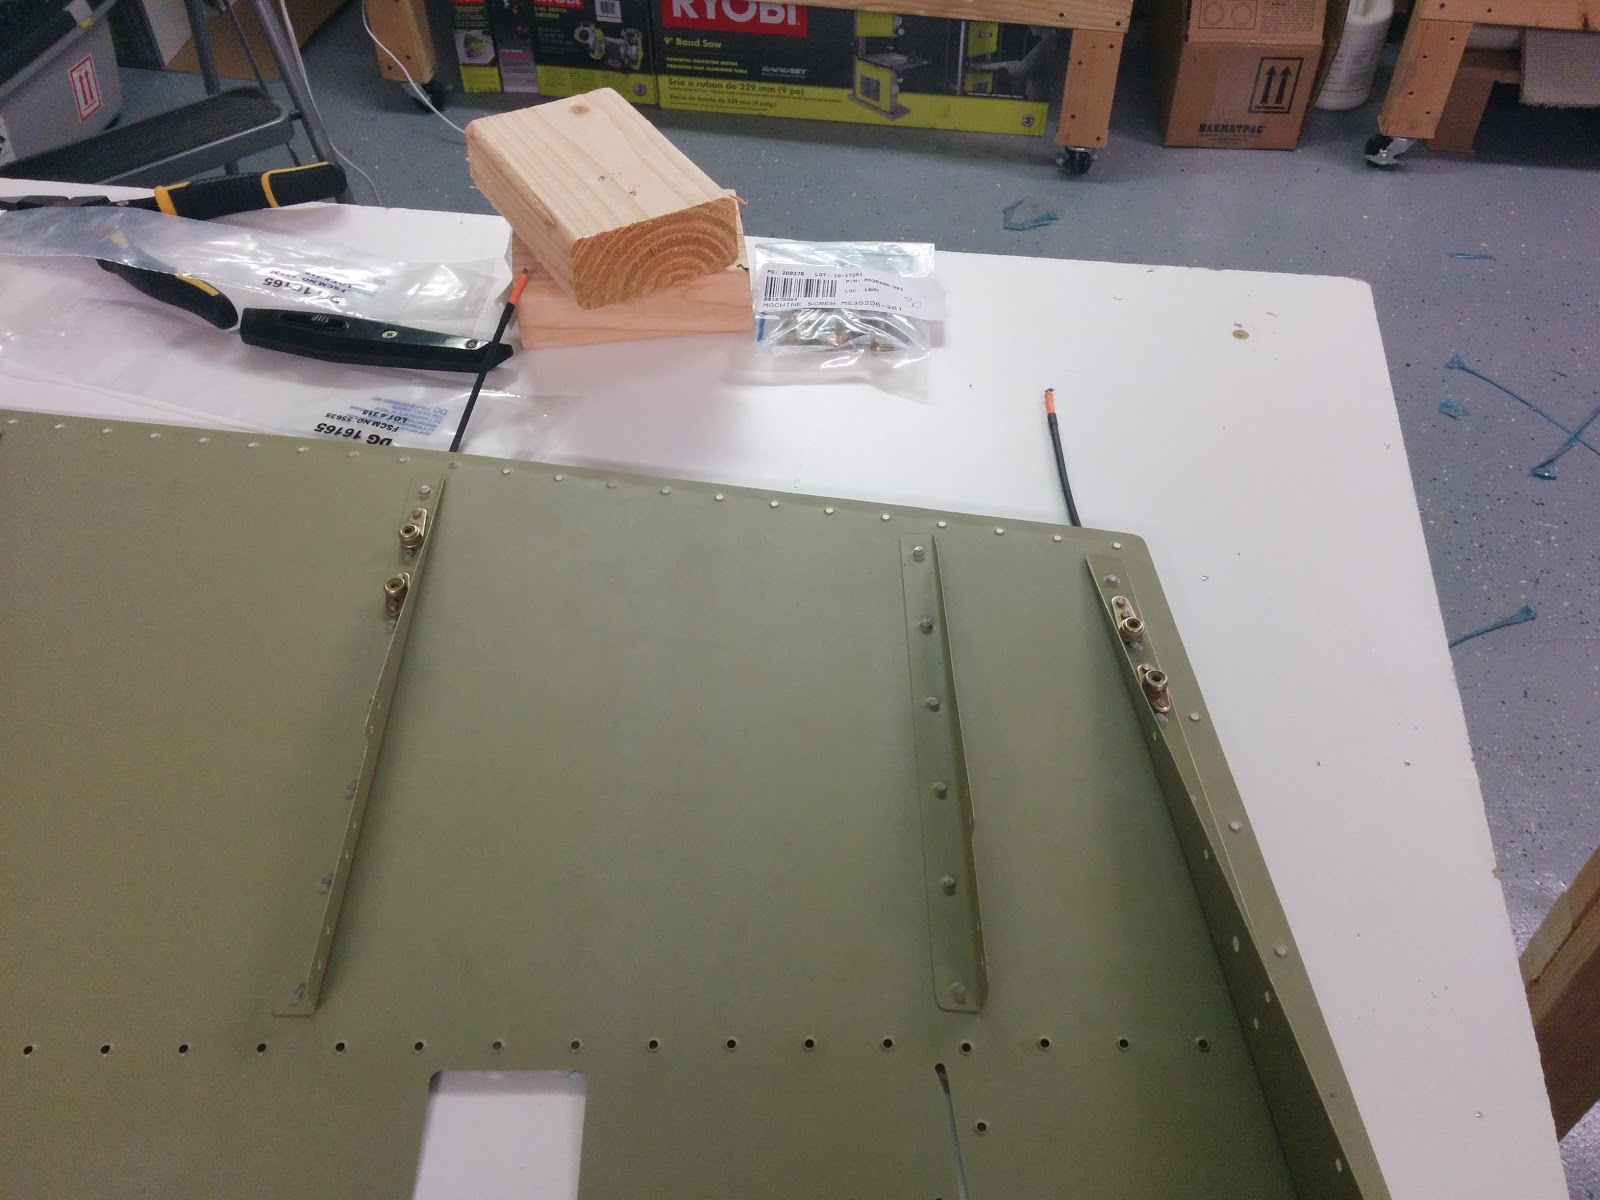
Before taking any other steps, I studied the best place to attach the bonding strap (which bonds the VS to the rudder), and decided to install a nut plate for it close to one of the hinge brackets (about the same height as in the rudder):
I then clecoed the skin on and double-checked that everything looked right:
I started riveting in the order suggested by vans - with the middle nose rib, followed by the top rib forward of the front spar:
The conduit proved to be annoying, as it got in the way of holding a bucking bar against some of the holes (tungsten bucking bar to the rescue!):
I got so far as to do the bottom nose rib and rivet the front spar as far as the squeezer would go (but it was late so I didn't want to annoy the neighbors by bucking any more rivets) - more to come later!
Time lapse:
Total vertical stabilizer time: 54.2h Total vertical stabilizer rivets: 141
I finished preparing the rudder for closing down, which involved installing a nutplate on the spar for bonding, which I installed close to one of the attachment nutplates in order to take advantage of both its doubler and later the opening through the rolled leading edge (for the bonding strap):
Nut plates: smaller for bonding and larger for attachment
We then proceeded to applying the sealant and join the two skins. The sealant instructions look very very cryptic - dasher rod? ram rod? Luckily, I found this RV-12 blog which literally translates them to something understandable :) Sealant mixed and applied, we proceeded to rivet the two skins together while rolling the top skin up (no pictures of the process - we were too busy and messy to play with cameras - but it's in the time lapse):
Fully join rudder skins (including the bottom rib)
Weights on the trailing edge to hold the sealant and skins together
That also involved riveting the two skins together:
Pop rivets joining the two skins together
Time lapse:
If it appears that one part of the video is going faster than another, that's because it is - I accidentally recorded a full day of work in regular 1080p 30fps mode - I sped that up 8x, but that's still slower than the 2fps I usually record time lapse in.
Over the last few days, I finished the rudder skins, and am now ready to apply sealant and rivet them together:
Rudder skins ready to be attached to each other
To remove the blue vinyl only from the rows of rivets, we modified a soldering iron tip to be hemispherical (by sanding it down), and that did the trick of burning away lines of the vinyl without scratching the metal underneath:
Vinyl-removing soldering-iron tip
After removing the vinyl strips, I started back riveting the skins, and found two issues - first, the rivets seemed to be too short (the shop head was below tolerance); also, most of them had one side (the side closest to the stiffener) improperly set:
Bad, bad rivets. No donut for you.
The bad corner turned out to be because of the back riveting set I was using (from ATS), which has a very large plastic piece around the actual setting surface - I solved this by getting one from Cleaveland, which has a much smaller protection (on the down side, it's harder to ensure you're at a right angle to the surface with the new one):
ATS (right) vs Cleaveland (left) back riveting sets
The short rivets appear to be because I'm using the substructure dimple die, so the dimple is actually higher. Changing the AD3-3 for AD3-3.5 rivets gave me just enough length to make proper shop heads.
Just enough of the rivet sticking out, if I use a half-size larger than indicated
I then set all the back rivets on the left skin's stiffeners:
Riveted stiffeners!
And then used a platenut drill jig and installed the nut plates for the static wicks:
Static wicks installed
And finally, installed the static wicks themselves:
Full rudder skin with riveted stiffeners and static wicks
The right skin followed pretty much the same procedure (minus the static wicks):
Marked regions of vinyl to remove
Clean vinyl cut
Installed stiffeners and shear clips on right skin
On the right skin, also installed the shear clips and the horn:
Installed shear clips
Shear clip, installed with LP4-3 pop rivets
Installing the horn was quite trivial using the squeezer - that is, until I got to the very last rivet:
No room!
There's just no room to use the squeezer (even the thin-nosed one). I tried (with my wife helping lift the other side a bit, and the result was a cracked shop head:
Cracked rivet head
At this point I gave up, removed the rivet with the cracked head, and installed a cherrymax (same one that's recommended for use later, on the other side):
Screw it, I used a CherryMax instead
The next steps are a little annoying to execute in that they involve sealant along the trailing edge (and all have to be performed during the 2 hours before the sealant stiffens).
Time lapse:
Total rudder time: 37.3h Total rudder rivets: 199 / 402


 Now that I know a bit more about antennas (lots of thanks to Don from


 I finished preparing the rudder for closing down, which involved installing a nutplate on the spar for bonding, which I installed close to one of the attachment nutplates in order to take advantage of both its doubler and later the opening through the rolled leading edge (for the bonding strap):