Over the last few days, I finished the rudder skins, and am now ready to apply sealant and rivet them together:
Rudder skins ready to be attached to each other
To remove the blue vinyl only from the rows of rivets, we modified a soldering iron tip to be hemispherical (by sanding it down), and that did the trick of burning away lines of the vinyl without scratching the metal underneath:
Vinyl-removing soldering-iron tip
After removing the vinyl strips, I started back riveting the skins, and found two issues - first, the rivets seemed to be too short (the shop head was below tolerance); also, most of them had one side (the side closest to the stiffener) improperly set:
Bad, bad rivets. No donut for you.
The bad corner turned out to be because of the back riveting set I was using (from ATS), which has a very large plastic piece around the actual setting surface - I solved this by getting one from Cleaveland, which has a much smaller protection (on the down side, it's harder to ensure you're at a right angle to the surface with the new one):
ATS (right) vs Cleaveland (left) back riveting sets
The short rivets appear to be because I'm using the substructure dimple die, so the dimple is actually higher. Changing the AD3-3 for AD3-3.5 rivets gave me just enough length to make proper shop heads.
Just enough of the rivet sticking out, if I use a half-size larger than indicated
I then set all the back rivets on the left skin's stiffeners:
Riveted stiffeners!
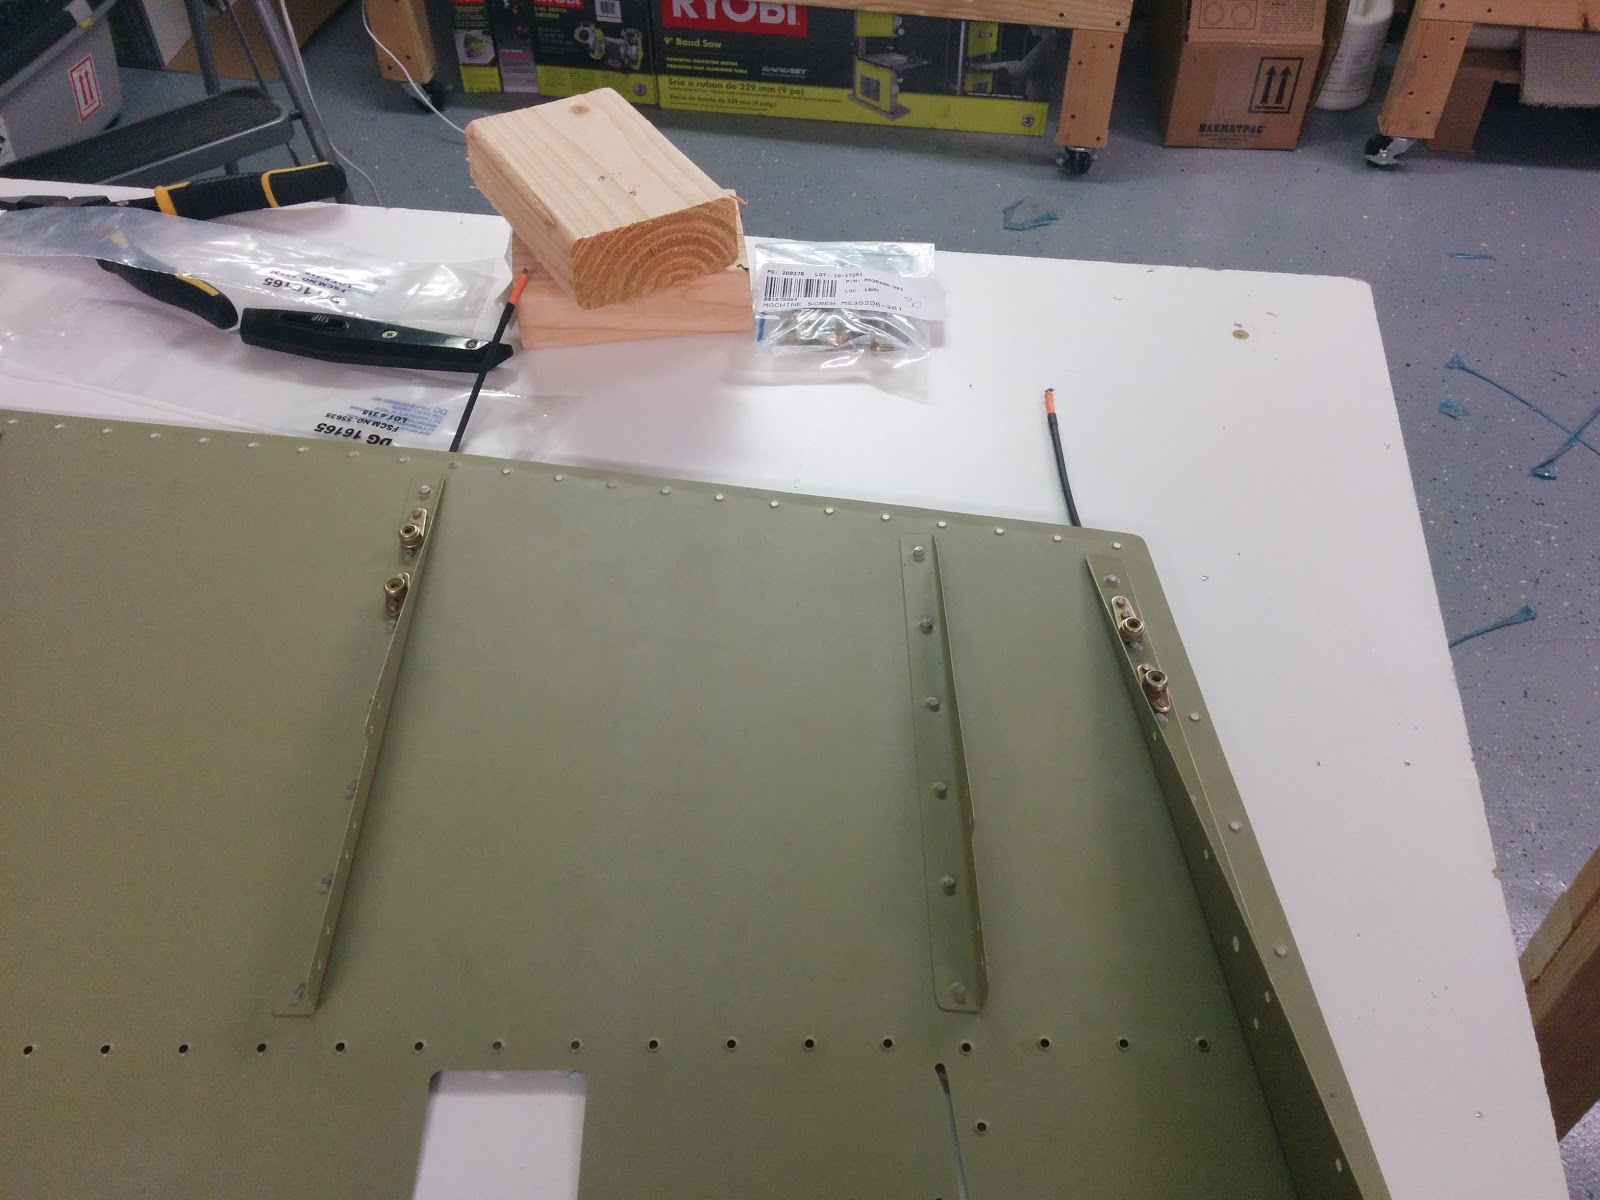
And then used a platenut drill jig and installed the nut plates for the static wicks:
Static wicks installed
And finally, installed the static wicks themselves:
Full rudder skin with riveted stiffeners and static wicks
The right skin followed pretty much the same procedure (minus the static wicks):
Marked regions of vinyl to remove
Clean vinyl cut
Installed stiffeners and shear clips on right skin
On the right skin, also installed the shear clips and the horn:
Installed shear clips
Shear clip, installed with LP4-3 pop rivets
Installing the horn was quite trivial using the squeezer - that is, until I got to the very last rivet:
No room!
There's just no room to use the squeezer (even the thin-nosed one). I tried (with my wife helping lift the other side a bit, and the result was a cracked shop head:
Cracked rivet head
At this point I gave up, removed the rivet with the cracked head, and installed a cherrymax (same one that's recommended for use later, on the other side):
Screw it, I used a CherryMax instead
The next steps are a little annoying to execute in that they involve sealant along the trailing edge (and all have to be performed during the 2 hours before the sealant stiffens).
Time lapse:
Total rudder time: 37.3h Total rudder rivets: 199 / 402


No comments:
Post a Comment