I trimmed the wingtip aft portions to give the right spacing to the ailerons:
Markings of the minimum distance required from the aileron, before trimming
Trimmed wingtips with clearance from the aileron
I then countersunk all the hinge attachment holes for flush rivets, and the forward and inspection panel cover screw holes for #6 screws:
Wingtip with countersunk holes
Now I need to wait for Aveo to send me the fiberglass ribs (they're taking some time), glass those in, make the delrin block for securing the hinge pins, and then add the static wick attachment (probably with nutplates on a backing strip and a bonding strap to the rib). I also still need to prime the hinge spacers (except those that will bond the Archer antenna) and rivet the hinges in place.
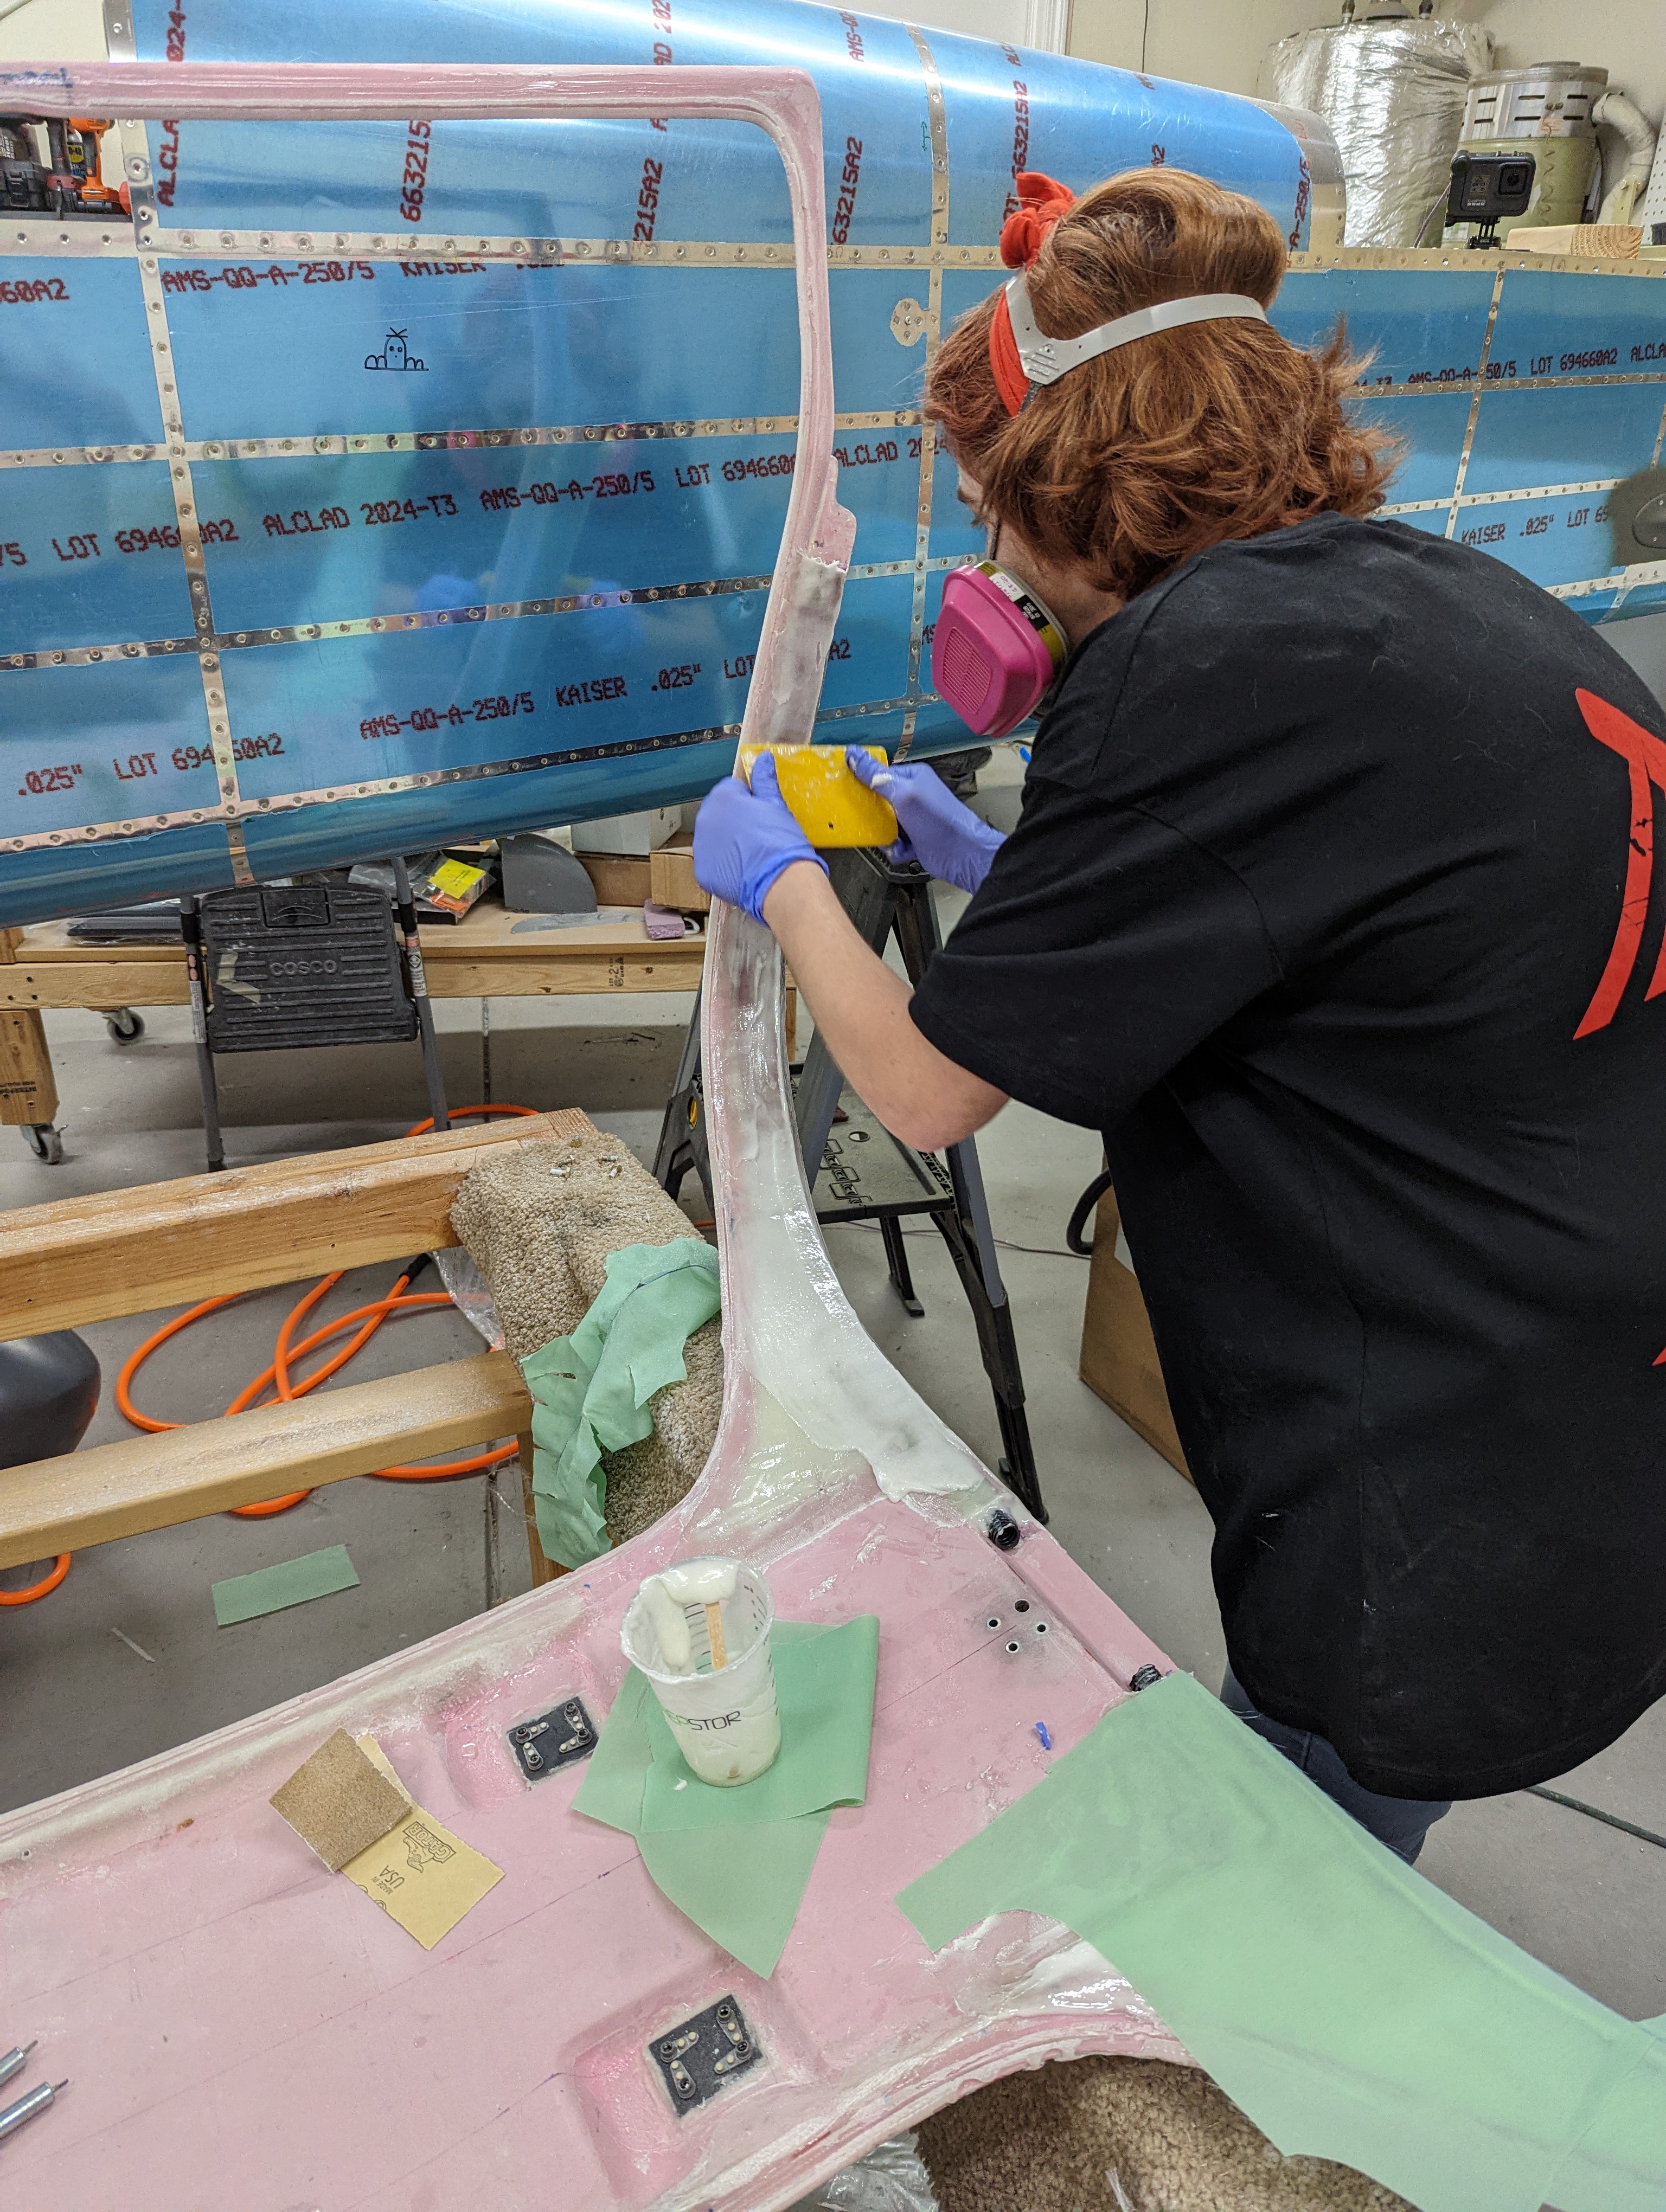
We've been doing the tedious job of filling and sanding the cabin cover, and getting the gaps around the console to be flush with it where it doesn't get covered with headliner.
Filling the forward conduit cover
Initial result of filling the forward conduit cover and console surroundings
Initial filling of the center portion to make a smooth ramp
Aluminum tape turned out to be quite a lot better than packing tape to protect the console, as it's easier to make it conform to the shape and stay put:
Applying aluminum tape to the overhead console
Filling the gaps around the overhead console
Result of filling the gaps around the center console
We started attaching the forward conduit for bringing wiring up to the switch pod and center console. First, I "carved" the forward flange a bit with the Dremel to make the conduit fit, then glued it with resin:
Gluing the forward conduits to the cabin cover
On the tips, I knew I had to avoid the wires coming out right into some screws, so I lifted the conduit slightly with some foam:
Tip of the right forward conduit, with a foam spacer to lift it
Forward conduits glued in place
To make a lightweight mold around the conduit to cover it, we epoxied some small foam blocks, then carved them to the right shape:
Foam blocks glued to the forward side of the forward conduits
Trimmed forward blocks to give shape to the forward conduit conver
In parts where the conduit was almost level with the rest of the cabin cover, we just covered it with some epoxy+microballoons, and on other parts we also use some more foam, which was then also cut to shape (to keep the whole thing tangent to the cabin cover surface):
Filling and gluing foam atop the forward conduits
Untrimmed blocks covering the "top" of the forward conduits
Trimmed foam blocks giving shape to the forward conduit cover
We then laid up fiber on that, sanded, and started filling it to make the height and angle be constant across the whole edge:
Peel ply applied after laying fiber onto the forward conduit and foam
Fiber laid onto the forward conduit and foam
Filling the gaps and smoothing the forward conduit cover
Finally, we also started filling the edges around the overhead console, and adding a smooth ramp just aft of the door openings (since that part is still visible, as it's forward of the headliner):
Filling the gap between the cabin cover and the door opening edge
Next comes the tedious work of finishing all the fiber and resin to look smooth.
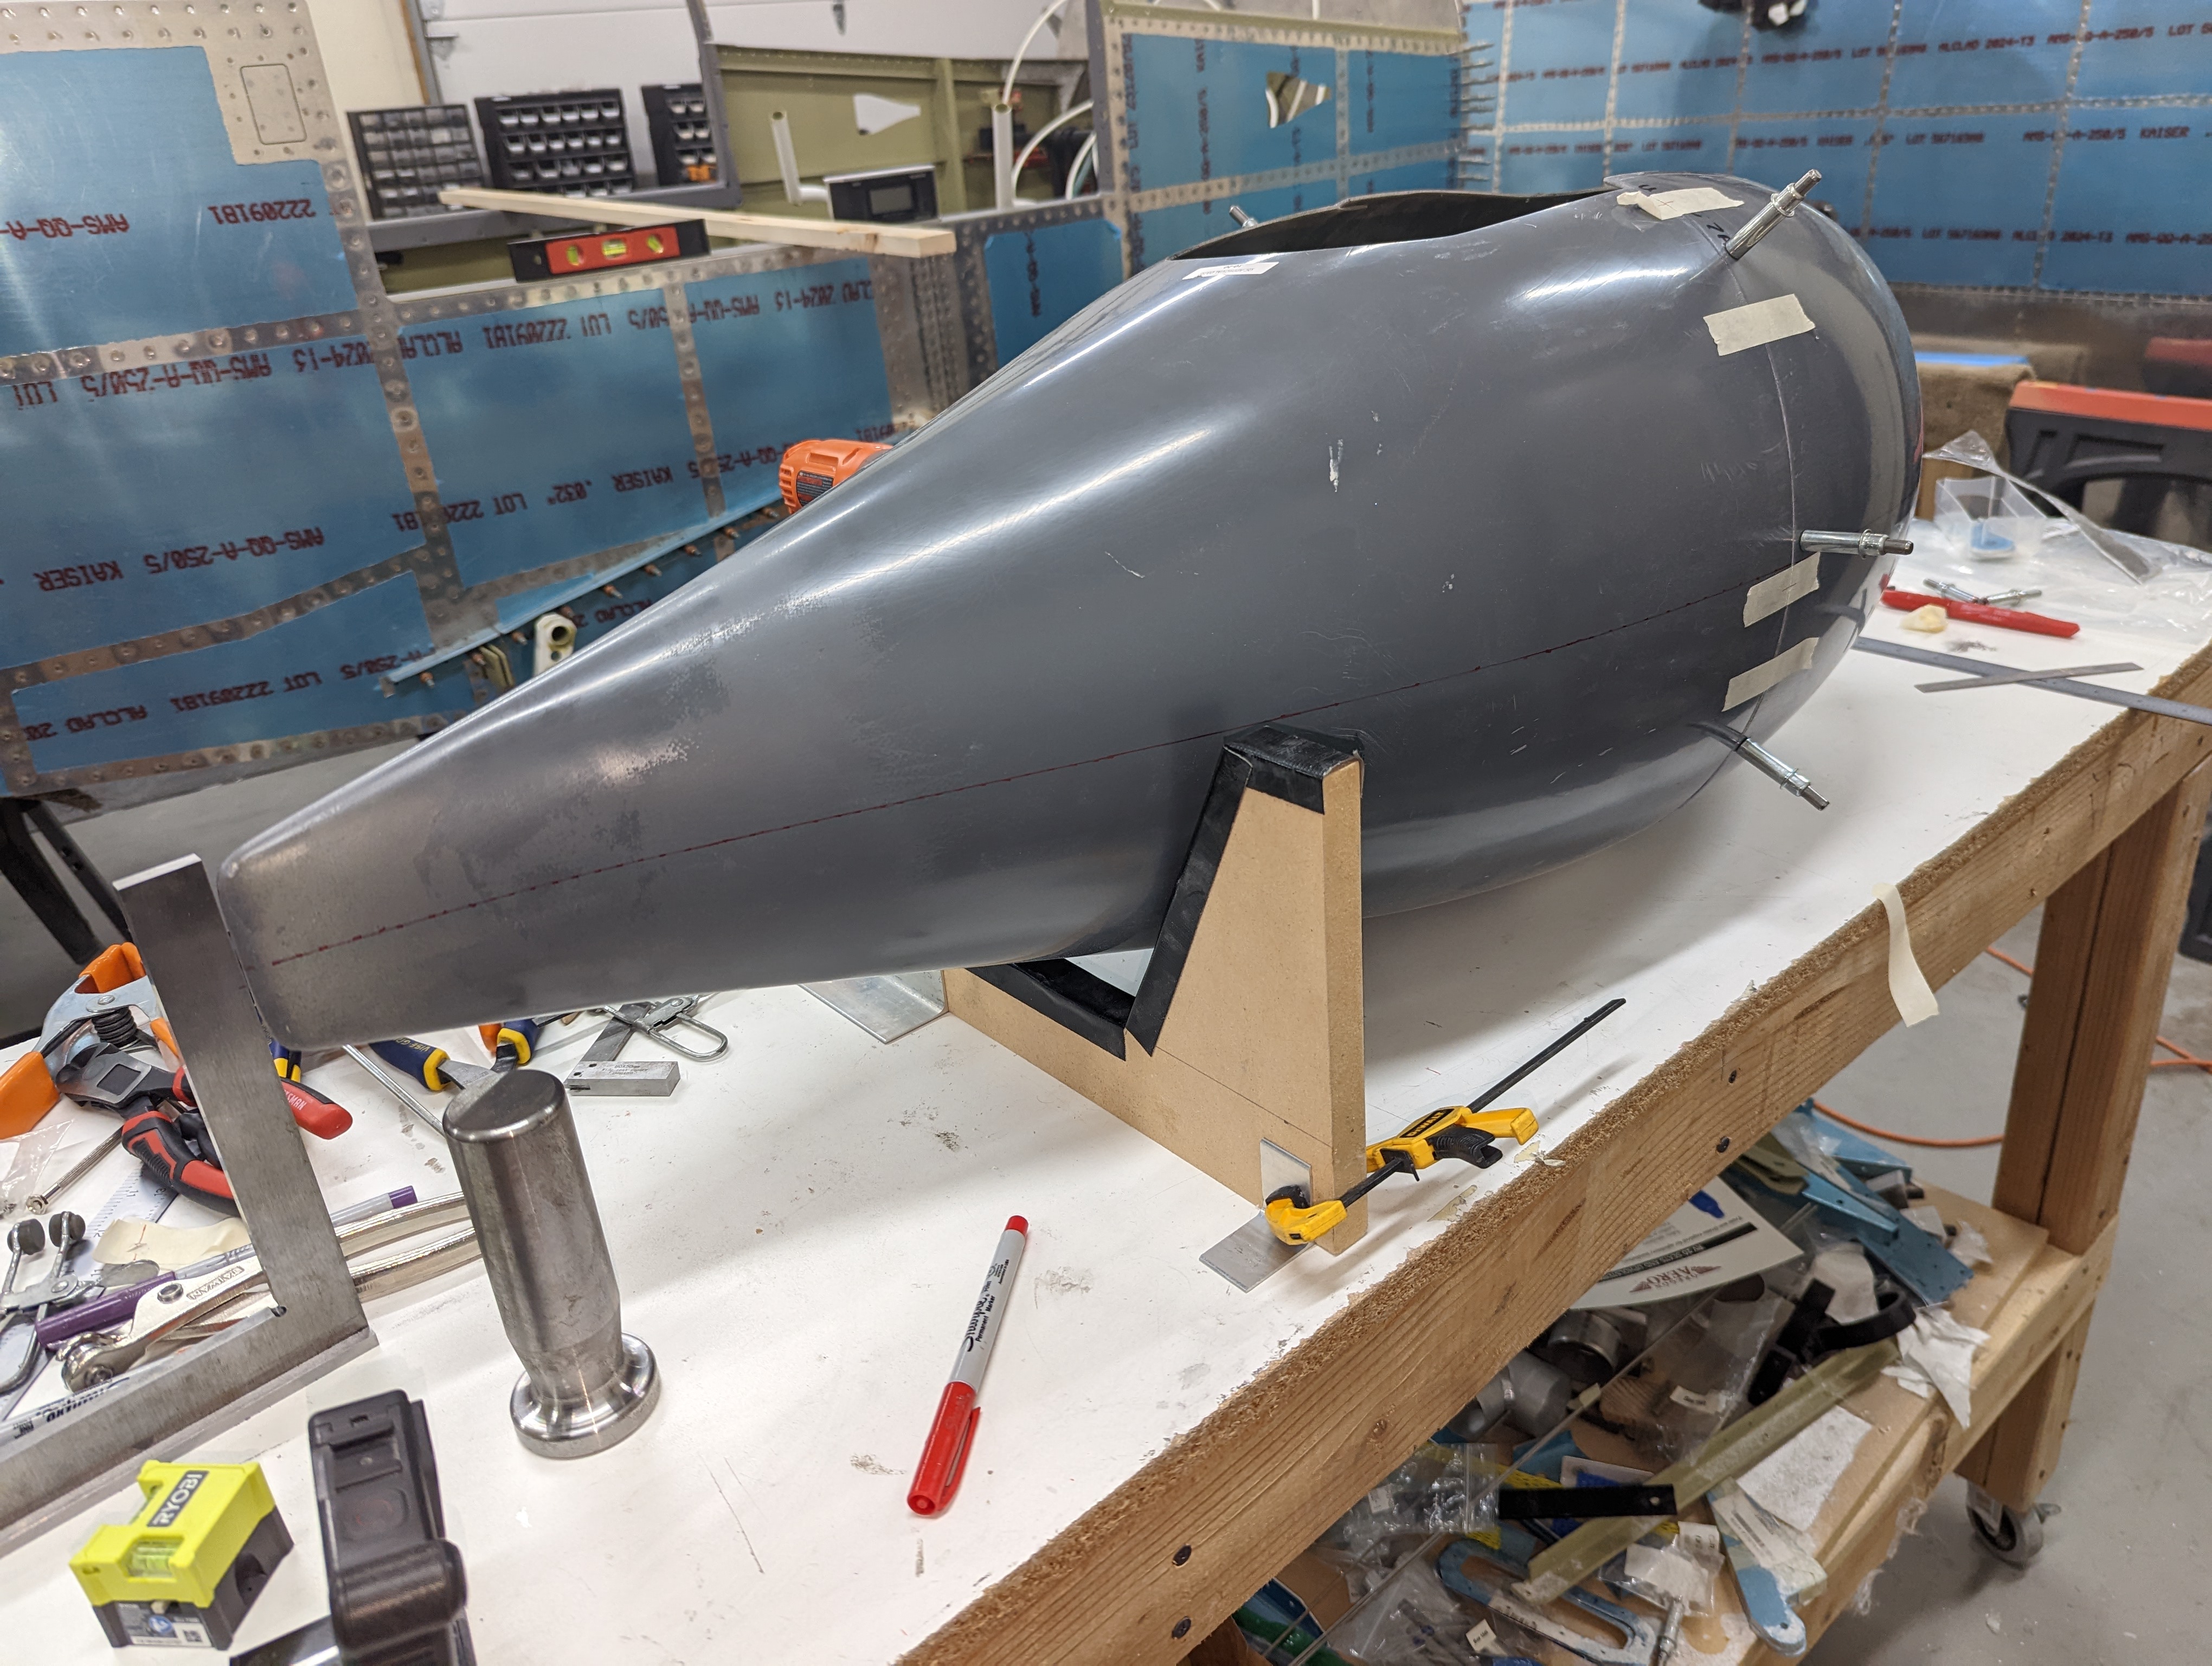
I've been very slowly following the wheel fairing steps, starting with making sure the two parts of each match:
Mating the forward and aft wheel fairing parts
Joint between the forward and aft parts, after sanding to make them fit well
then drilling holes at the right positions to join them:
Wheel fairing parts match-drilled and clecoed together
Getting it aligned properly is a royal pain - they tell you to draw a straight line through the center of the aftmost plane, but it's not a plane at all, it's curved in every direction, and getting it all aligned to even mark a centerline takes some effort:
Wheel fairing with center line drawn through it
Wheel fairing with center line drawn through it
I added shims to the wheels to keep the brackets in place, and added the recommended shim block on top of the tire:
Wheel brackets with shims keeping the distance from the wheel
Tire with spacer block on top
After quite a bit of trimming - mostly of the wheel opening - I got the aft part to fit as it's supposed to:
Right aft wheel fairing in place
The trimming around the tire opening is quite aggressive to get to this point:
Difference in the wheel opening between the original forward part (left) and the trimmed aft part (right)
Getting the two parts to sit in place was also quite a bit of work, which involved bending the bracket arms to keep the lower part of the forward fairing flush with the aft part:
Full right wheel fairing in place
Bottom part of the right wheel fairing not sitting flush between forward and aft parts
I also drilled the future nutplate holes on the bracket, initially just #40 so I can use sphere magnets to find the holes from the outside:
Wheel bracket with nutplate holes pre-drilled
Finally, I test-fit the nose gear brackets to check for any issues with the Beringer wheels (there were none):
Nose gear fork with brackets
Now the real challenge starts - getting the fairing properly aligned in all axes and match-drilling it to the underlying nutplate holes.
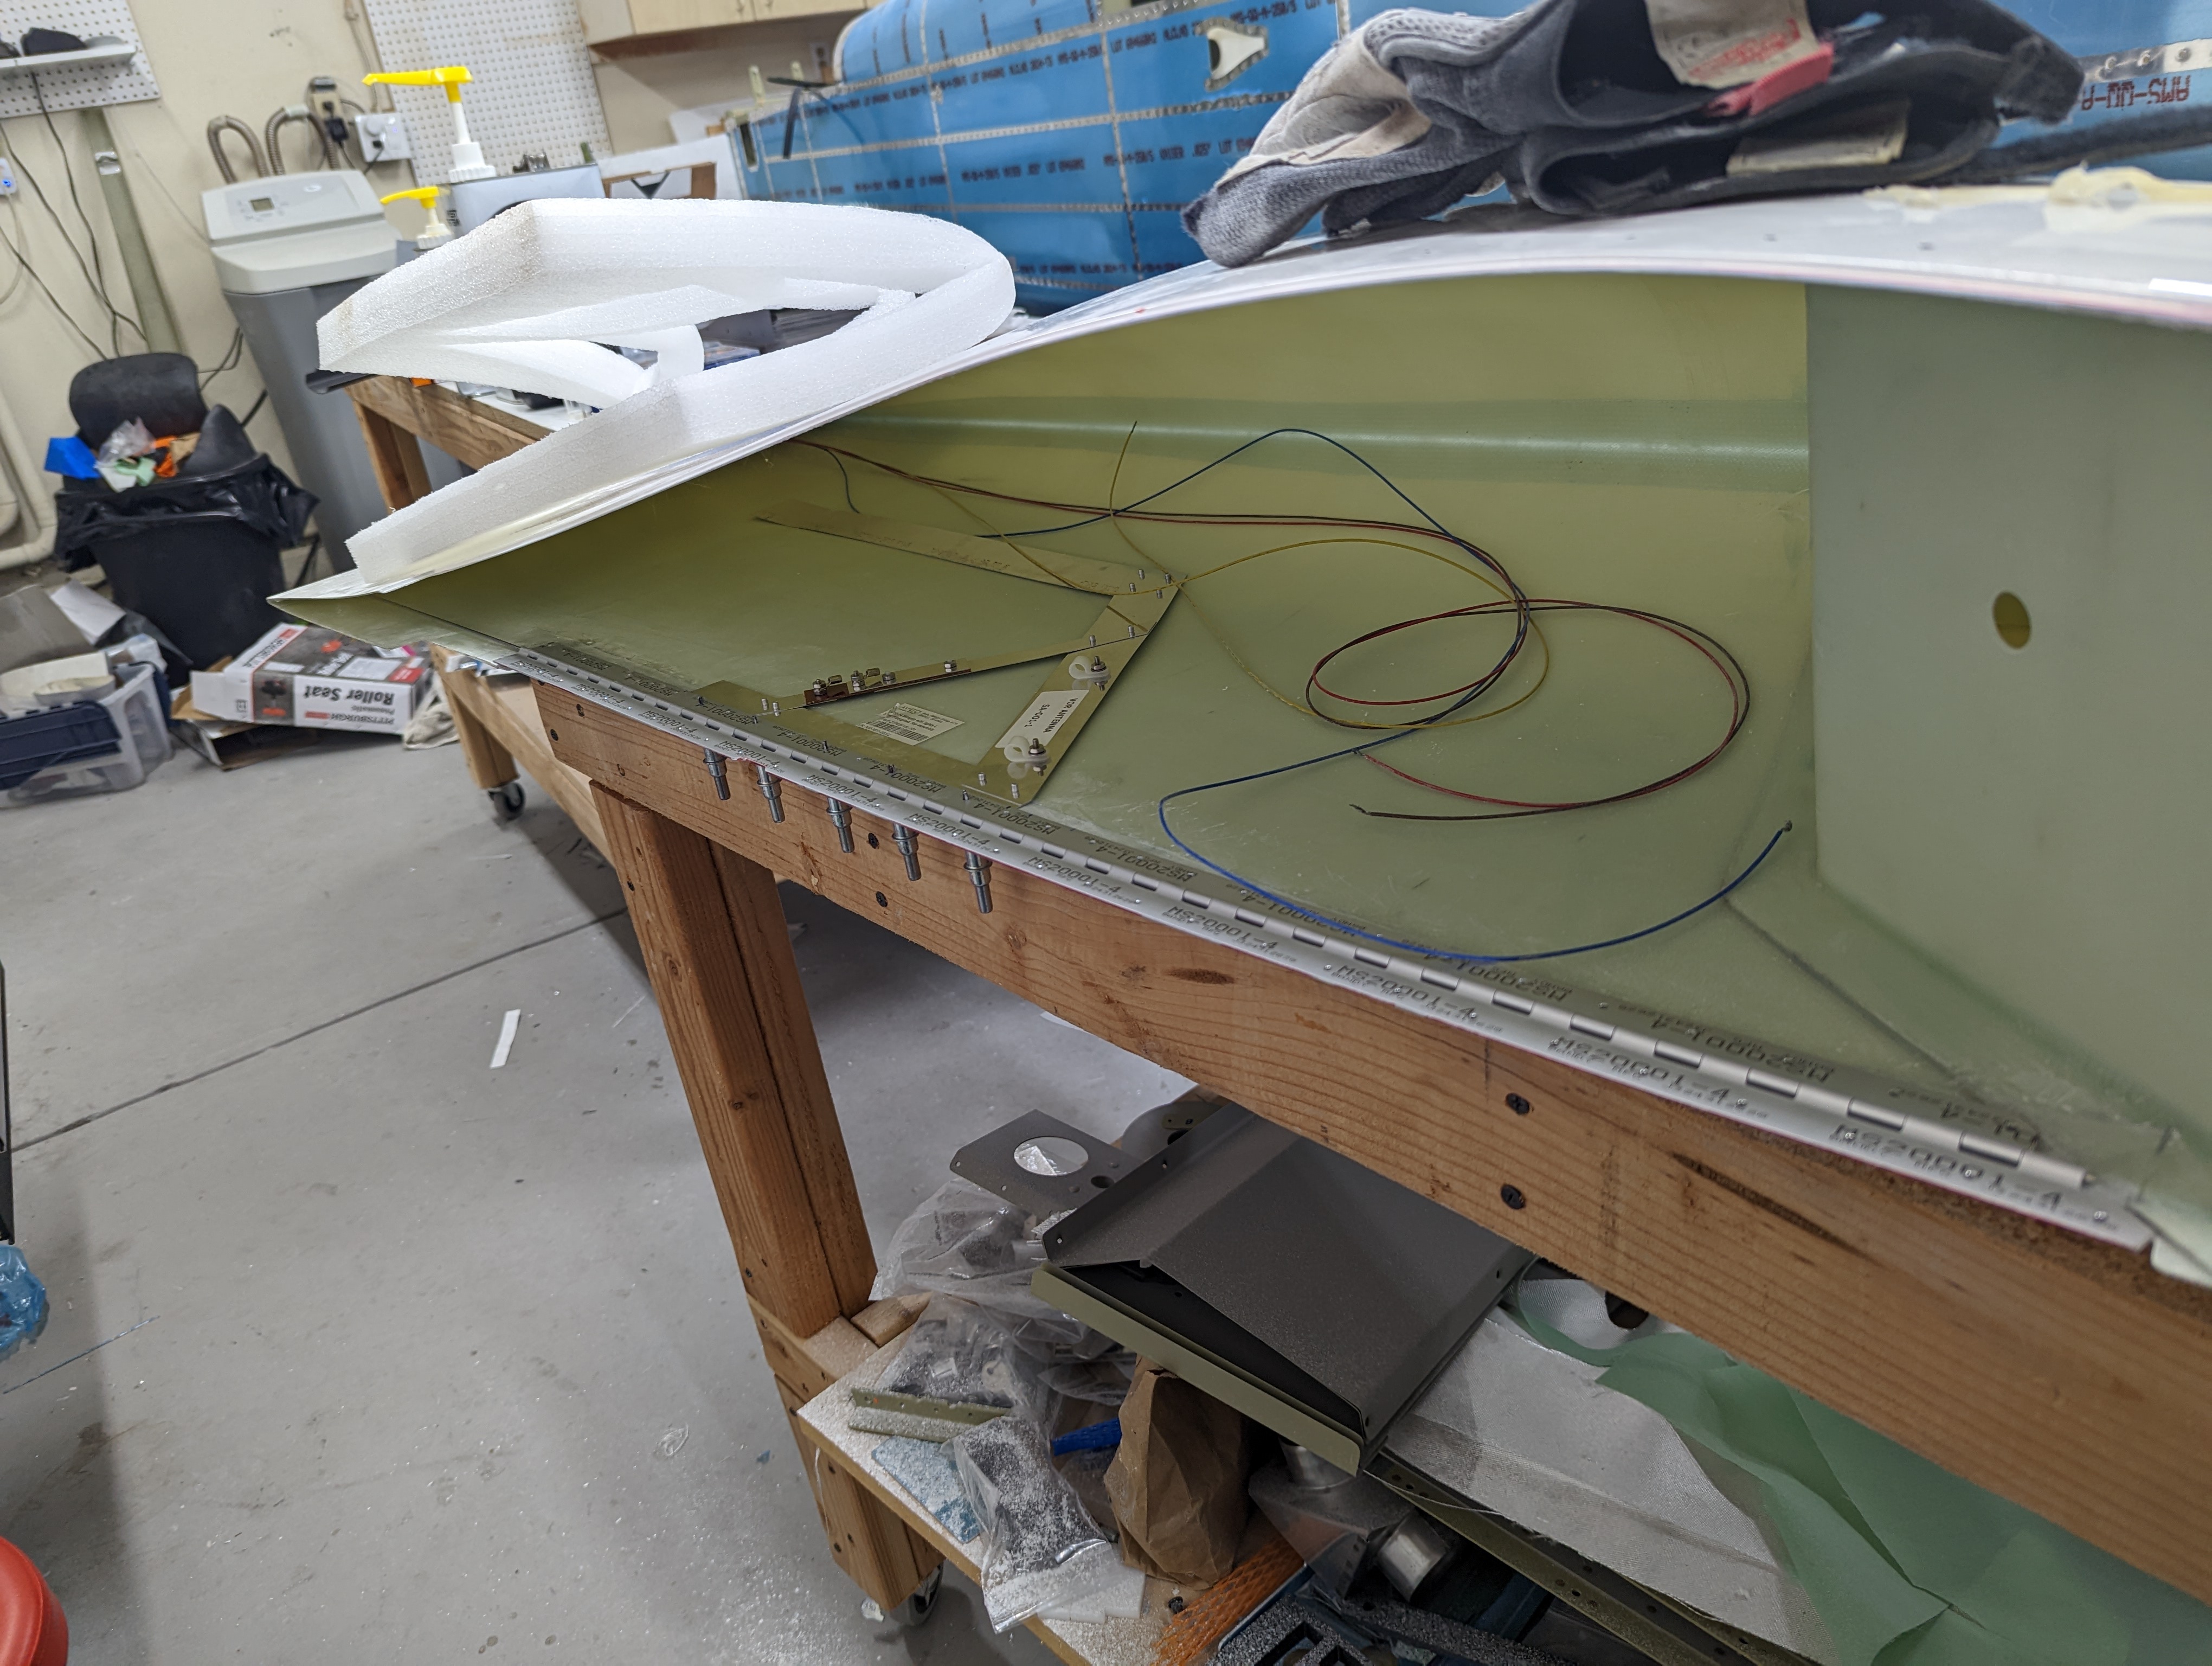
I repeated all the previous steps for the left wingtip and got the attachment hinge done:
Left wingtip match-drilled into place
Left wingtip with hinges attached
While I was at it, I also match-drilled the Bob Archer NAV antenna:
Left wingtip hinge and NAV antenna
Next I need to actually attach the ailerons to finish cutting the tips with the right clearance to them, prime the spacers/shims, and then I can start riveting the hinges.


