As a last step in preparing the overhead console, I attached the actual conduits to it, for running cables and wires to the tailcone through the area that's hard to access:
Overhead console with conduits attached
Forward portion of the overhead console where the conduits terminate
It was then finally time to attach the overhead console for good - we sanded sanded the attachment surface so it'd bond to the fiberglass directly, protected the edges to prevent any resin getting onto the finished parts, then used resin and flox to attach it (and after it was fully cured, we tested the attachment and it's strong enough that we can lift the whole cabin cover by it):
Cabin cover surface ready for attaching the overhead console
Applying tape to protect the edges of the overhead console from resin
Applying resin with flox to the overhead console
Overhead console clamped down in place for curing
Overhead console after final attachment
It was then time for the headliners - the process is pretty straightforward and the Aerosport YouTube videos do a good job at explaining it - trim the fiberglass substrate, glue the headliner fabric to it (we found out that the time you wait between applying the adhesive and actually attaching it is critical, especially for the back part - 15 min worked well for us with the Permatex adhesive), trim the fabric more, cut strips for the curved portions, fold it all to the back, let cure, then apply the rubber edge grommet around the window and attach with velcro:
Headliner substrates trimmed to fit the cabin cover and overhead console
Trimming headliner fabric from the headliner substrate
Folding headliner fabric around the edges of the substrate
Attaching edge grommet around the window opening
Headliner with velcro, ready to attach to the cabin cover
Visible side of the headliner
Headliners attached in place
Velcro backing for the headliners
For the lowest and highest velcros, we attached them to the cabin cover first, to avoid the cabin cover rivet strips and the edge of the overhead console:
Velcro strip running next to the cabin cover's rivet strip
The last step was to open up a 3/8" hole through the headliners for the seat belt attachment. The headliner kit comes with spacers (which double as additional attachment for the headliner), though those were surprisingly poorly finished (rough outside surface, too small hole by about 1/128") so they needed some attention too:
Seatbelt attachment spacers inserted in place through the headliners
Seatbelt attachment spacer finish - before (right) and after (left)
With this, the cabin cover is finally 100% ready to attach to the fuselage! (once we finish those wheel pants and lower the fuselage back onto the wheels, that is)
I received the Aerosport 310 panel (along with the rest of my avionics), so I started working on attaching the panel to the upper forwad fuselage. This meant cutting down the bottom panel brackets to attach only to the sides, and trimming the top of the panel a bit so it wouldn't hit the skin:
Heavily trimmed F-1003B bracket for attaching the panel
Panel attachment with the modified bracket
Forward side of the modified panel attachment bracket
Aerosport panel metal substrate clecoed in place
With the panel in place, I also attached the center panel attach flanges - the holes ended up a bit higher than I'd like, but still within margins for attaching the nutplates:
Center panel attachment flanges match-drilled in place
The holes that attach the panel to the side ribs are a bit lower, and any screw there would interfere with the carbon fiber panel, so I had to countersink those.
With this and having the panel, I can get started on section 41, which will likely mean some major surgery for the GTN to fit.
I've been working with SteinAir on my panel and avionics (as much as I'd love to do it all myself, I'm afraid I might end up taking a long time, and at this point I want to get to the finish line without cutting any big corners). After a lot of patience on their part between my indecisiveness and the CO Guardian 455 being discontinued right when we thought we were done (it was gonna go on the left side of the bottom center panel), they designed an awesome panel, with room for future expansions (read: custom devices I can build later):
Final panel layout
While they were busy doing the wiring, I received the GSA28 servos and their mounts, and did the initial attachment/test fitting:
Roll servo attached inside the wing
Pitch and yaw servos attached in the tailcone
Yaw servo mount and servo in the tailcone
Interestingly, while the roll and pitch mounts were quite well finished, the yaw servo attachment, which happens to be the crazy expensive one ($750!), did not come finished and needed rounding of corners and overall deburring, so I did that and will prime them before installing permanently.
In the meantime, I also got exclusive spy footage from SteinAir showing my panel being built! (i.e. a friend went there and spotted it :) )
Panel being worked on at Stein
Panel being worked on at Stein
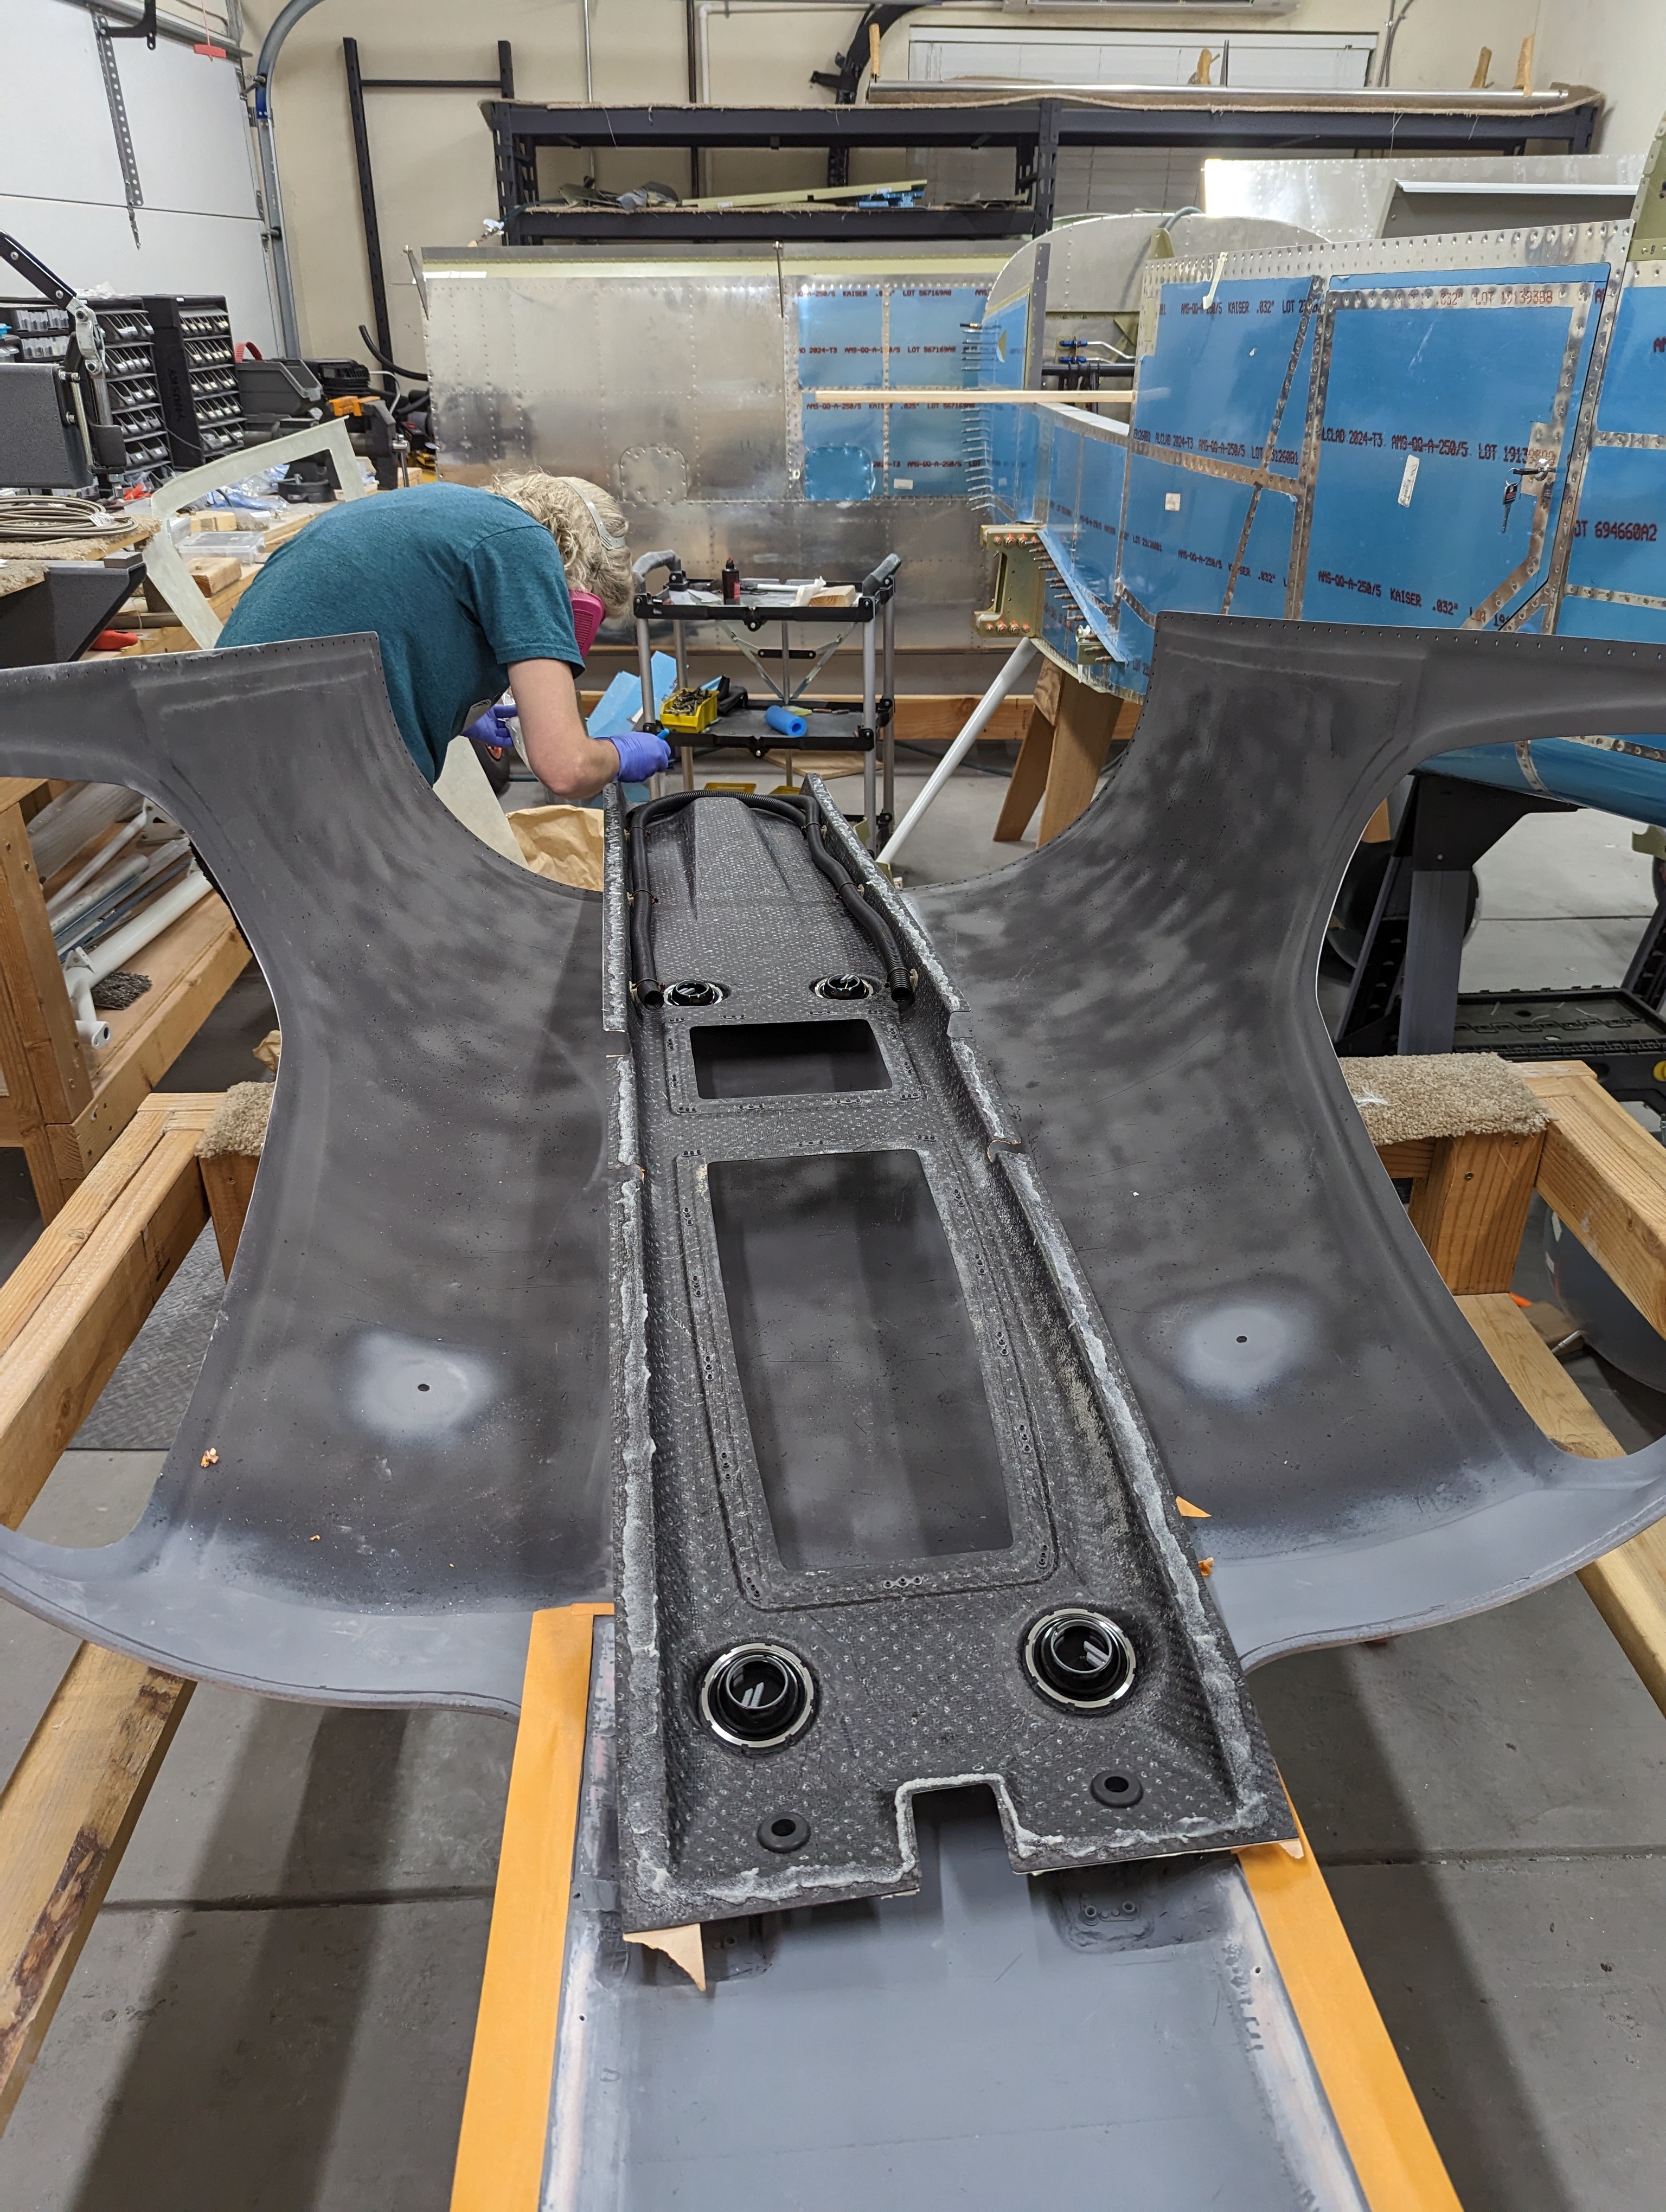
Center console at Stein
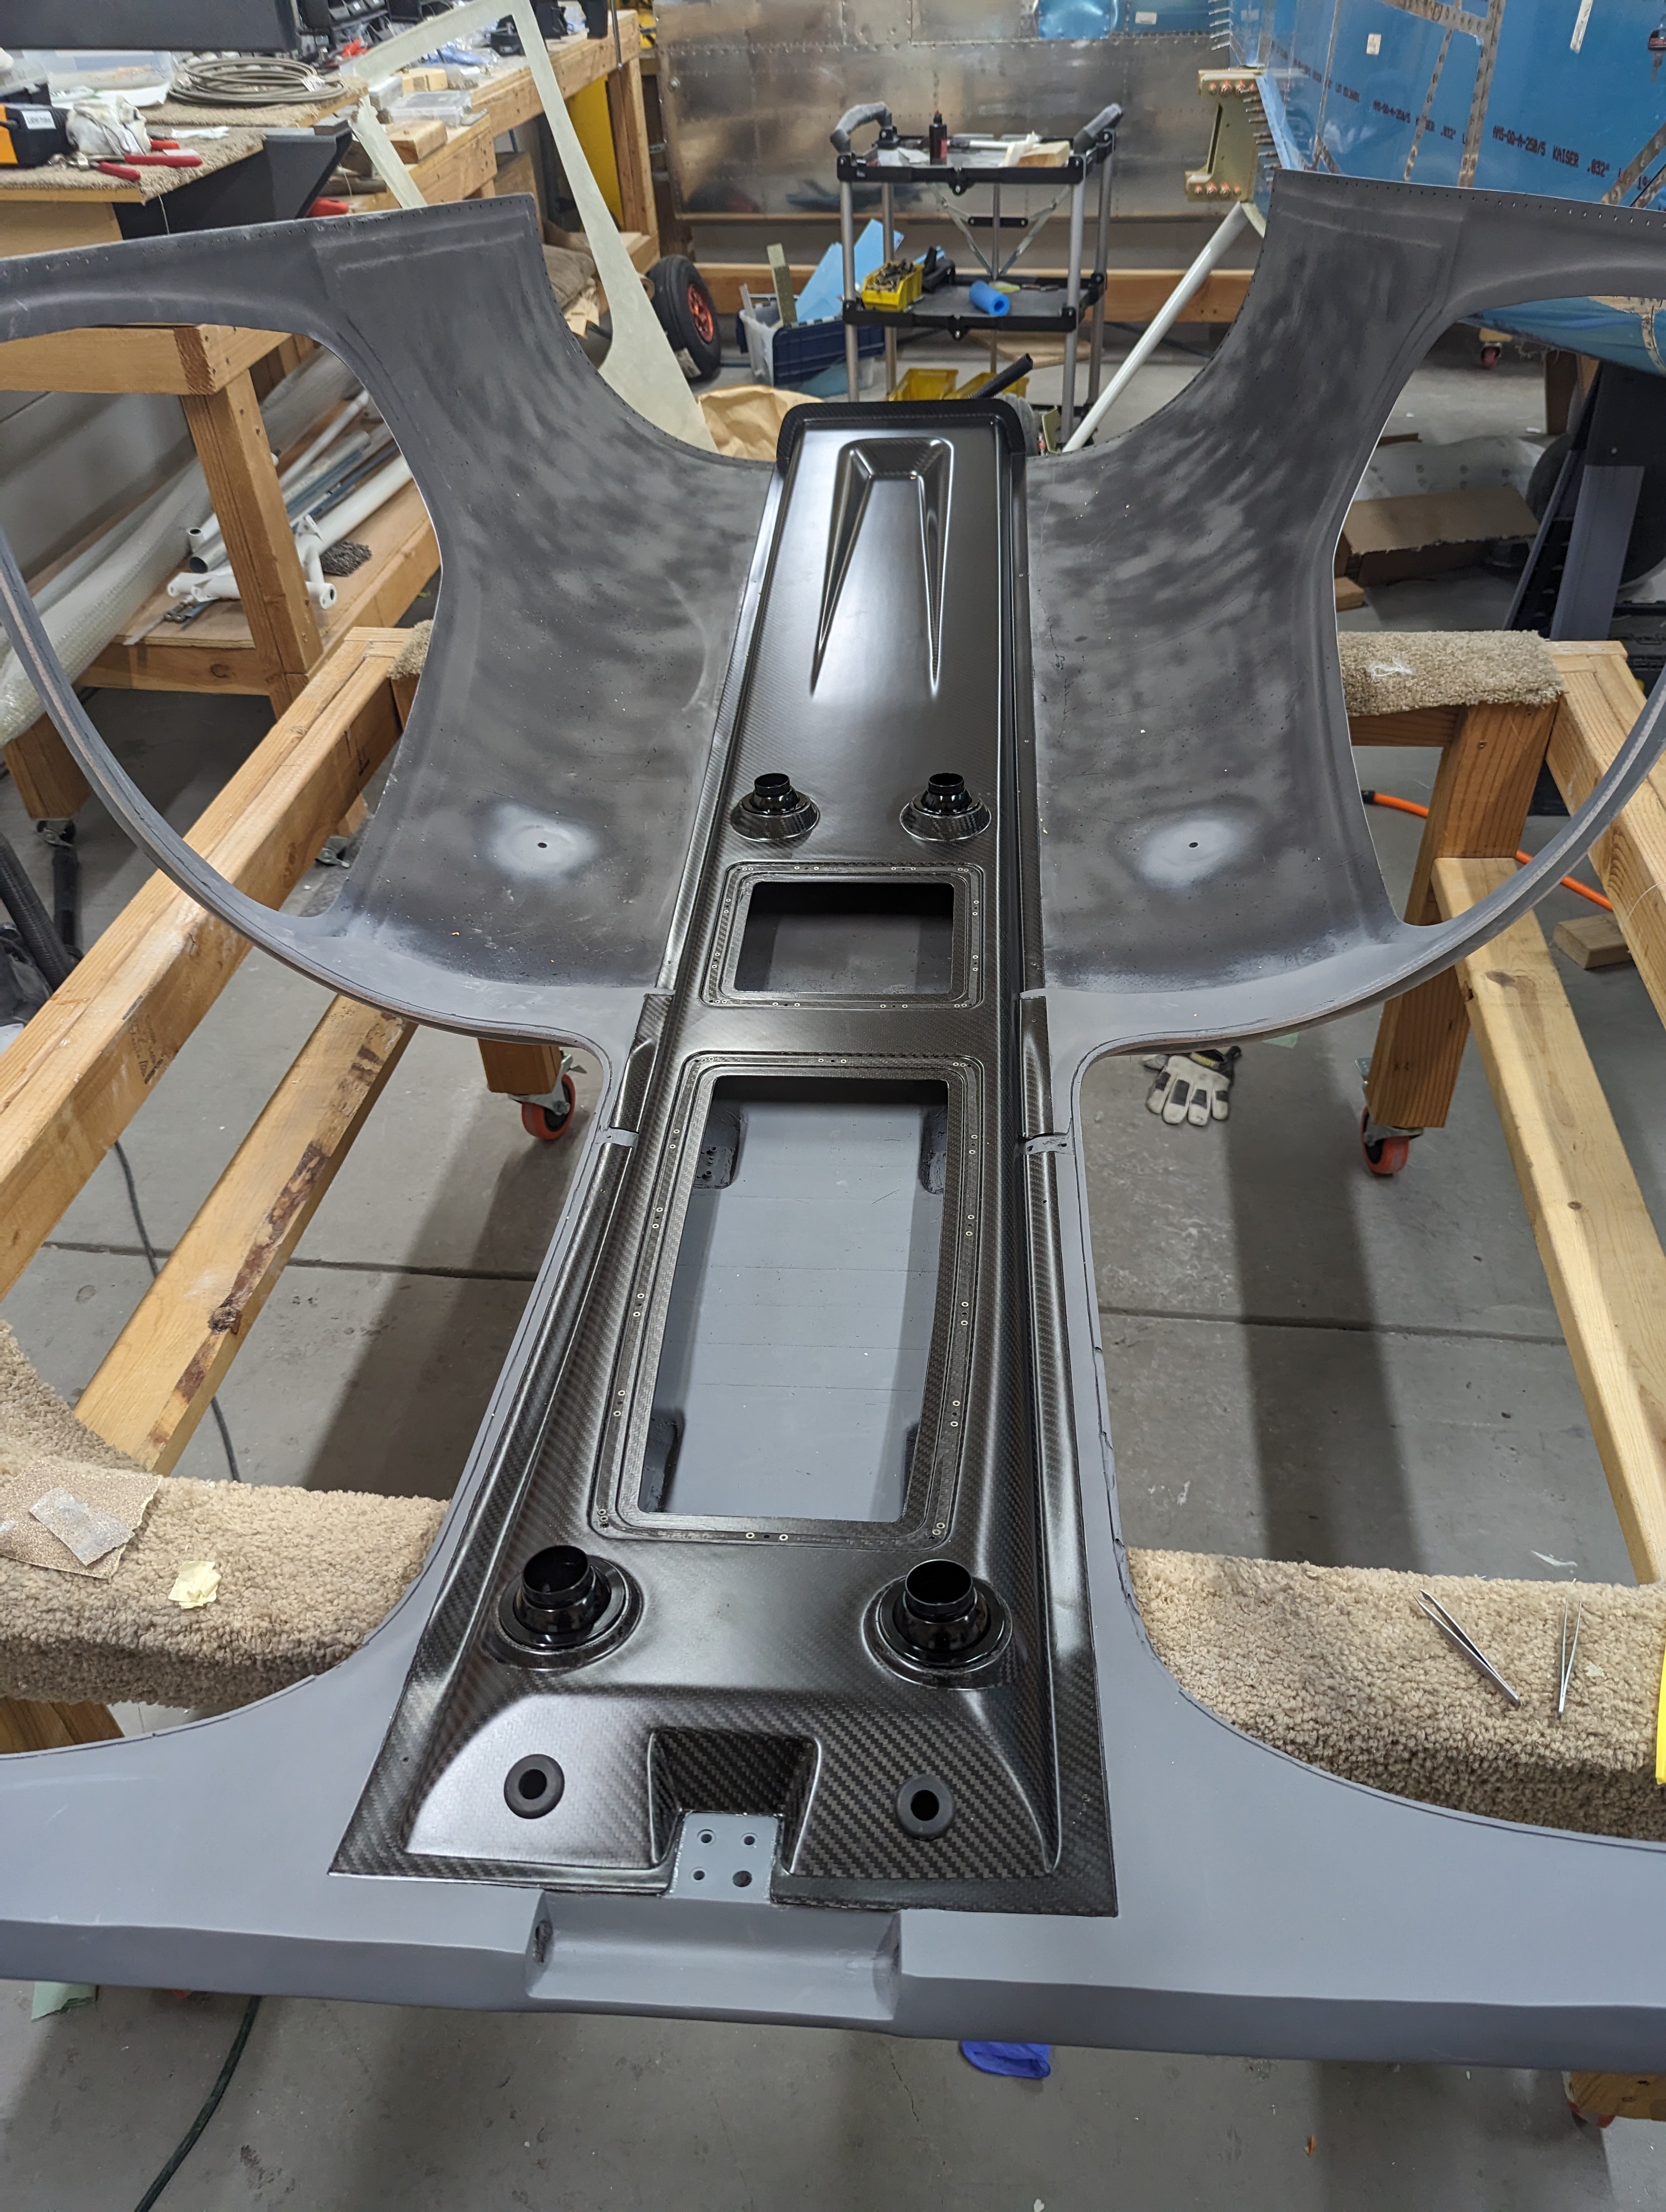
Finally, they completed the panel and I received it:
Unboxed panel at home!
After connecting all the antennas with patch cables, it lives and all the smoke stayed inside!
Panel turned on for the first time after receiving it
The first step after inventorying everything was, of course, to disassemble it :) The Aerosport panel has a metal backing which needs to be attached first, and to get to it one must get to the main carbon fiber frame, and to get to that you must remove all the inserts, and removing the inserts is easiest if you remove the units as well, so the whole thing came apart:
Disassembled panel for attachment
I had also ordered some custom cables with right-angle QMA connectors crimped to one end, for the bottom TAS antenna (those connectors are a bit annoying to solder after they're crimped), so I installed those in place (will wait to tighten it when I officially run the wires:
Bottom TAS cable run inside the tunnel
Now it's time to work on sections 31 and 41 to install the panel in place (separate post about it), before I actually run the rest of the wires. The plans are extra vague around these bits and don't include the Aerosport panel, so I'm counting the initial mounting of the metal panel/subpanel/ribs as section 31, and making any openings/mods to that structure as section 41.