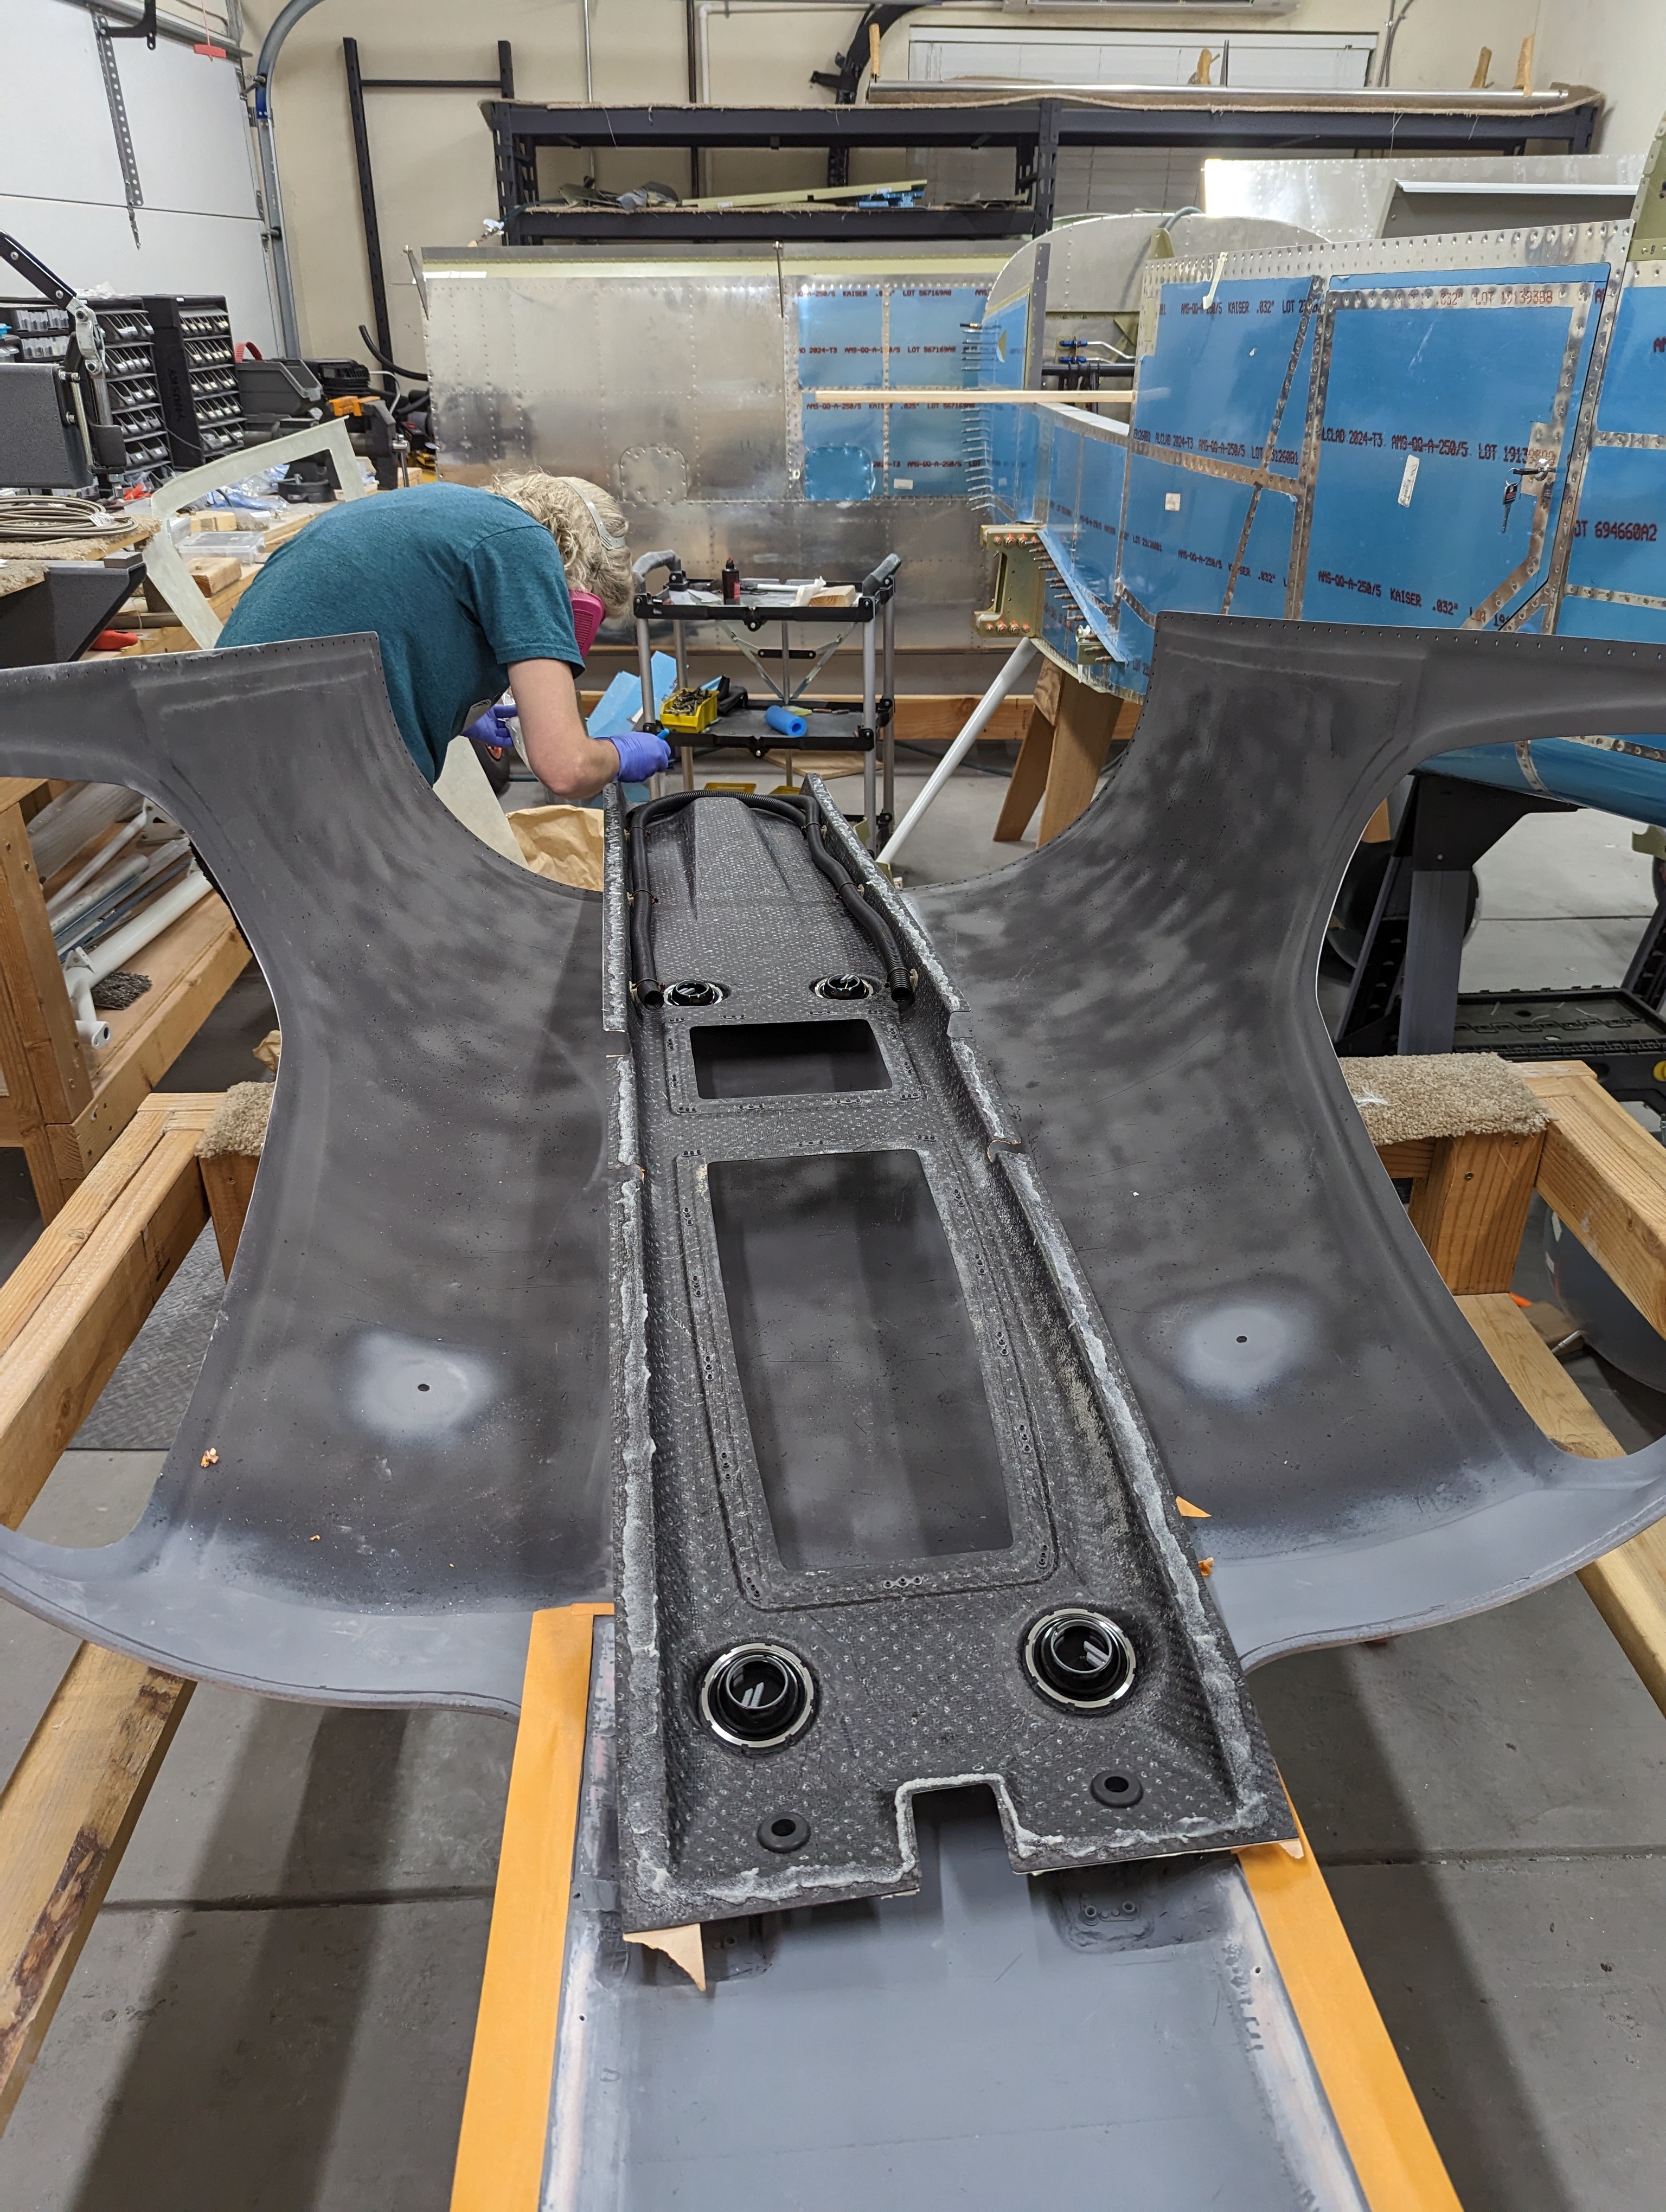
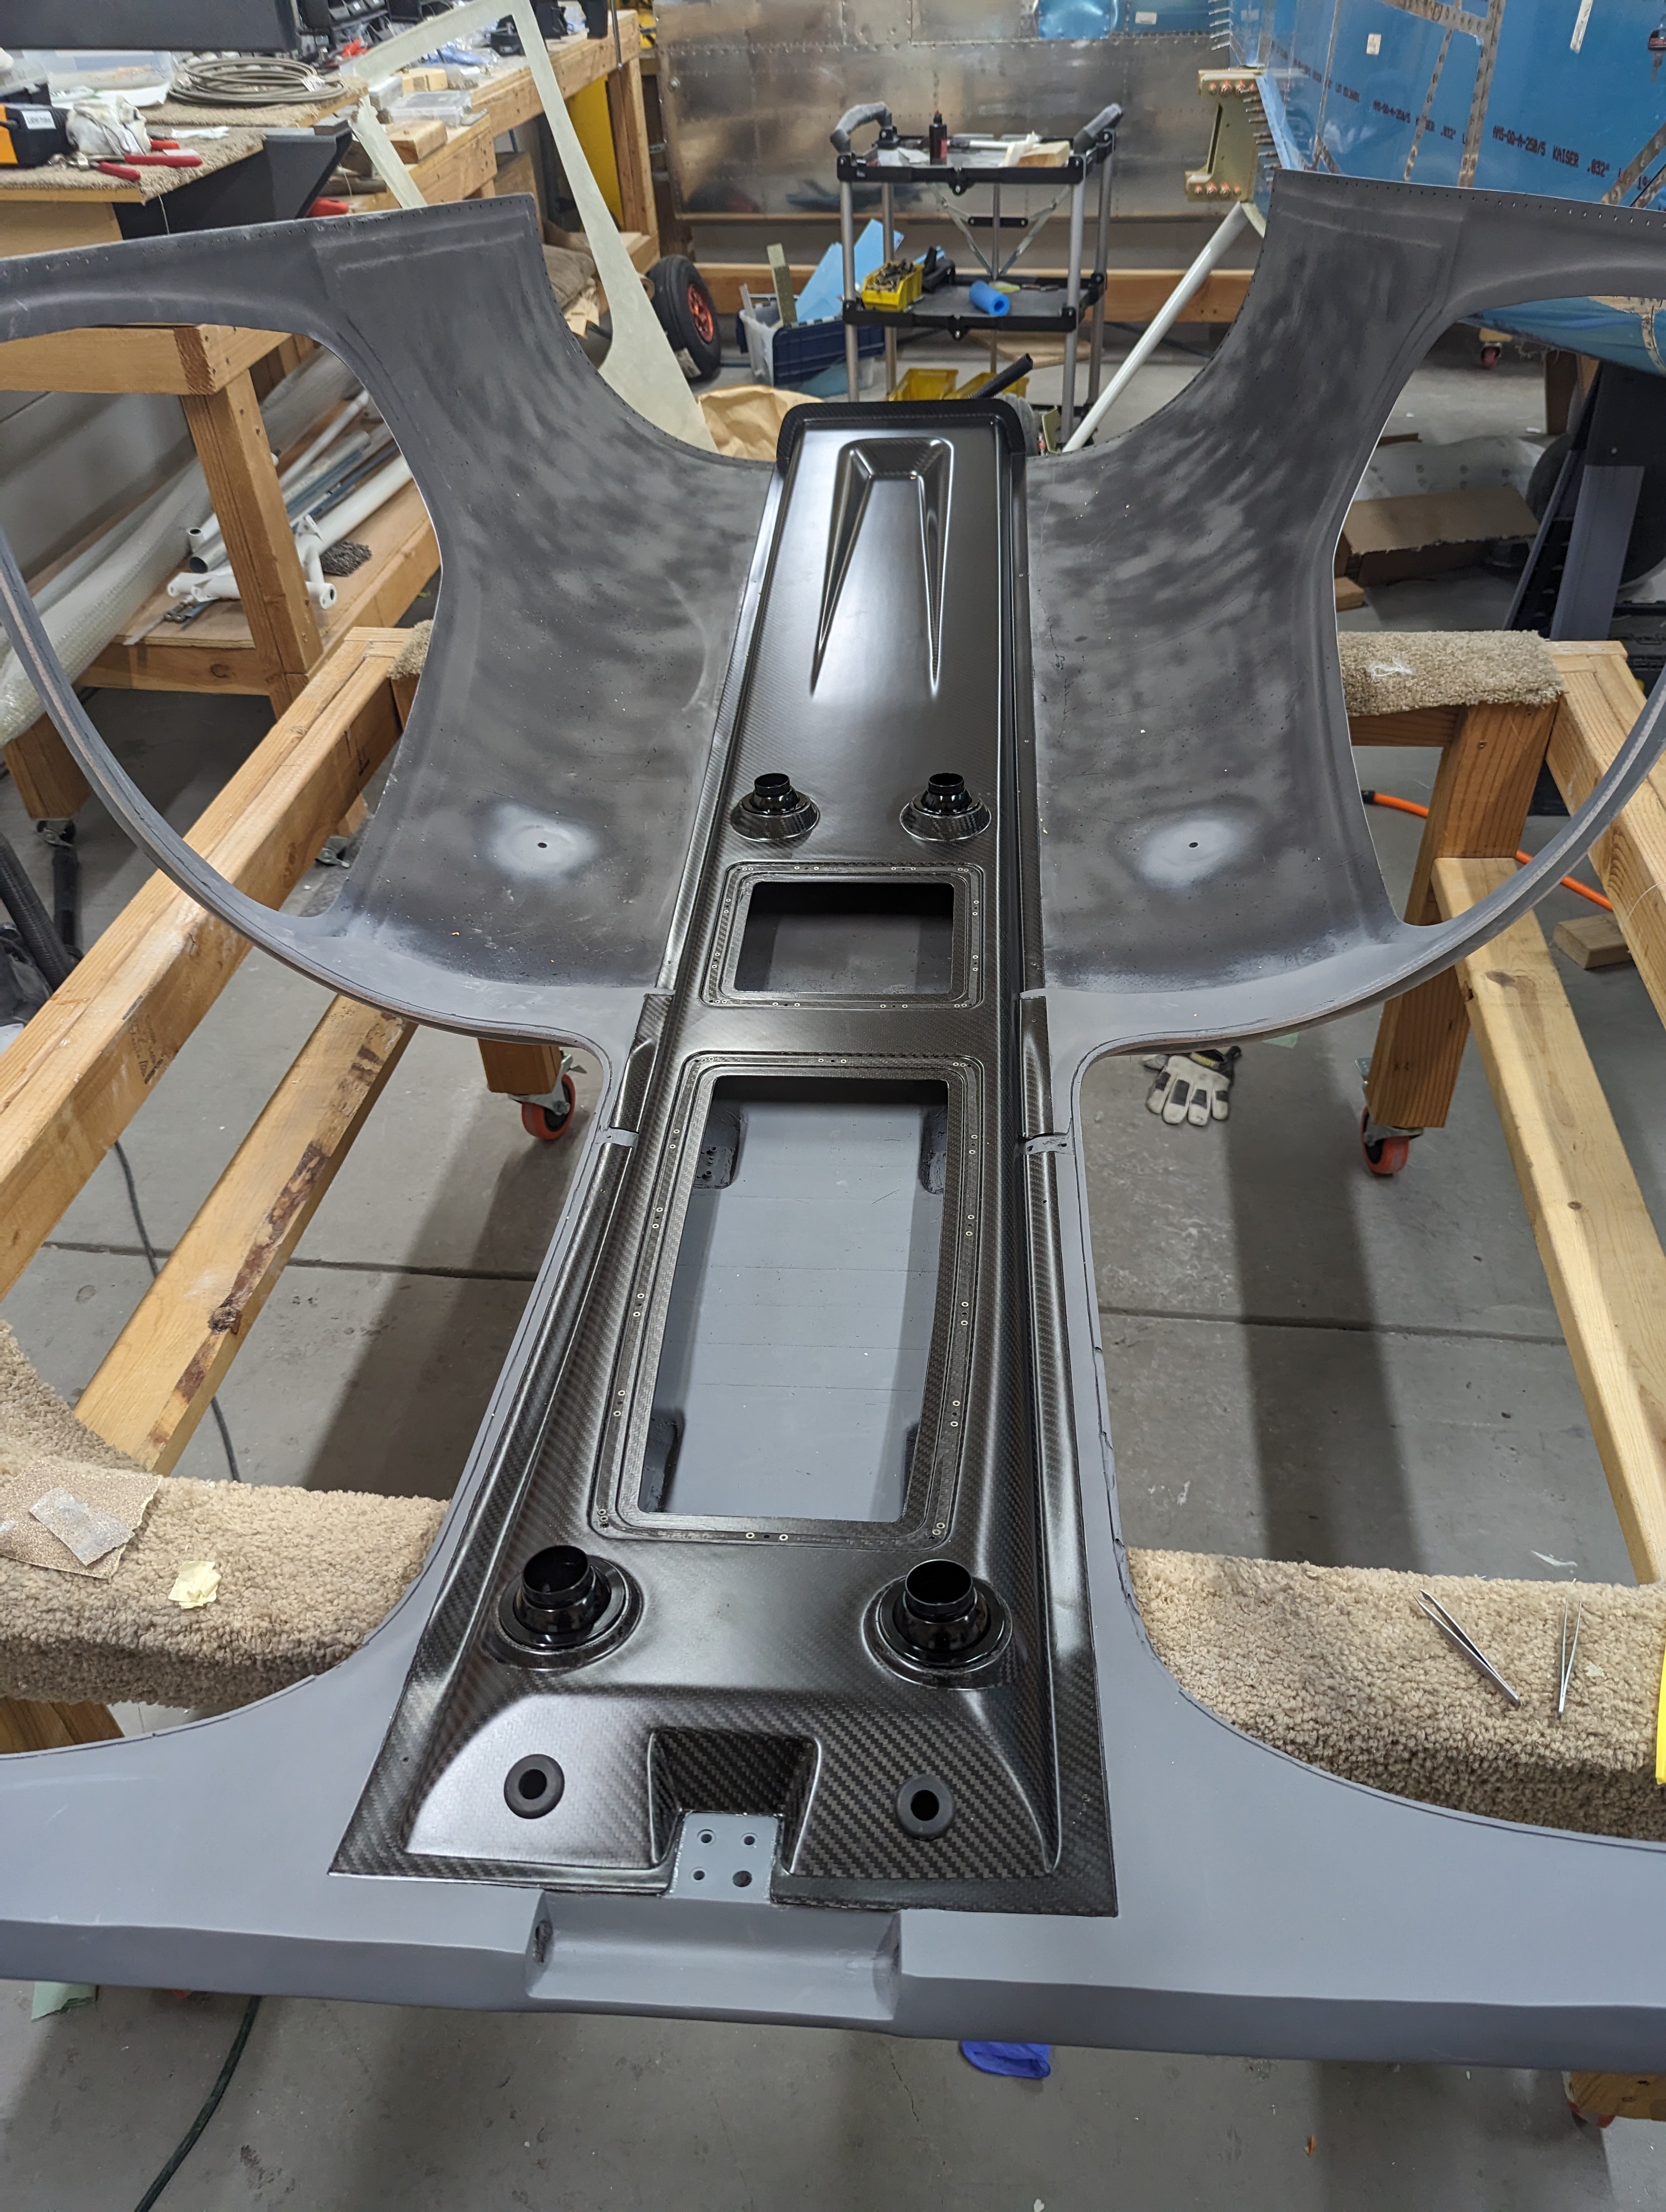
As a last step in preparing the overhead console, I attached the actual conduits to it, for running cables and wires to the tailcone through the area that's hard to access:
Overhead console with conduits attached
Forward portion of the overhead console where the conduits terminate
It was then finally time to attach the overhead console for good - we sanded sanded the attachment surface so it'd bond to the fiberglass directly, protected the edges to prevent any resin getting onto the finished parts, then used resin and flox to attach it (and after it was fully cured, we tested the attachment and it's strong enough that we can lift the whole cabin cover by it):
Cabin cover surface ready for attaching the overhead console
Applying tape to protect the edges of the overhead console from resin
Applying resin with flox to the overhead console
Overhead console clamped down in place for curing
Overhead console after final attachment
It was then time for the headliners - the process is pretty straightforward and the Aerosport YouTube videos do a good job at explaining it - trim the fiberglass substrate, glue the headliner fabric to it (we found out that the time you wait between applying the adhesive and actually attaching it is critical, especially for the back part - 15 min worked well for us with the Permatex adhesive), trim the fabric more, cut strips for the curved portions, fold it all to the back, let cure, then apply the rubber edge grommet around the window and attach with velcro:
Headliner substrates trimmed to fit the cabin cover and overhead console
Trimming headliner fabric from the headliner substrate
Folding headliner fabric around the edges of the substrate
Attaching edge grommet around the window opening
Headliner with velcro, ready to attach to the cabin cover
Visible side of the headliner
Headliners attached in place
Velcro backing for the headliners
For the lowest and highest velcros, we attached them to the cabin cover first, to avoid the cabin cover rivet strips and the edge of the overhead console:
Velcro strip running next to the cabin cover's rivet strip
The last step was to open up a 3/8" hole through the headliners for the seat belt attachment. The headliner kit comes with spacers (which double as additional attachment for the headliner), though those were surprisingly poorly finished (rough outside surface, too small hole by about 1/128") so they needed some attention too:
Seatbelt attachment spacers inserted in place through the headliners
Seatbelt attachment spacer finish - before (right) and after (left)
With this, the cabin cover is finally 100% ready to attach to the fuselage! (once we finish those wheel pants and lower the fuselage back onto the wheels, that is)


No comments:
Post a Comment