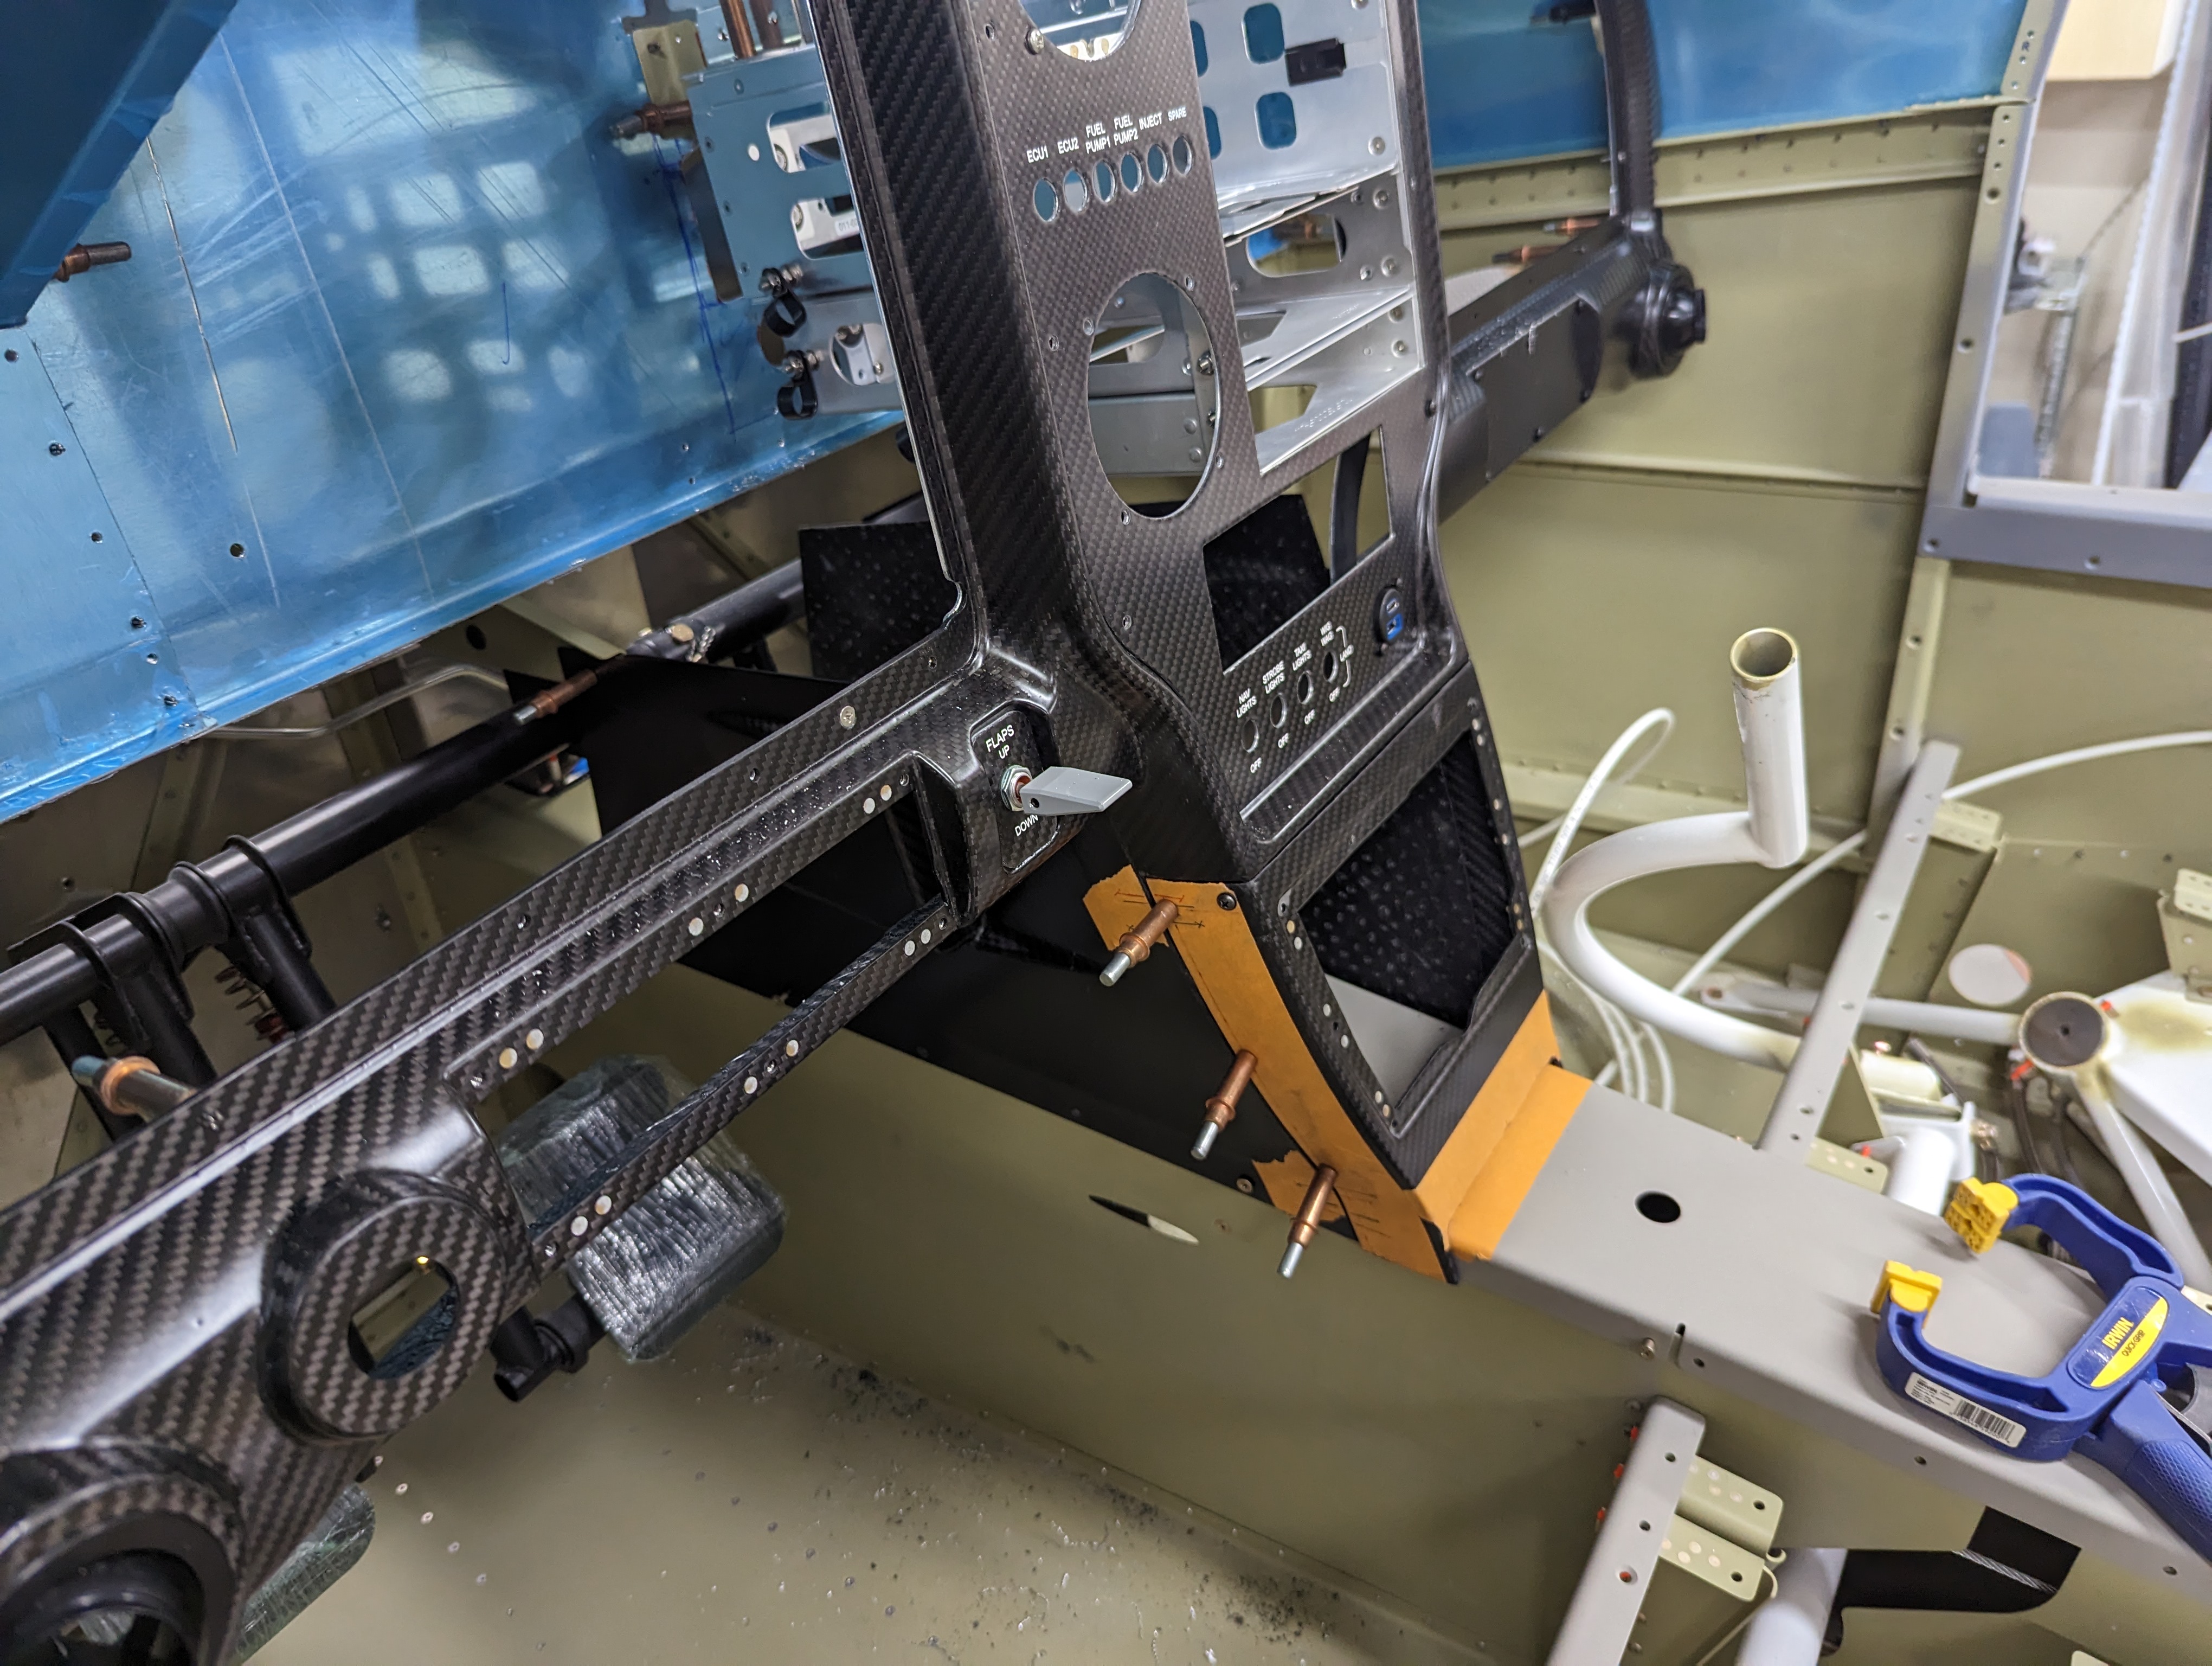
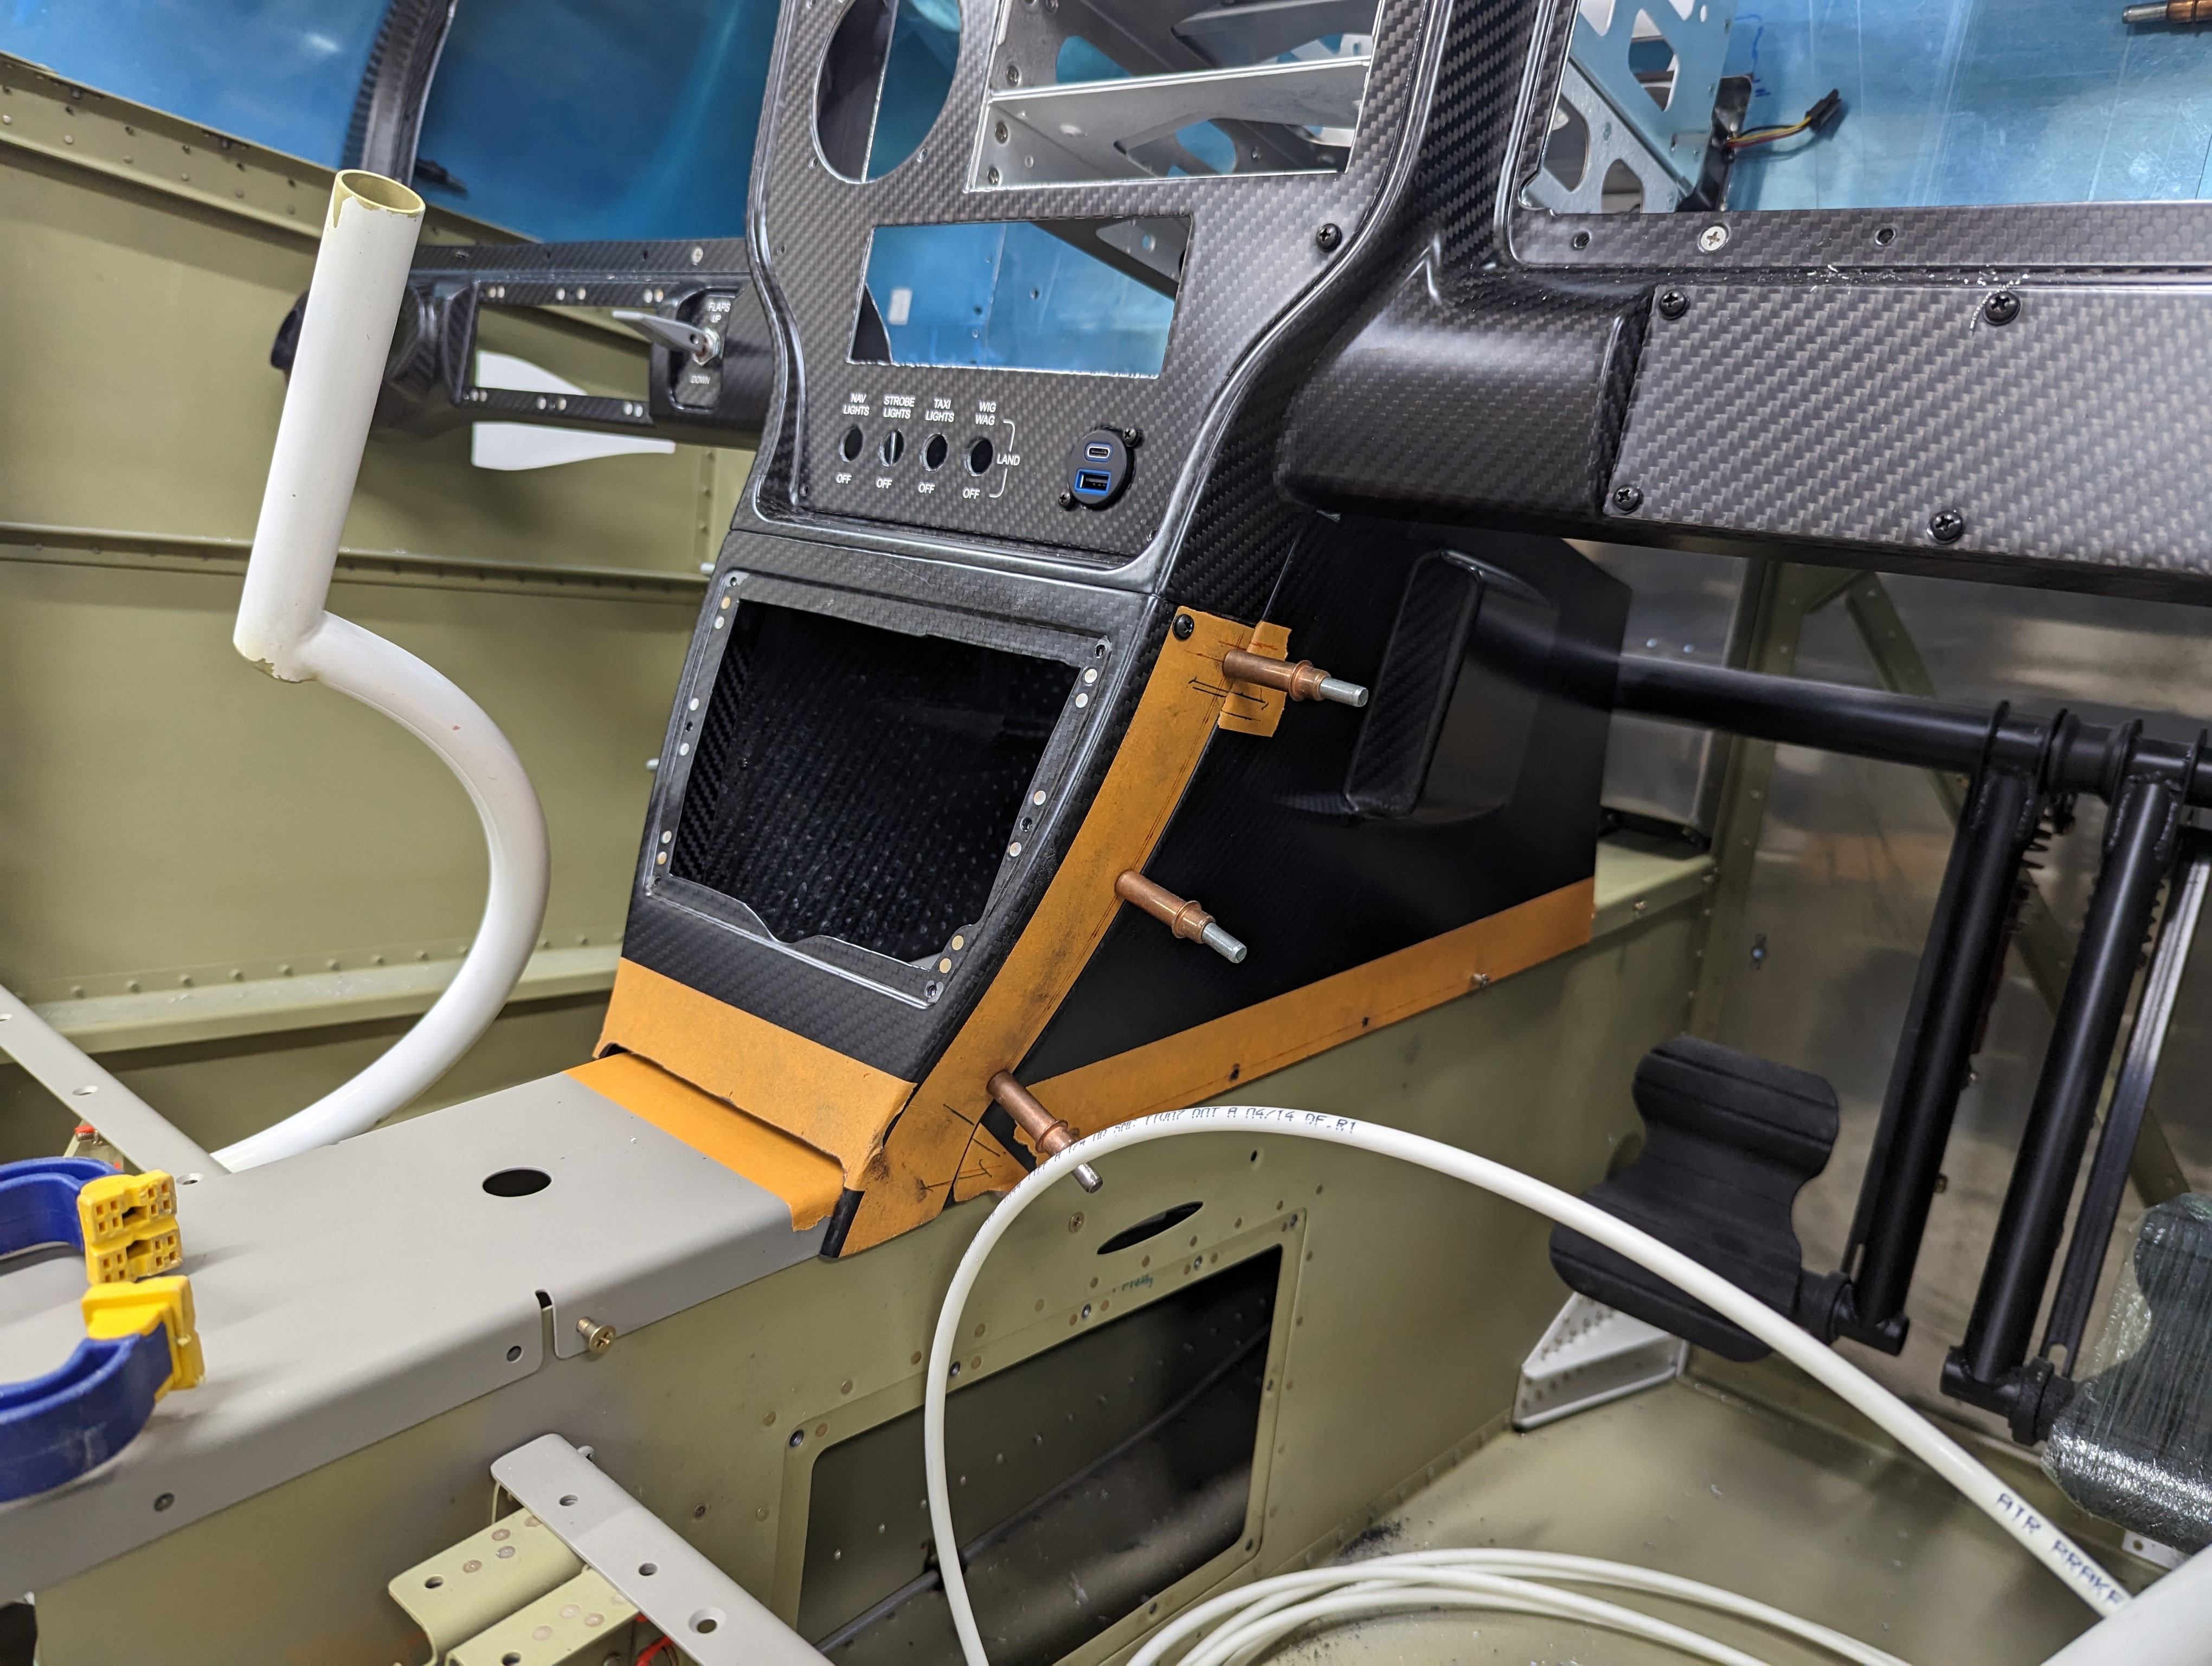
I installed a nutplate to hold the center console side panel:
Nutplate to hold center console side panel
We used the windshield (even without trimming) to mark a line of the inside of the top forward skin so we want to apply primer/paint on it (and later do a first cut of the glareshield material to it):
Windshield in place to mark glareshield area
Forward fuselage top skin with glareshield area cleared of vinyl for primer
Forward fuselage top skin being protected with tape in non-primed/painted areas
Painting the visible parts of the forward fuselage top skin
Primed and painted forward fuselage top skin
Forward fuselage structure assembled together
Forward fuselage structure riveted together
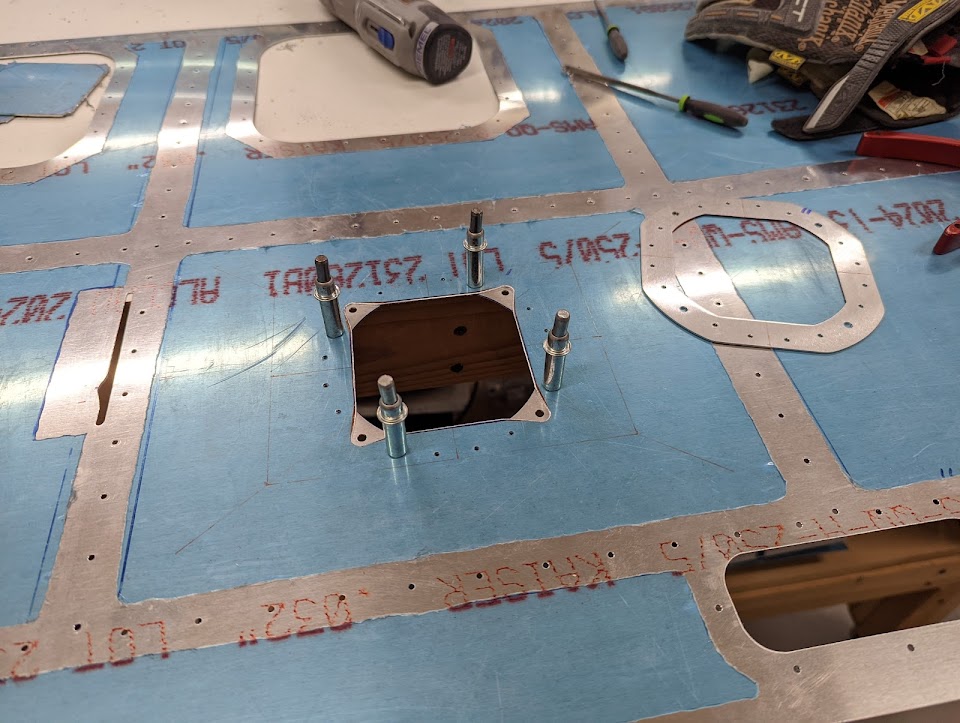
Cooling/defrost fan doublers riveted in place
Panel attachment flanges and nutplates riveted in place
With this, section 31 is complete, except for the bracket that holds engine cables which I'm not yet sure I'll need. Actually attaching the panel to the fuselage is part of the later section 41, which I'll do after the firewall layout is complete.
I haven't been too good at keeping the posts here going - this one should've gone out in December, and there's a lot of other work we've done that I haven't posted yet.
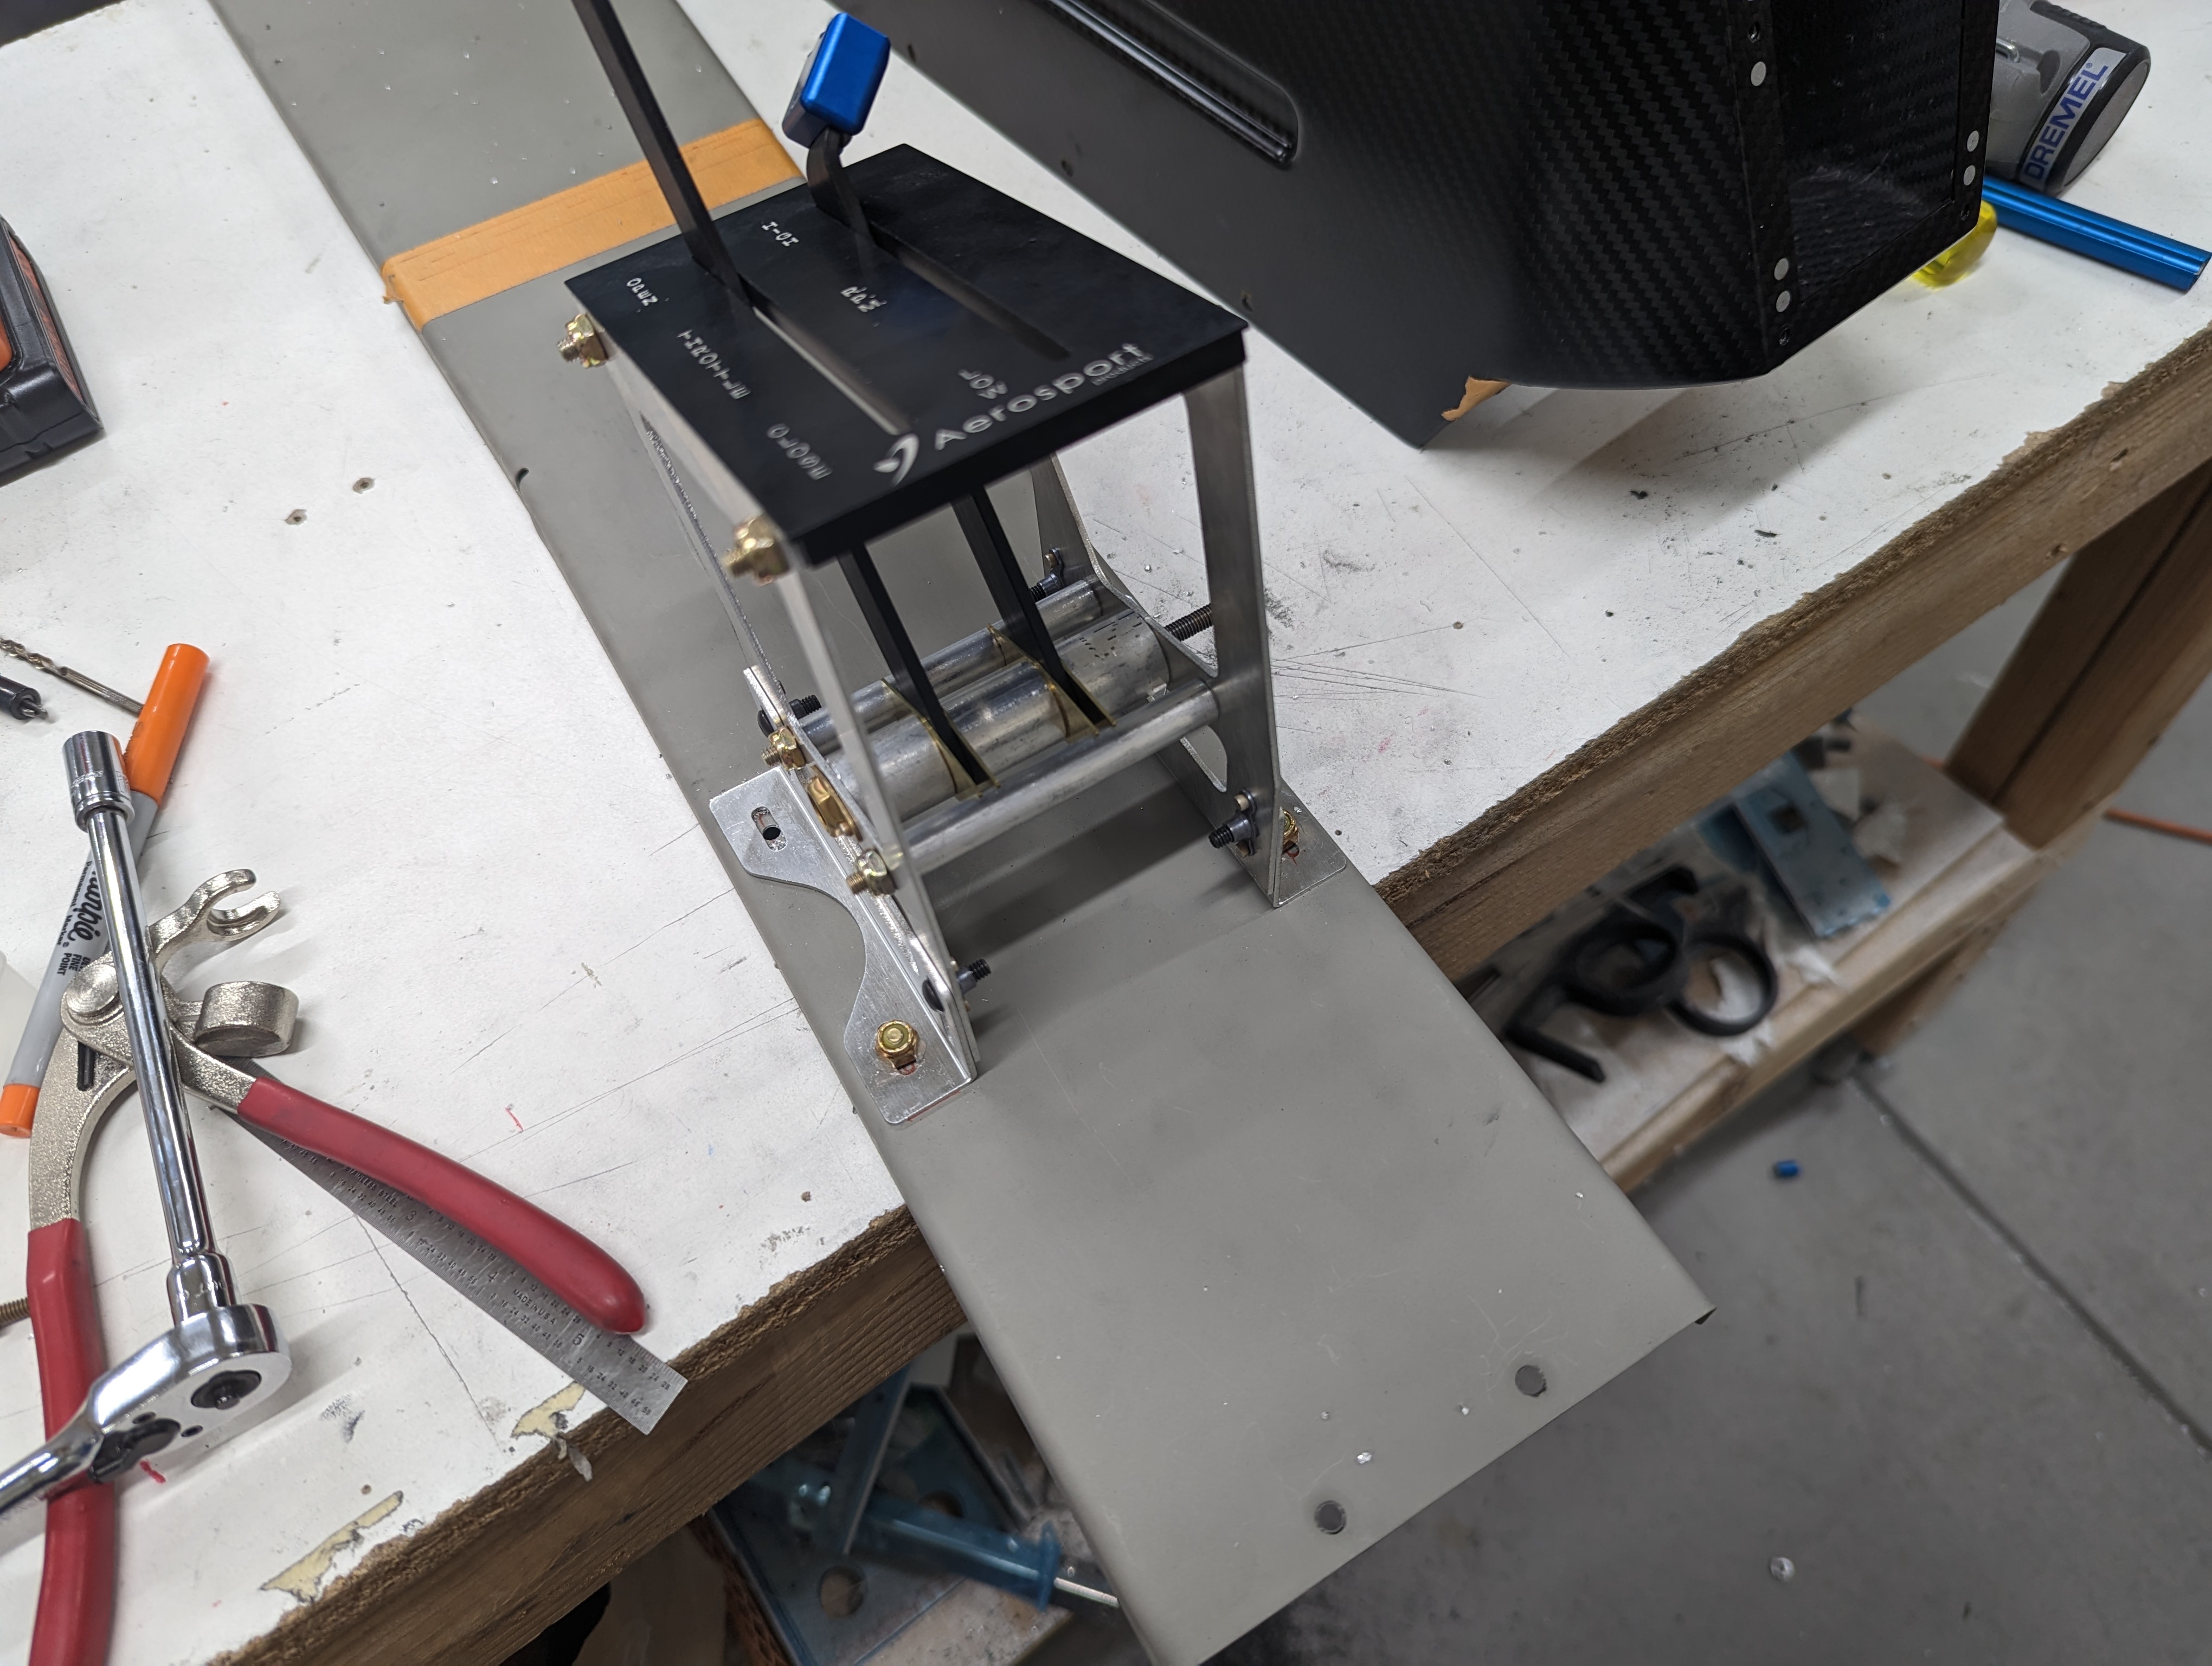
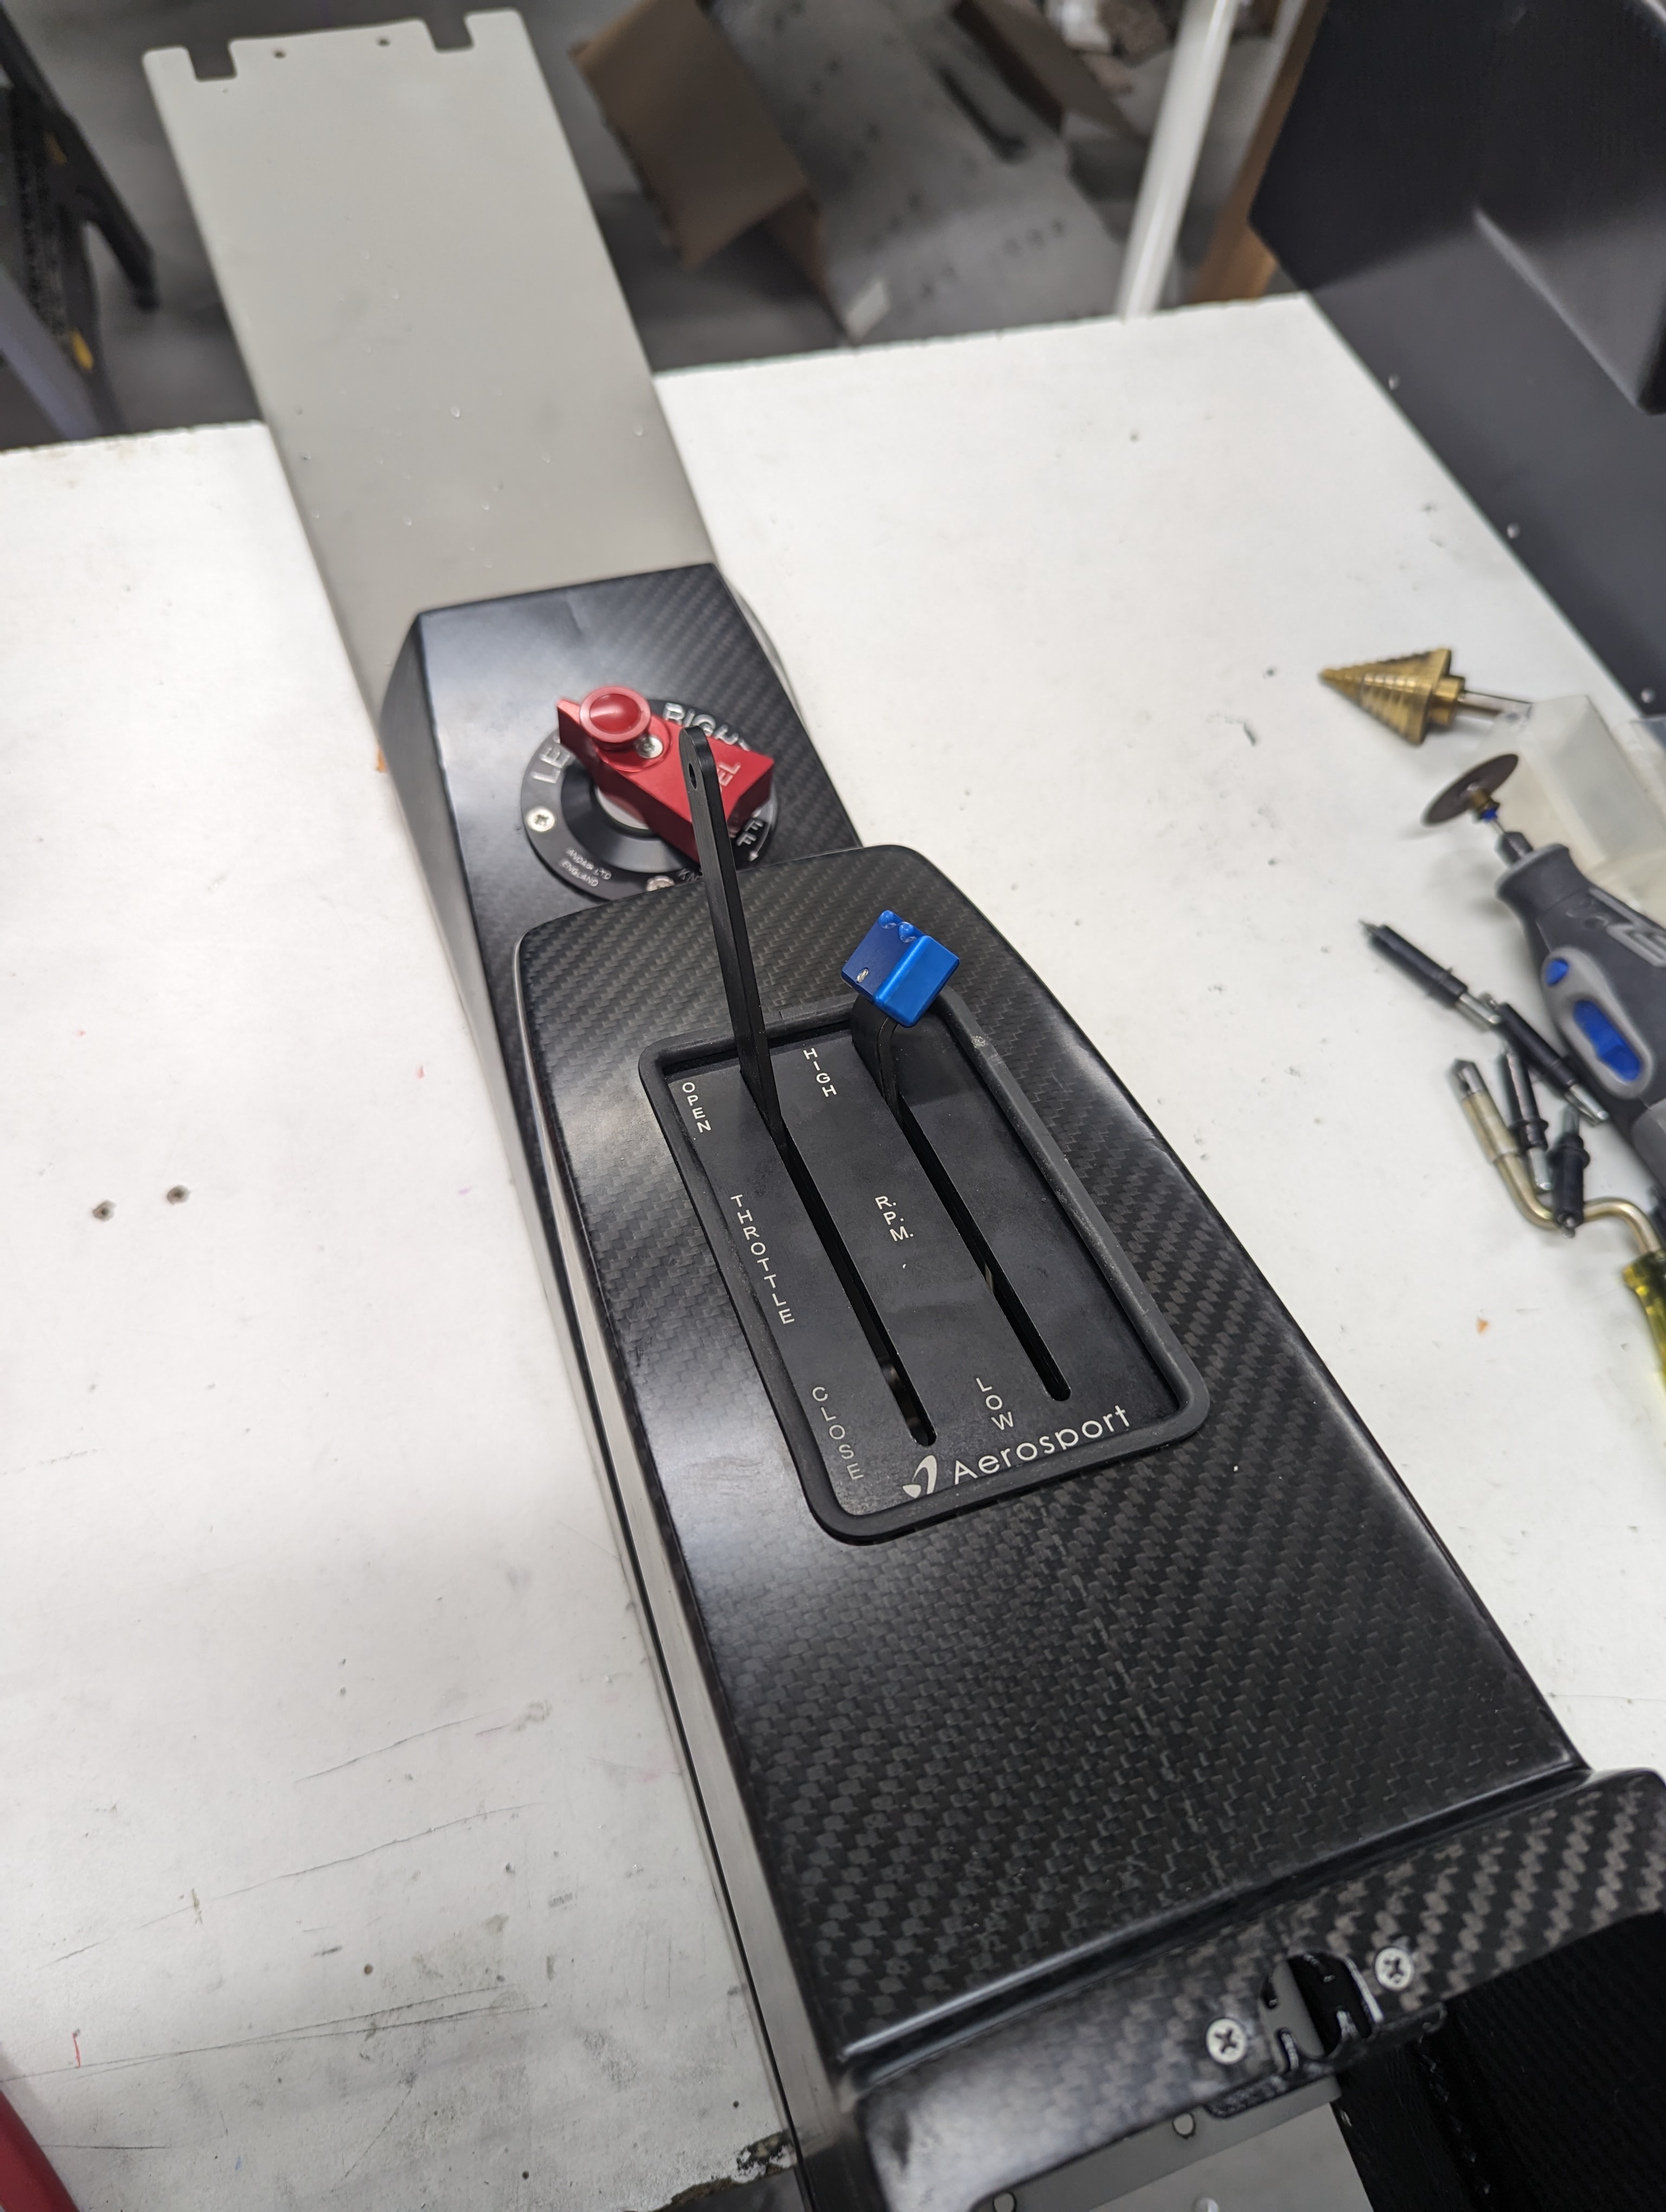
I match-drilled the throttle quadrant to the tunnel cover and adjusted it to be flush against the center console:
Throttle quadrant attachment match-drilled into tunnel cover
Throttle quadrant adjusted to center console
I also attached the headphone cord clips to the center console:
Center console insert with cord clips installed
We then primed and riveted the subpanel and nutplates for attaching the avionics:
Subpanel parts primed
Subpanel riveted together
The only part remaining for this section is actually riveting the subpanel and skin to the fuselage, which I'll do after the firewall penetrations are ready.
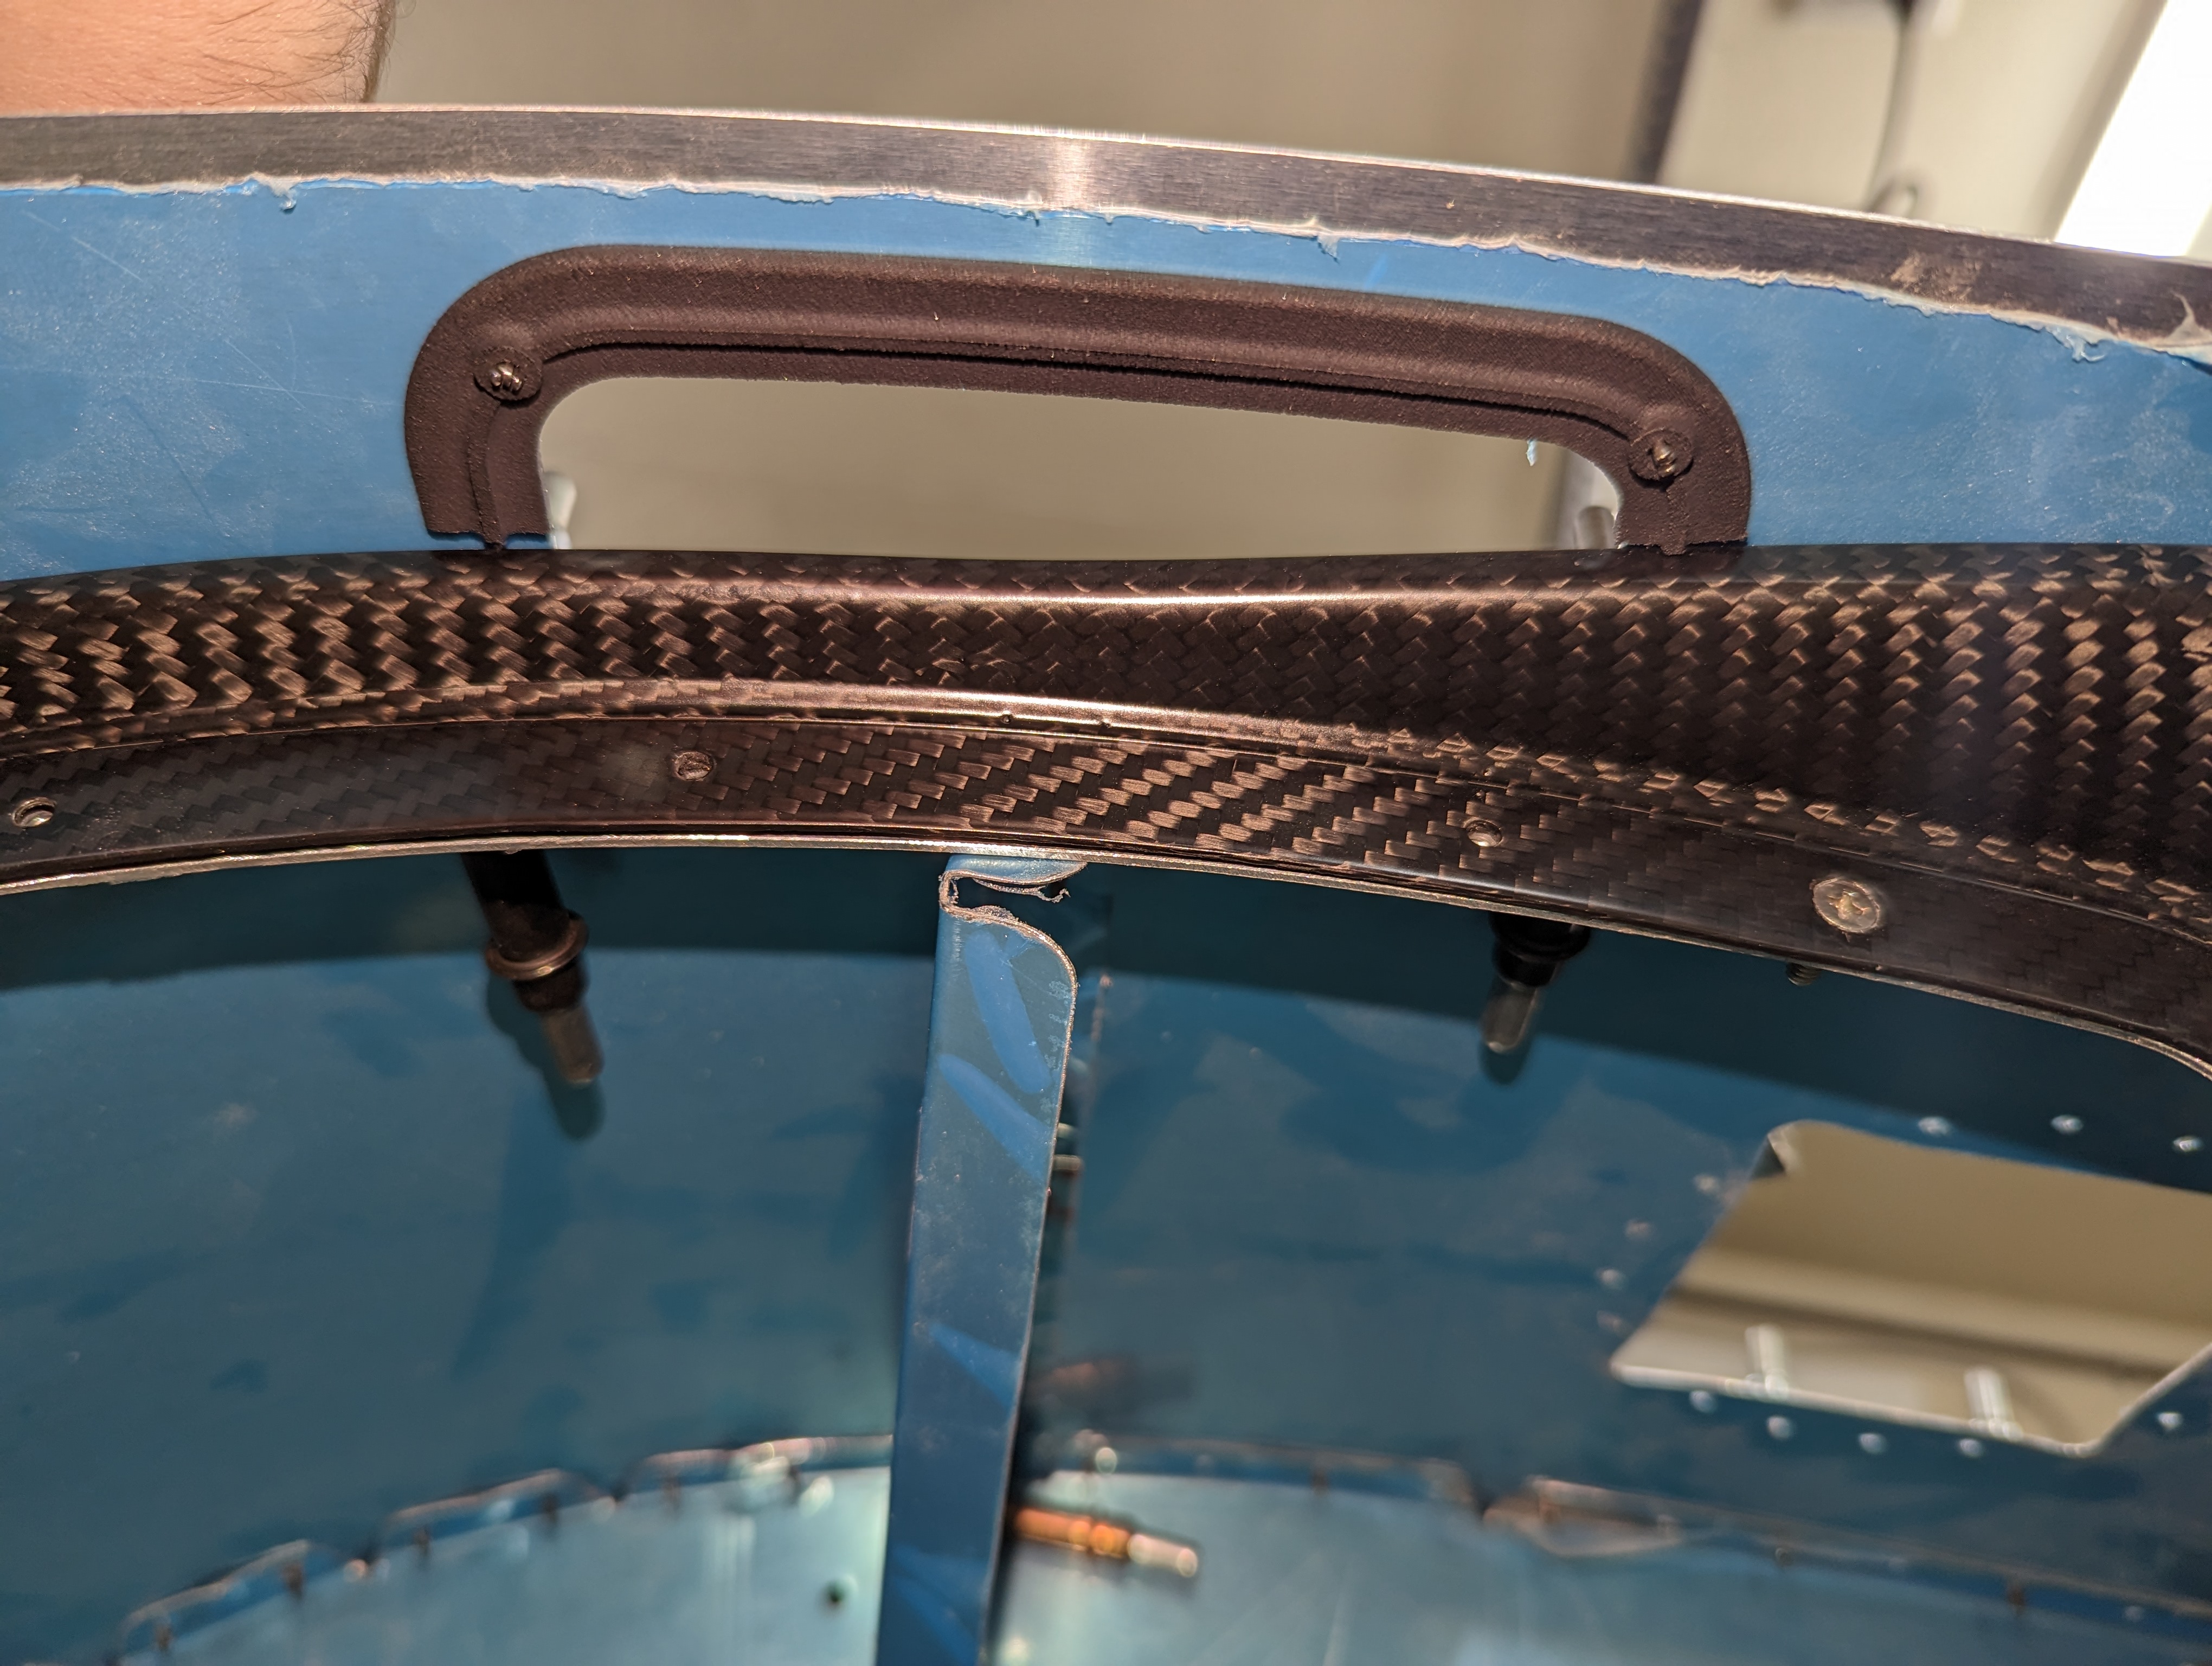
I continued work on the panel by attaching more of the Aerosport parts, starting with the handhold guards - these are straightforward 3D printed parts, though they did require some trimming to make the stock handhold doubler fit within its edge (to the point that one of the rivets will have to go on the skin underneath only):
Hand hold cover clecoed in place
Bottom support for the hand hold cover, trimmed to not hit the panel
Hand hold doubler trimmed to fit inside the hand hold cover
Finished hand hold doublers and covers
It was then time to attach the bottom side panels - aligning them took a few attempts, since the ideal position that makes them fit flush where they curve also made them too high to attach to the tunnel cover - so I lined up with the tunnel cover instead, and likely nobody will ever notice the small offset around the curve (minor annoyance - there's no such thing as a #19 strap duplicator! Had to use a #21 then final-drill):
Bottom side panels match-drilled in place
Multiple attempts at marking heights for the side panels
Side panels attached in place
With the side panels attached, the panel was finally stiff and the bottom center panel had a definite position, which allowed me to get started on the center armrest console. I started by making the hole and slot for the throttle quadrant adjustment knob (that adjusts how stiff the quadrant is):
Open slot for throttle quadrant adjustment in center armrest
I then proceeded to align the armrest right up against the center bottom panel and flush with the tunnel covers, and match-drill it with a strap duplicator:
Armrest console attached in place
I left a few holes out from the armrest - notably the holes that were right next to other holes, the 4 aft holes on the second (third since I split the first) section of the tunnel cover, and one more up front. These were dimpled so I can secure the tunnel covers before the armrest is attached, and helped keep the tunnel covers in the right position for match-drilling:
Tunnel cover with some dimpled holes for securing underneath the armrest console
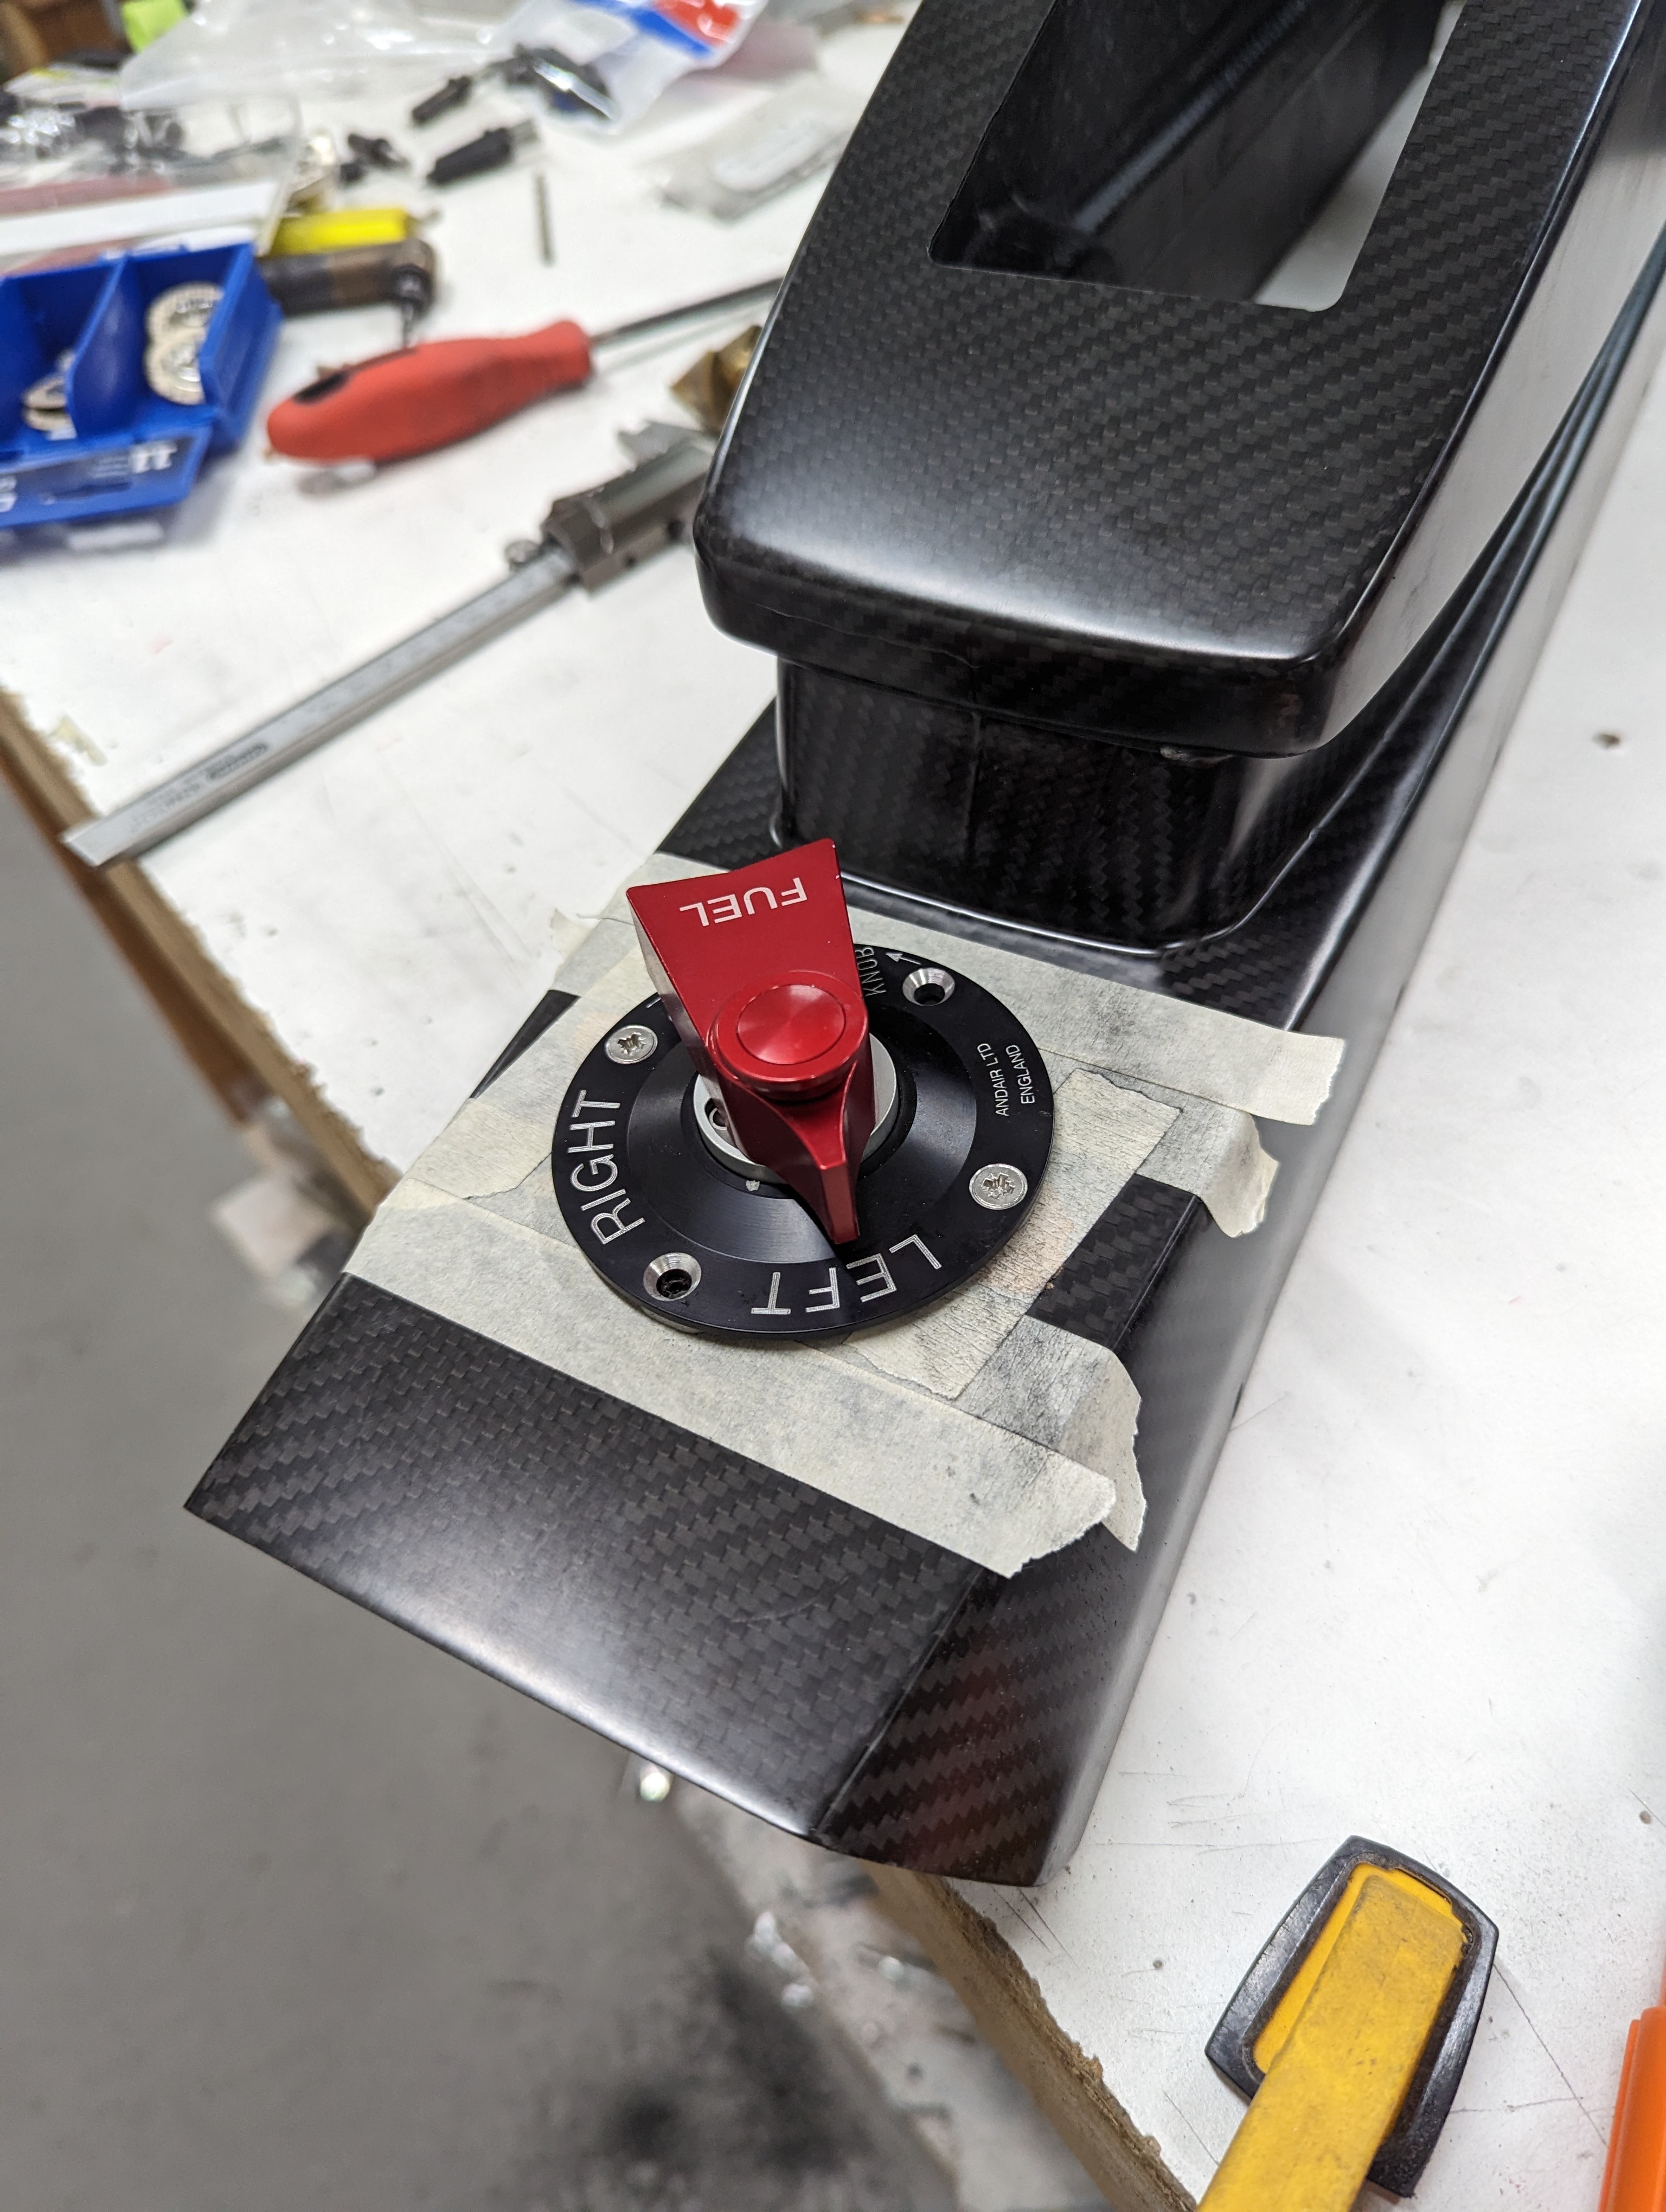
Finally, I worked on the fuel selector - first by marking and drilling a 1/2" hole through the tunnel cover opening (per Ed Kranz video), then initially trimming the valve extension flush with the armrest and enlarging the hole to 7/8", which let me attach the valve lever in place and measure more precisely how much more I had to trim the extension:
Fuel valve extension hole, with extension trimmed flush to the surface
Fuel valve lever attached to extension through armrest hole (still a little proud)
I trimmed the extension to the final length, then with the valve lever flush against the armrest (and attached to the valve underneath, but with all parts of it still on top) I marked and match-drilled the screw holes for the cover plate:
Fuel valve lever cover plate holes being match-drilled into armrest
Final length of the fuel valve extension after trimming - 4.038"
Finally, I disassembled the lever and mounted it properly, with the supporting structure underneath the surface:
Fuel valve extension installed in place
Next will be the quadrant attachment and attaching nutplates to those side panels.
I received the Aerosport 310 panel (along with the rest of my avionics), so I started working on attaching the panel to the upper forwad fuselage. This meant cutting down the bottom panel brackets to attach only to the sides, and trimming the top of the panel a bit so it wouldn't hit the skin:
Heavily trimmed F-1003B bracket for attaching the panel
Panel attachment with the modified bracket
Forward side of the modified panel attachment bracket
Aerosport panel metal substrate clecoed in place
With the panel in place, I also attached the center panel attach flanges - the holes ended up a bit higher than I'd like, but still within margins for attaching the nutplates:
Center panel attachment flanges match-drilled in place
The holes that attach the panel to the side ribs are a bit lower, and any screw there would interfere with the carbon fiber panel, so I had to countersink those.
With this and having the panel, I can get started on section 41, which will likely mean some major surgery for the GTN to fit.
I haven't posted in quite a while because my NAS (where I keep all my building videos and my Final Cut library) stopped working, and it took me a while to get a new one and set it up:
New NAS, where I keep (among other things) all the videos I post here!
With that resolved, I'll be making a batch of posts with everything we did in the last couple of months.
I jumped ahead to section 31 so that I could match-drill the top skins to the upper fuselage side channels and machine-countersink those before priming or riveting the side skins, to avoid interference.
This section starts with cutting and fabricating a few different angles/spacers:
Fabricated angles and spacer for the subpanel
We then had to bent the lower part of the panel:
Bending the bottom flange of the subpanel center section
We put it all together and final-drilled all the holes:
Final-drilled subpanel
Subpanel clecoed in place
Subpanel and top skin clecoed in place
The hand hold doublers require some forming to lay flat against the top skin:
Forming the hand-hold doublers onto the curved top skin
For the panel support angle, I used a center line on the spacer to keep it centered, then match-drilled the holes:
Aligned centerline on the panel support angle spacer, ready to match-drill
Match-drilled panel support angle
These steps were more than sufficient to be able to machine-countersink the upper fuselage channels, so I stopped at that - I'll probably get back to it much later when I work on the panel.