Started interior panels and lights

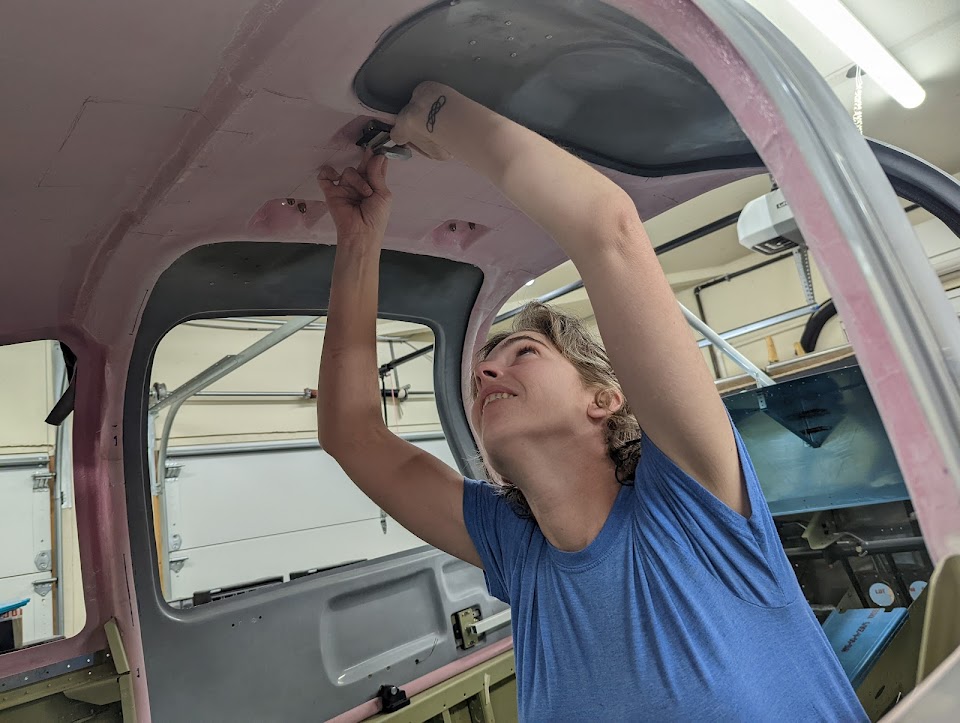
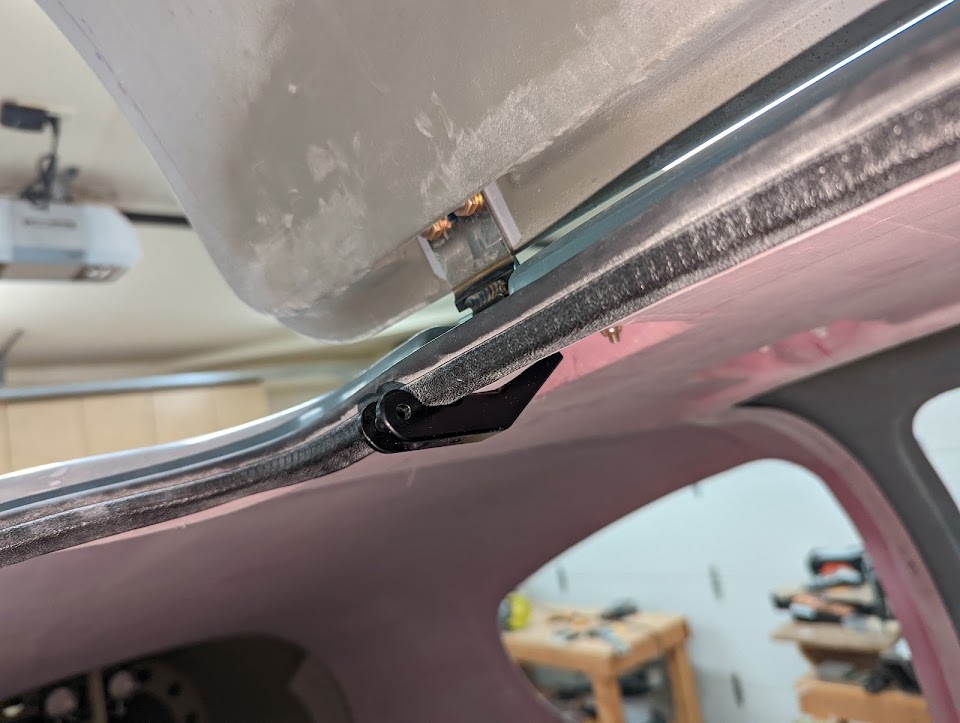
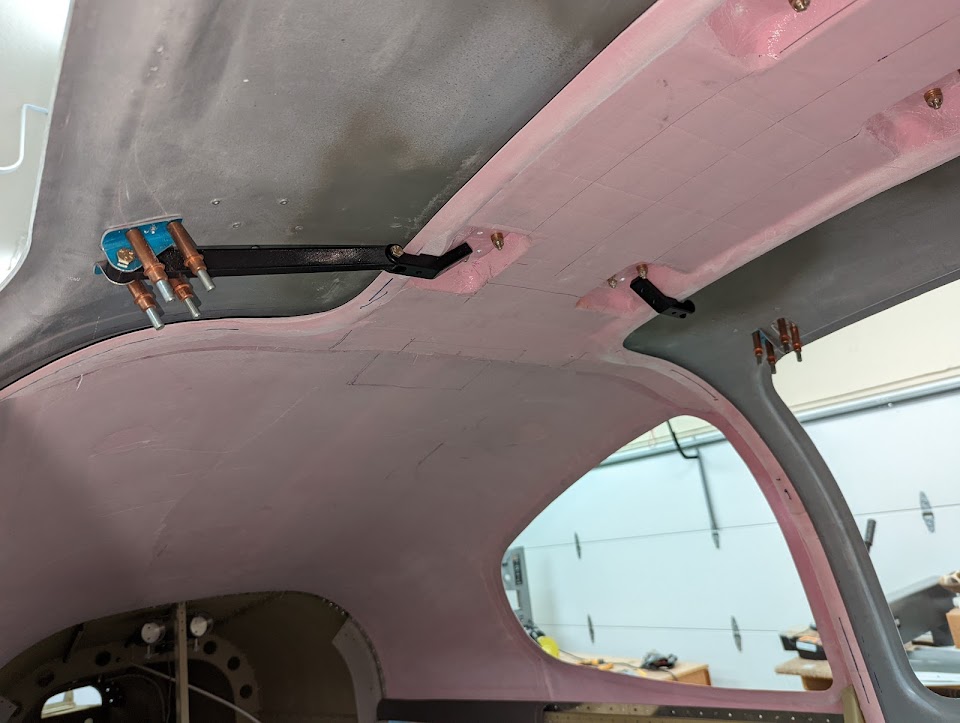
I got my interior lights from Aveo, and verified that their Dome does fit well in the seat back brace closeout:

Aveo Dome light attached to a hole of the seat back brace closeout

I also got my interior panels from Aerosport, and started the process of fitting and attaching them. They get attached by surprisingly few screws (some of them going through the longeron), but once that's done they actually feel pretty firm.

Left rear and baggage panels in place

While it's true that there's not a lot of trimming to be done on these parts in terms of dimensions, the little trimming that's required needs to be done very slowly since there's no way to add back material if one removes too much, plus it takes some fiddling to adjust their alignment among themselves and with the airplane structure - for one, because plastic is flexible so they align a bit differently depending on how you hold them. After a lot of small adjustments, I got a pretty good fit:

Overlapping joint between the right rear and right baggage interior panels

Right interior panels attached in place after trimming

I still need to attach some of the nutplates for these panels (which will be easier to do once the cabin cover is off again), and haven't started work on the front panels yet, but the rear and baggage panels are done.

Time lapse:


Total access cover and floor panel rivets: 526
Total access cover and floor panel time: 39.4h

Door gas struts and more

We finally got around to attaching the gas strut brackets. To line them up, we used a center line through the hinge reinforcement plate, since that aligns with the hinge screws. We had to use the original Vans bracket for drilling (since the PlaneAround brackets are tapped).

Reinforcement plate with a centerline marking for aligning the gas strut attach bracket

Marking the exact alignment of the gas strut attach bracket

Gas strut attach bracket in place with the McMaster seal

Gas strut attach bracket successfully installed and fits the McMaster Seal!

Gas strut mockup 

Door held open by gas strut

I also finished riveting the hinge reinforcement plate nutplates:

Door hinge reinforcement plates with nutplates riveted to them

and trimmed the Aerosport latch cover (since for some reason, they didn't design it to fit with their own handle kit?):

Aerosport latch cover trimmed for their low-profile handle kit

Next I plan to adjust the gaps around the doors, then the cabin cover can finally come off one last time for finishing.

Time lapse:


Total cabin door rivets: 104
Total cabin door time: 156.8h

Empennage attach done for now

After detaching the rudder and vertical stabilizer (hopefully for the last time before final assembly), I started to comply with SB 18-03-30. As previously mentioned, the elevators were at the high end of the required travel range (at 30˚ up, with the required range between 25˚-30˚), but at that position they weren't being stopped by the flanges of the horns, making compliance required:

Filed-down elevator stop angle in an attempt to comply with the SB

I measured, and if only the elevator stop angles hadn't been filed down to give the full range, then the horns would still touch them at the flange, and the movement would only be down to 28˚ up, still within the allowed range, so I removed the elevator stop angle and replaced it with a new but equal (just unfiled) part:

Removing the elevator stop angle

New unfiled elevator stop angle clecoed in place

New elevator stop angle riveted in place

I also opened up a bit of the rudder's leading edge to give room for the grounding strap without interfering with the attachment:

Grounding strap hidden behind the leading edge

Leading edge after removing additional material

New leading edge gap exposing the ground strap attachment point


Grounding strap attached to the rudder

Finally, I 3D printed the template to adjust the elevator pushrods:

3D printed elevator pushrod template with holes for clamping

Elevator pushrod template clamped in place

With this, the last steps on section 11 are now left for the final assembly at the airport.

Time lapse:


Total empennage attach rivets: 40
Total empennage attach time: 29.5h

Tailcone attachment leftovers

Ok, if I said that section 32 was complete before, I lied: there were two dimpling steps left - the top tailcone bulkhead and the corresponding skin holes - which are now also done.

Dimpling the top tailcone bulkhead

Time lapse:


Total tailcone attachment rivets: 236
Total tailcone attachment time: 23.2h