I installed the temperature probe on the left wing just behind the inspection panel:
Temperature probe installed underneath the left wing, near an inspection opening
I also inserted the insulation for the firewall passthrus. Some wires may still need to move back and forth to adjust their firewall-forward length (like the O2 sensor), so I didn't apply the sealant to it just yet.
Wires going through right firewall penetration, with insulation
Wires going through left firewall penetration, with insulation
We secured the coax cables and static tubing in the tailcone:
Static tubing and GTR and GTS coax cables secured in the tailcone
Static tubing and GTR and GTS coax cables secured in the tailcone
and then connected the pitch trim servo wires:
Pitch trim wires connected to pitch trim motor int he tailcone
After fixing the cabin cover forward conduit entrances, I ran coax cable for all the GPS and XM antennas, first just to get rough lengths cut out, then actually terminated them:
Coax cables running out of the antenna holes
Antennas insalled and connected in plce
Antenna connections inside the overhead console
For the yaw trim motor, I finally decided to mount it in the tailcone using springs connected to the rudder cables - somewhat similar to what others have done, but with a smaller Actuonix P16-100-256-12-P motor (I considered using a Ray-Allen T3-12A, but that was weaker, the same weight, lower throw, and significantly more expensive). For that, I finally ran the yaw trim position all the way to the tailcone (including some annoying surgery to add those 4 pins to the subpanel CPC):
Right panel breakout connector with yaw trim position pins installed
After some cabin cover work to clear the conduit entrances and attach the switch pod, I finally routed the overhead wires up through the conduits and into the overhead console.
Wires run through the side conduit and into the overhead console
On the next post, I'll terminate the overhead wiring.
After the panel was riveted, we finished attaching the fiberfrax to the firewall:
Firewall fully covered with Fiberfrax, minus penetration openings
Adding sealant to the Fiberfrax for attaching the titanium foil
Spreading the sealant in the firewall recess for attaching the titanium foil
Firewall fully covered with titanium foil, after initial edge sealant application
When applying sealant to the edges of the titanium, we actually made a big mess which will require significant cleanup and then sealing it up again in some parts, before reattaching the engine mount.
Messy sealant application which will need to be cleaned up
We then opened up all the same firewall penetrations through the titanium foil, which had to be done mostly with a carbide carving bit, and being very careful not to eat up the firewall steel. We also riveted the titanium to the firewall where the titanium sheets overlap:
Firewall titanium foil riveted in place
As the last remaining step from section 27 (Firewall), I also attached the heat valves to the firewall:
Heat valves installed in place, with sealant around their edges
And finally, we riveted the wire passthrus on both sides:
Firewall with heat valves and wire passthrus attached
Next we'll finish cleaning up the sealant on the firewall, and then we'll start actually getting ready to hang the engine for real.
Before final attachment of the engine mount or brake hoses, but after insulating the bottom of the firewall, we riveted the oil cooler box and insulated it:
Oil cooler box riveted to the firewall through the titanium foil
This was a small step to resolve a dependency chain where we wanted those rivets done before installing hte brake hoses, which in turn was much easier to get done before riveting the panel, which in turn had to be done before insulating the top of the firewall.
Once all insulation is done, we'll actually reattach the engine mount and hang the engine for good.
We riveted the firewall doublers to the firewall for attaching the sensors:
Firewall doublers riveted in place
Firewall, showing flush doubler rivets
With that, the bottom part of the firewall is ready to insulate (which will be the topic of a separate post, on section 46).
Meanwhile, I also match-drilled the new laser-cut/anodized O2 distributor flat back covers I had made (which, unlike the standard ones, will give me cabin cover clearance, without needing custom-length spacers), and attached them to the aft overhead panel - that made the distributors stick out the bottom just the right amount that the rubber band sealed them up for a nice finish:
New O2 distributor backing plates clamped to the original for match-drilling
Aft overhead console insert with lights and O2 distributors
Top side of the aft overhead console insert with new O2 distributor backing plates
I then match-drilled the tailcone antenna holes (COM, Stormscope) from the doublers/drilling jigs, and attached the tailcone antennas:
Top COM antenna (left), Stormscope antenna (center) and ELT antenna (right), installed in place
Connection to Stormscope antenna
Bottom COM antenna installed in place
Transponder antenna installed in place
In the tailcone, I also attached the autopilot servos:
Pitch and yaw servos attached in the tailcone
and the avionics shelf and the LRUs that go there, including terminating the GTS800 cables (with those annoying QMA connectors):
Avionics shelf attached in the tailcone
GTR20 (left), WX-500 stormscope (center) and GTS800 TAS (right) installed in tailcone, with TAS bottom cables terminated and attached
(for reference, if anyone chooses a similar antenna/GTS position than I did, the total cable lengths was around 7.6ft)
For routing the Stormscope cables, the autpilot servo cables, and the transponder antenna cable, we attached some Clickbond fasteners just below the shelf (conveniently using the lightening hole on the shelf for one of them, and avoiding the GTS attachment nutplates):
Tailcone avionics shelf with Clickbond fasteners underneath it
We then started working on the GPS/XM antennas, that go inside the overhead console (extra annoying to position doublers):
GPS antennas sitting in place on the cabin cover
All top antennas - GPS (x3), COM, Stormscope and ELT
I started preparing the wire bundles to run from the tailcone forward, starting by de-pinning the forward side of all of them, and reducing the sleeving to be just about the length that takes them into the conduit, then splitting the WX-500 wires from the GTR20 wires (for some reason SteinAir put them in the same bundle, at a random distance which doesn't match my layout):
Single bundle with GTR20 and WX-500 cables made by SteinAir
GTR20 and WX-500 wire bundles after splitting them
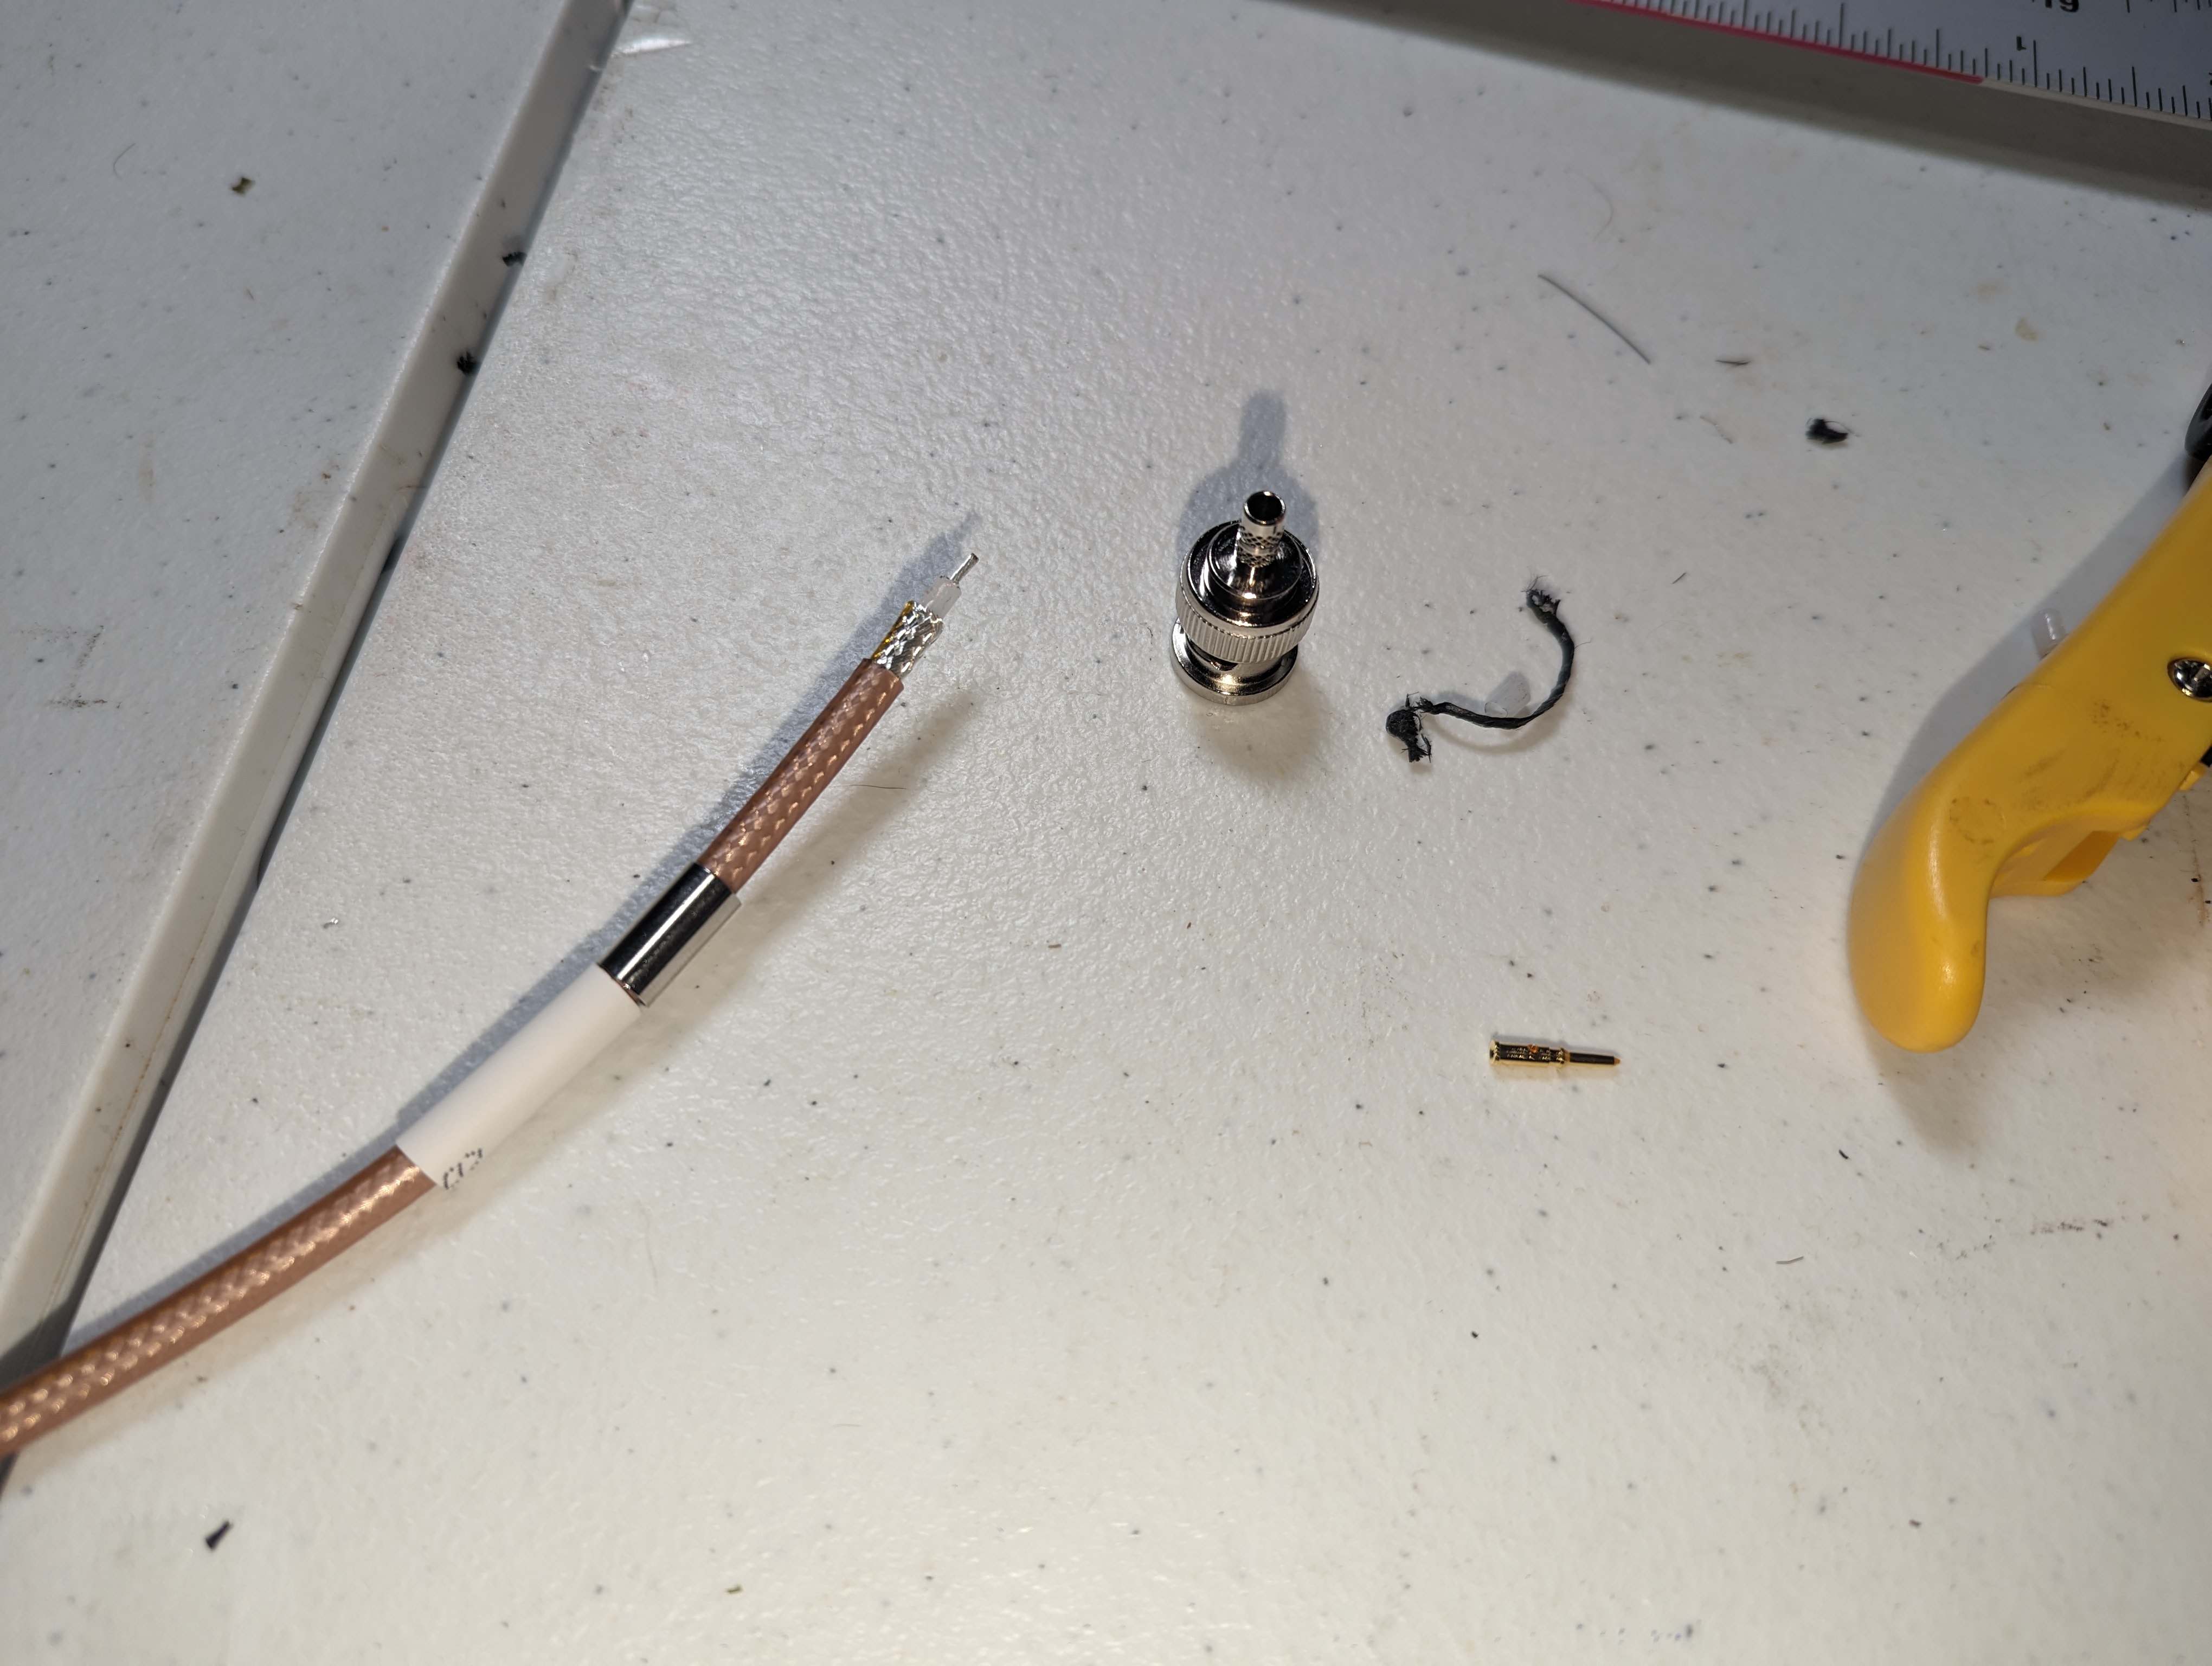
Still in the tailcone, I made the GTR20 antenna cable (from a leftover 4ft piece of coax):
Trimmed-back coax cable and connector ready for crimping
GTR20 connected to its antenna
Once the panel was riveted in place, we also started installing components there, like the AFR and alternator regulators:
Spartan3 AFR sensor controller installed in place
Alternator regulators installed in place
Still lots left to do in avionics - next is actually running all wires between the tailcone and panel.
Now that all firewall attachments (holes, doublers, nutplates, etc.) are done, we finally started the firewall insulation, using the fiberfrax+titanium foil method that's documented in many places (here, here, here/here/here). We started by taking a mold of the firewall and cutting 3 strips of titanium to be attached vertically, the center one having folds and cuts to fit into the recess:
Taking a paper mold of the firewall for cutting titanium
Measuring the cuts on the center part of the firewall titanium
3 parts of titanium foil covering the firewall (not final-trimmed yet)
We left about 1.5" of overlap between the center titanium foil and each of the other two - could've been just 1", but I wanted some room to have rivets holding it down without hitting the flanges that are against the recess on the inside.
The Fiberfrax, in addition to its impressive thermal conductivity (or lack thereof), turned out to be a very easy, mat-like material:
Roll of Fiberfrax
To attach it, we cleaned the firewall with acetone, marked areas where we didn't want the fiber (basically places where some part contacts the firewall), then spread drizzles of Firebarrier 2000 on the rest, and especially near the edges of where the fiber would be - then we cut out the unwanted parts with an exacto knife (again, the Fiberfrax is very easy to cut, it doesn't tear if you're careful):
Applying Firebarrier 2000 to the firewall, to attach the fiberfrax
Fiberfrax attached to bottom part of the firewall, minus cutouts for firewall components
At this stage, we also had a circular dependency - that we wanted to rivet the oil cooler mount (section FF1) and attach brake hoses (section 38) near the firewall before attaching the panel (section 41), but also had to insulate the firewall before riveting the oil cooler mount - by simply doing the bottom-left part of the firewall first, then riveting/attaching hoses and the panel, then insulating the top part of the firewall:
Bottom-left section of the firewall insulation attached in place
I'll be posting separately about those sections, and the next step on this section will be attaching the rest of the titanium foil and top part of the fiberfrax.