There's a bit of fabrication in section 44 before actually attaching the wings, so even though I'm not in the hangar yet, I got started with that.
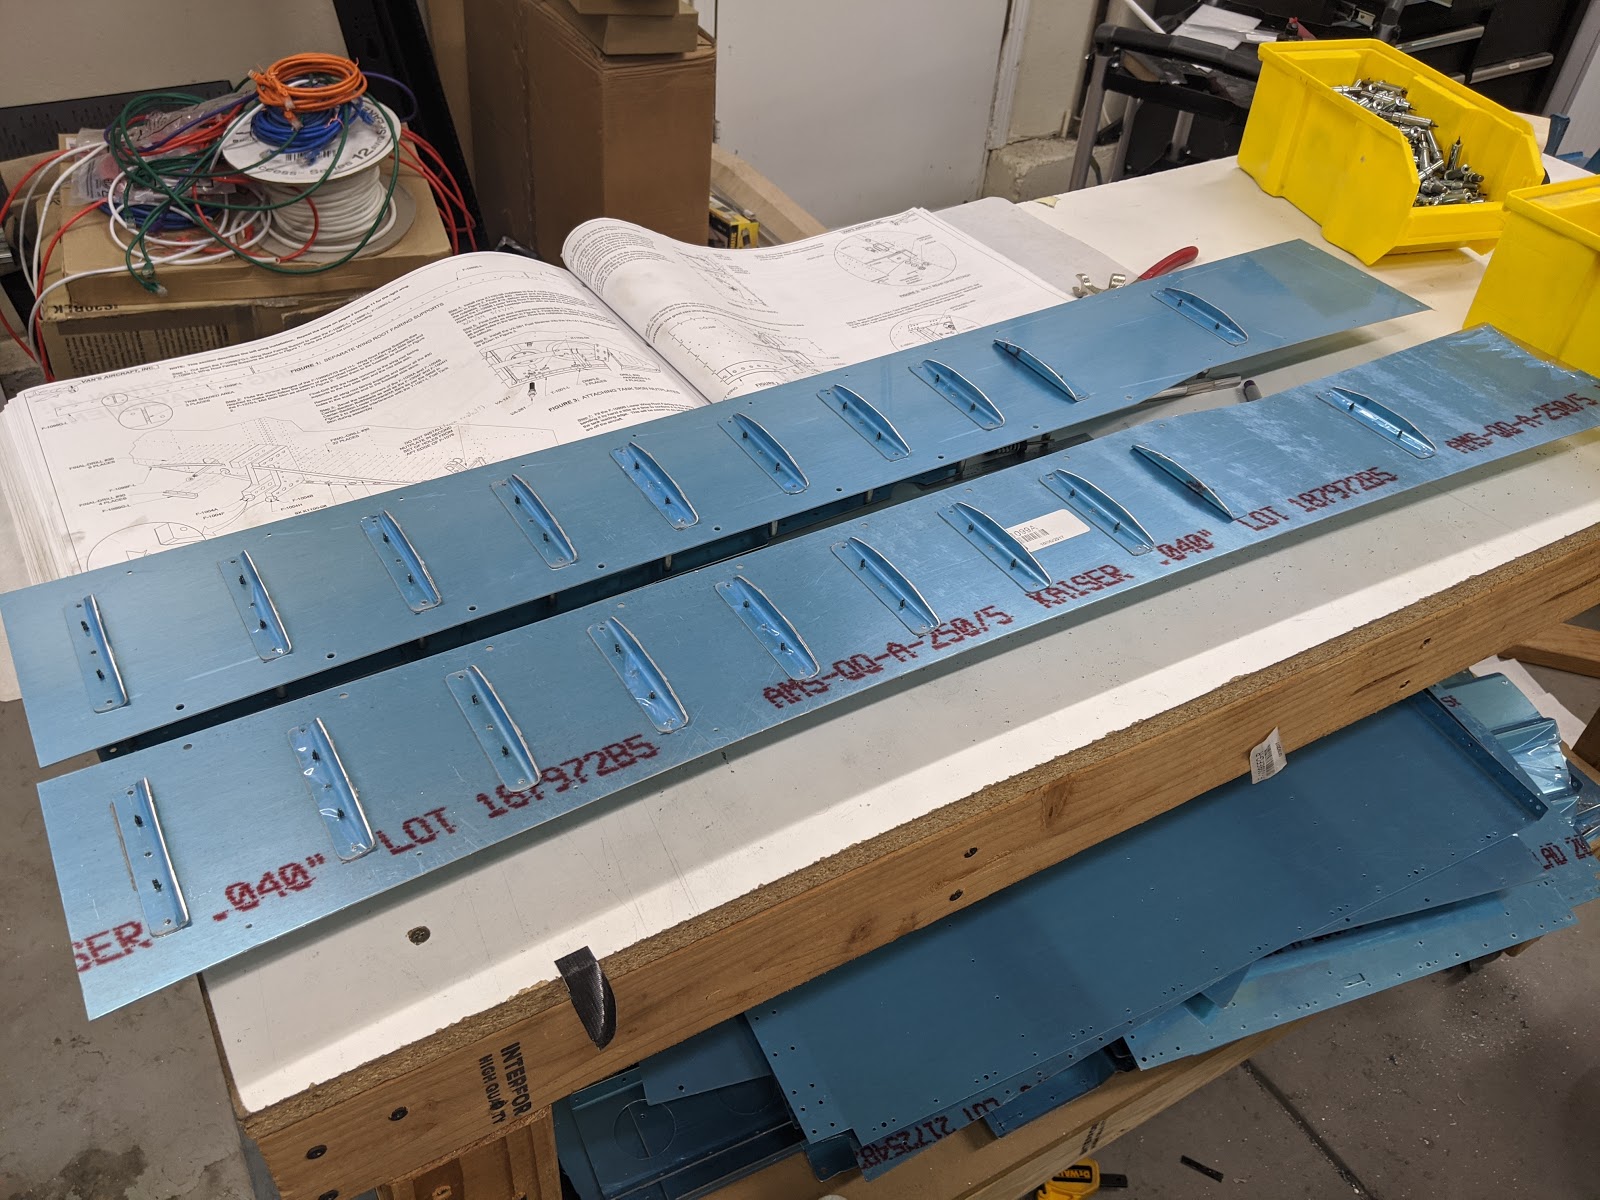
I final-drilled the wing root fairing stiffeners:
Wing root fairings with stiffeners attached
and also fluted the fairing supports into the right curve, then final-drilled them:
Wing root fairing supports
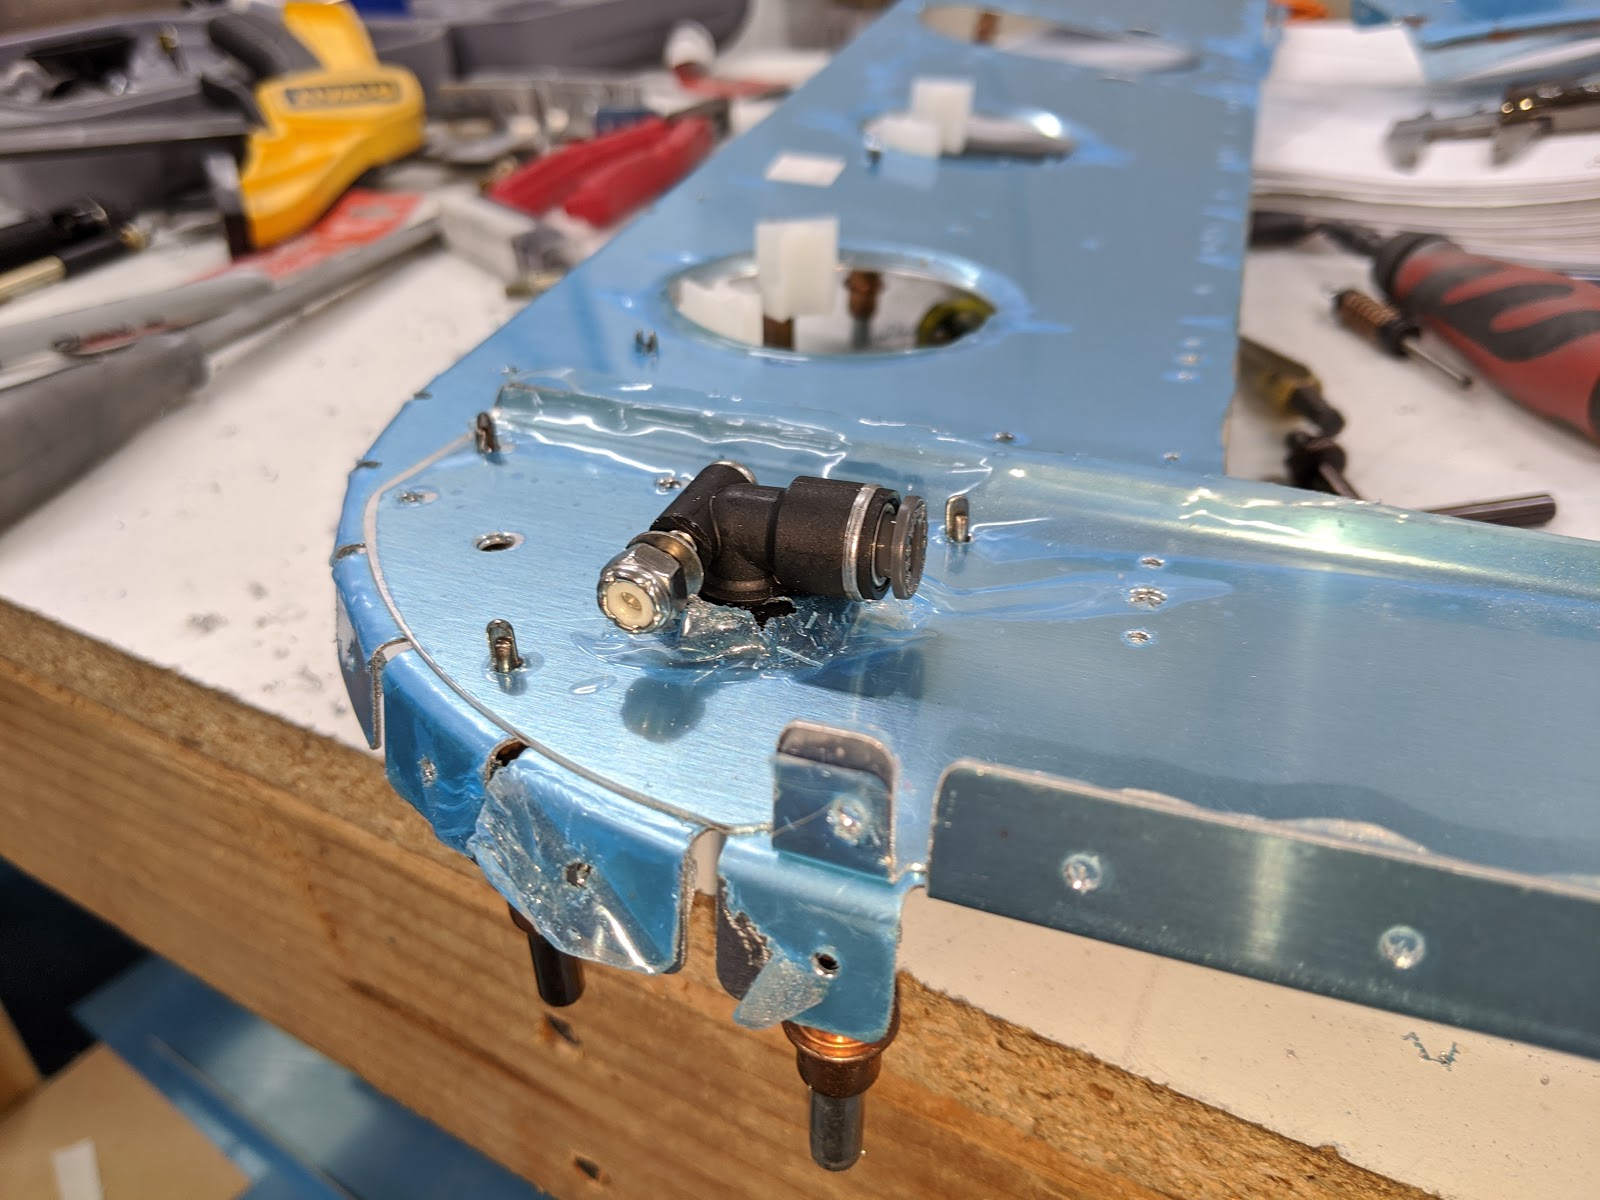
I had hoped to use the TCW tech fittings for the fuel line exit hole, but detected that it'll cause interference with the lower wing fairing root support, so another solution will be needed (which may mean trimming both the fitting and the root support a bit):
Interference between TcW tech machined fitting and lower wing fairing root support
I also trimmed the flap pushrods to the desired length, but that takes some tuning after the wings are on, so I can't finish it yet.
With this, the rest of the section has to wait until I'm ready to attach the wings, much later.
After primer, I riveted and installed the idler arm:
Riveted idler arm
Installed idler arm
and reamed and installed the brass bushings:
Control stick bases with reamed brass pushings
I also drilled the pushrod ends (not yet primed):
Pushrod with hole template attached
Main elevator pushrods drilled for the rod ends
Main elevator pushrods with rod ends and bearings
I attempted to drill the pushrod end for safety wire, and failed miserably - the 1/16" drill bit is just too thin, and it broke in the drill press, destroying the material around the hole and leaving drill bit bits buried into the part :/
Failed attempt at drilling safety wire hole
I ordered a new one, re-drilled the tube into it, and drilled the safety wire hole again - by hand, this time, so I could feel the pressure on the bit, and it turned out to be surprisingly well-aligned:
Safety wire hole through rod end
Next steps are priming the longer pushrods and installing the whole thing. As of this writing I don't have the tailcone attached (and don't have the horizontal stabs or elevators attached to that), so I can't adjust their length just yet.
Time lapse:
Total control system rivets: 9 Total control system time: 10.2h
In order to reduce interference with the ventilation holes at the top tailcone bulkhead, I used different patterns for the inboard nutplates - one is slated so I only have to trim a small part of the vent flange, and the other is a single-lug nutplate facing away from the vent:
Alternative nutplate holes to accommodate vent holes
I cut out the baggage floor inspection panels near the step sites. I had originally hoped to use the Airward baggage inspection panel, but that just doesn't fit (you'd think they tested it?), and they didn't bother replying to my email, so those went to the bin and I used the parts from the stall warning inspection panel instead:
Positioning the baggage floor inspection panel doubler to not interfere with the stiffener
Cutting out the baggage floor for the inspection panel
Baggage floor inspection panel
Baggage floor inspection panel with doubler in place
Baggage floor inspection opening
I also made an opening for conduits - the space between the right baggage cover and the skin was just not enough unless I wanted to remove part of the rib flanges underneath, so I did that through the rear seat floors:
Marking for the rear seat floor conduit hole
Rear seat floor conduit hole
Rear seat floors with conduit holes
Conduits through the rear seat floor
I drilled the corresponding holes through the rib, and used some right-angle Panduit mounts (RAMH-S6-D) for routing it aft, attached with LP4-4s:
Conduit holders through the rear bulkhead
Conduit holders in place
Conduit holders in place
Riveted conduit holders
Riveted right-angle conduit holders
TAS antenna conduit path through the bulkhead
Conduit holders riveted on
For running the static pressure tube, there was, fortunately, enough space on the baggage floor, so drilled a 3/8" hole for a snap bushing, and used another Panduit mount for routing the tube:
Hole for the static line to go through the baggage floor
Right-angle mount to route the static line
Bushing for the static line to go through the tailcone bulkhead
Static line fitting through the tailcone bulkhead
I also did all the required deburring, so I can now prime and start riveting the floors.
Time lapse:
Total baggage area rivets: 24 Total baggage area time: 22.8h


