We started attaching the forward conduit for bringing wiring up to the switch pod and center console. First, I "carved" the forward flange a bit with the Dremel to make the conduit fit, then glued it with resin:
Gluing the forward conduits to the cabin cover
On the tips, I knew I had to avoid the wires coming out right into some screws, so I lifted the conduit slightly with some foam:
Tip of the right forward conduit, with a foam spacer to lift it
Forward conduits glued in place
To make a lightweight mold around the conduit to cover it, we epoxied some small foam blocks, then carved them to the right shape:
Foam blocks glued to the forward side of the forward conduits
Trimmed forward blocks to give shape to the forward conduit conver
In parts where the conduit was almost level with the rest of the cabin cover, we just covered it with some epoxy+microballoons, and on other parts we also use some more foam, which was then also cut to shape (to keep the whole thing tangent to the cabin cover surface):
Filling and gluing foam atop the forward conduits
Untrimmed blocks covering the "top" of the forward conduits
Trimmed foam blocks giving shape to the forward conduit cover
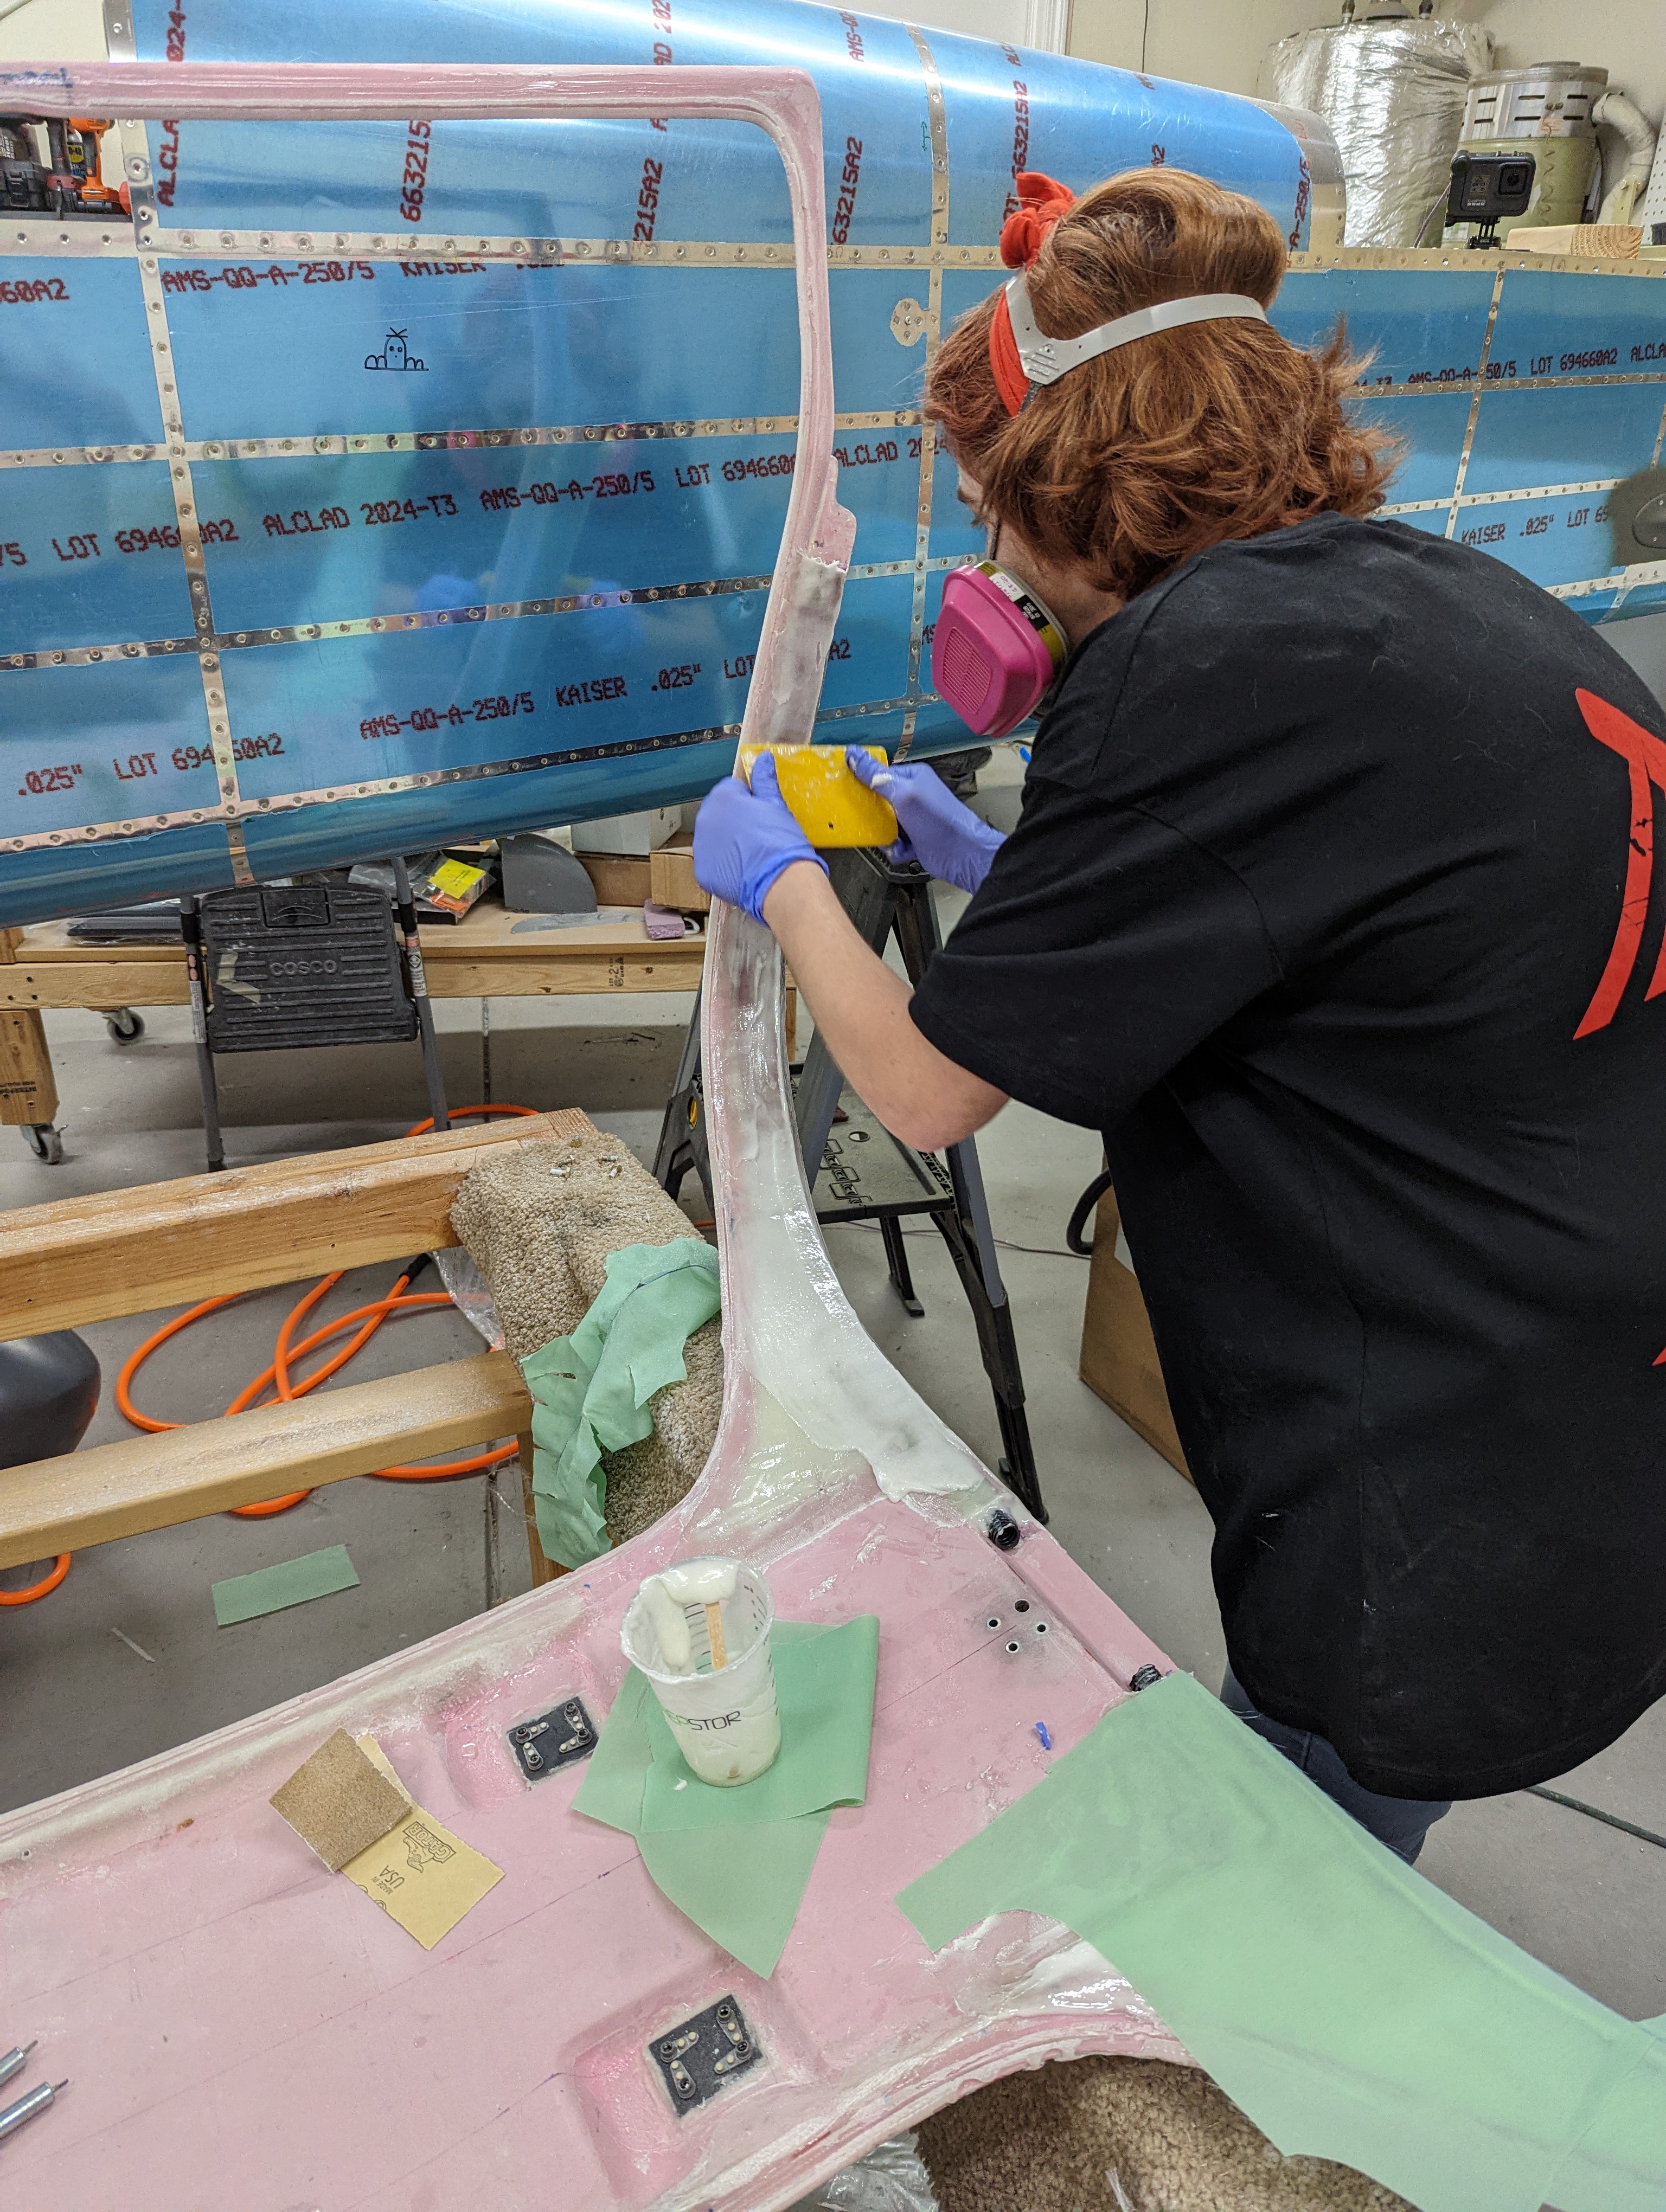
We then laid up fiber on that, sanded, and started filling it to make the height and angle be constant across the whole edge:
Peel ply applied after laying fiber onto the forward conduit and foam
Fiber laid onto the forward conduit and foam
Filling the gaps and smoothing the forward conduit cover
Finally, we also started filling the edges around the overhead console, and adding a smooth ramp just aft of the door openings (since that part is still visible, as it's forward of the headliner):
Filling the gap between the cabin cover and the door opening edge
Next comes the tedious work of finishing all the fiber and resin to look smooth.


No comments:
Post a Comment