I ordered my engine from Barrett, and for a while they worked on actually putting it together and testing it:
 |
| Engine block after painting |
 |
| Engine mostly assembled at Barrett |
 |
| Engine and EFII System32 being installed on the test bench/dyno |
They even displayed it at Sun n Fun before shipping it (with my permission, obviously):
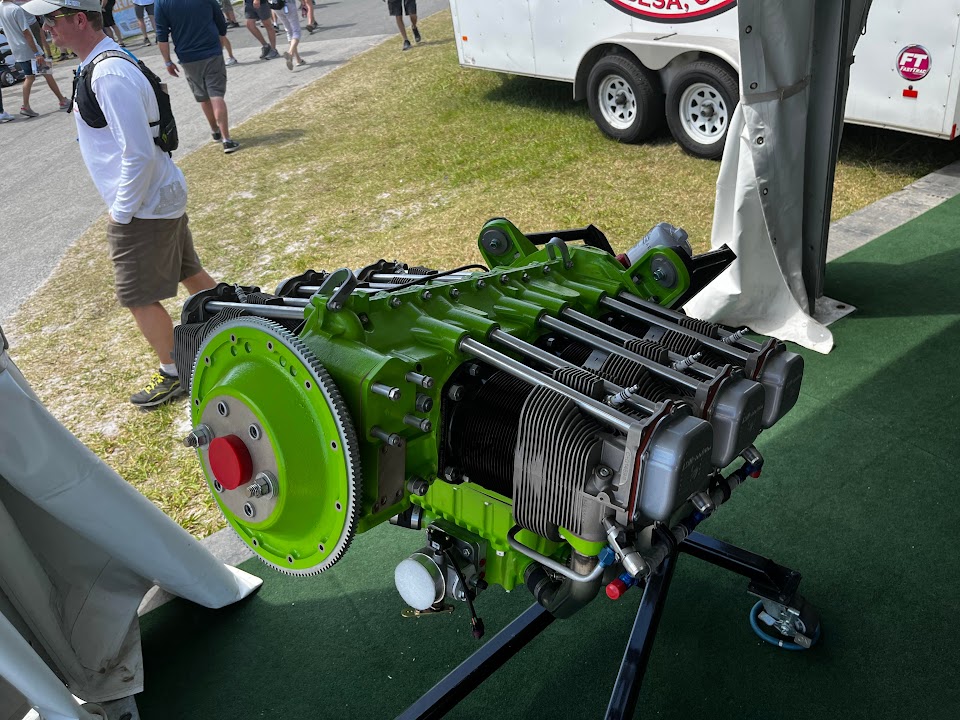 |
| Engine displayed at Sun 'n Fun (someone else's picture) |
Did you notice anything wrong in the above photos that I received? Neither did I, at the time, and I was very happy to receive the engine:
 |
| Engine unboxing |
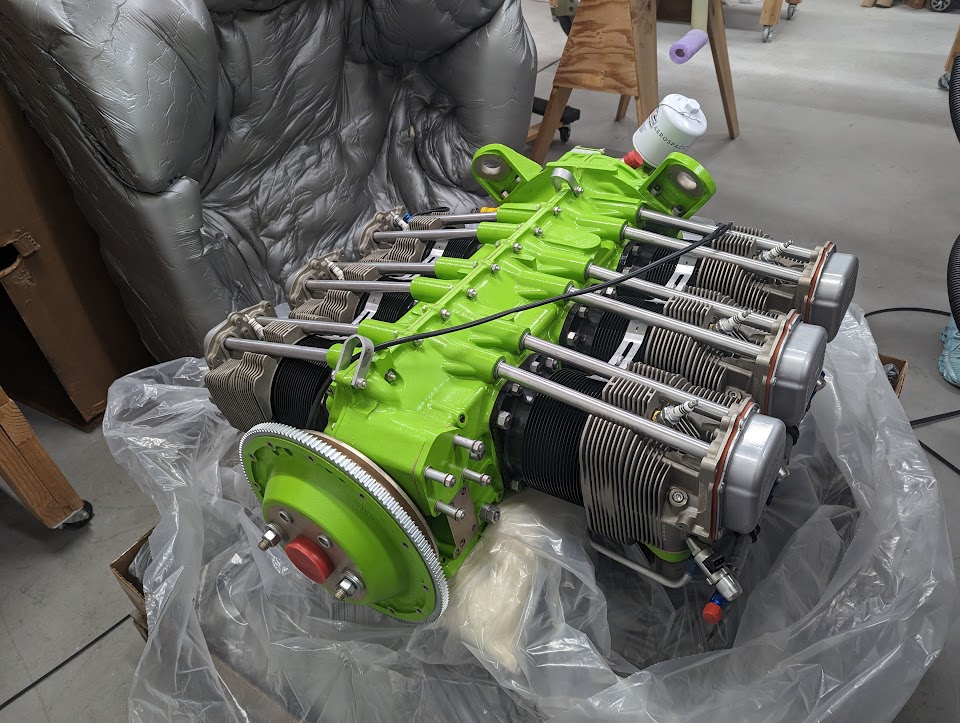 |
| Forward end of the engine |
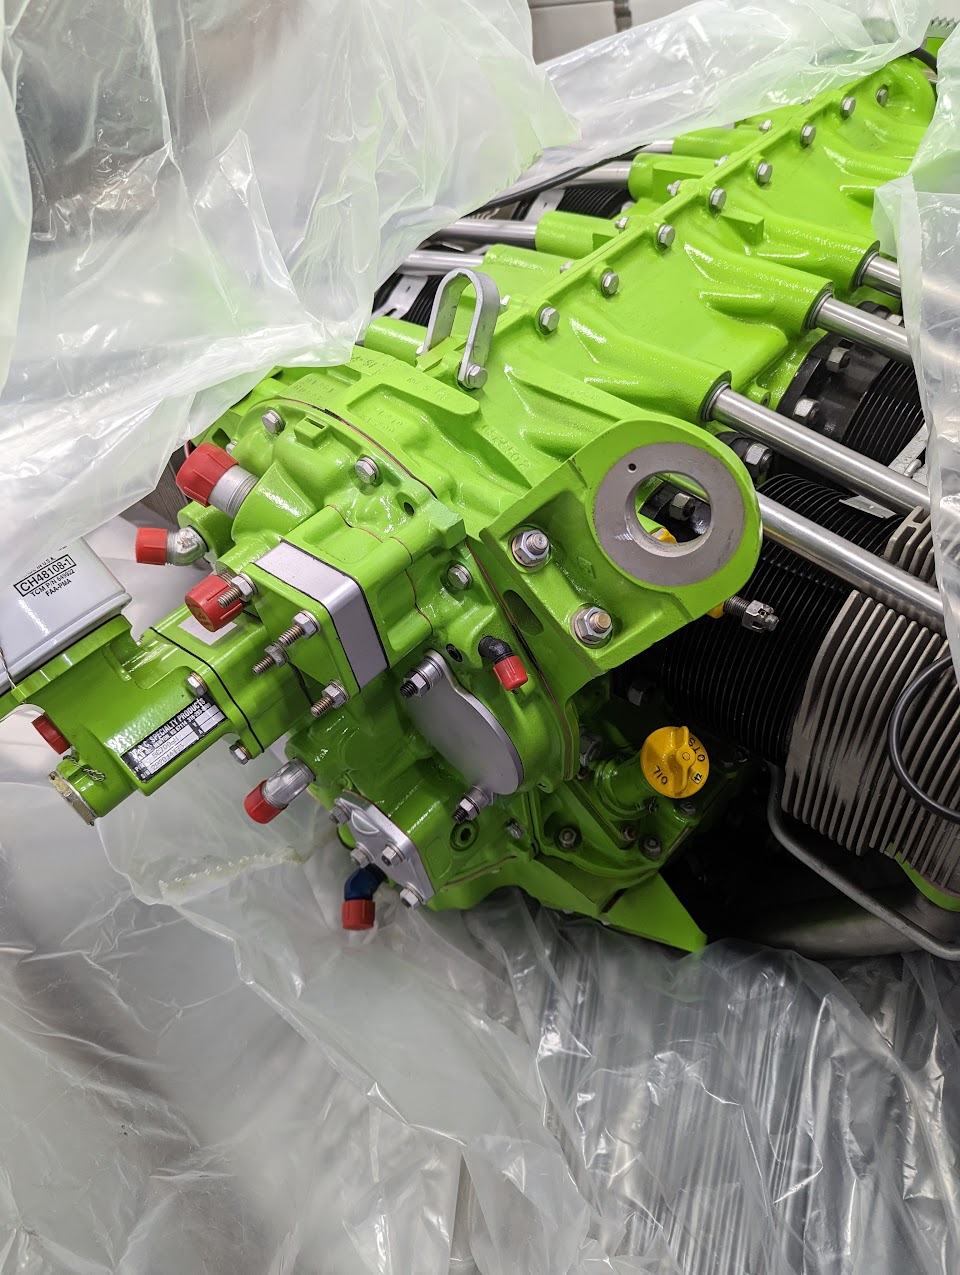 |
| Aft side of the engine |
Now wait a minute, what's that oil dipstick doing all the way at the bottom, next to the cylinder? That can't be right:
 |
| Oil dipstick, on the lower-right side of the engine (appropriate for helis) |
Indeed it wasn't - and both I and Barrett failed to notice that the RV-10 baffles, cowling, etc. expect it at a different place (on top of the case), and sure enough, going through the older pictures above, I should have noticed it was missing. On the upside, they were really nice and had me ship the engine back on their dime, fixed it (which involved opening the case, having it machined for the right location, and then closing it back and running the engine for a little bit longer). I was pretty impressed with how easy they were to deal with (unlike, well, other vendors I'm dealing with...).
Since Airventure was close, I also let them display the engine at their booth again, and paid my engine a visit there:
 |
| Me and the engine at Airventure |
So by this point, part of my plane has been to both Sun 'n Fun and Airventure, which I guess is a small achievement for a homebuilder? :)
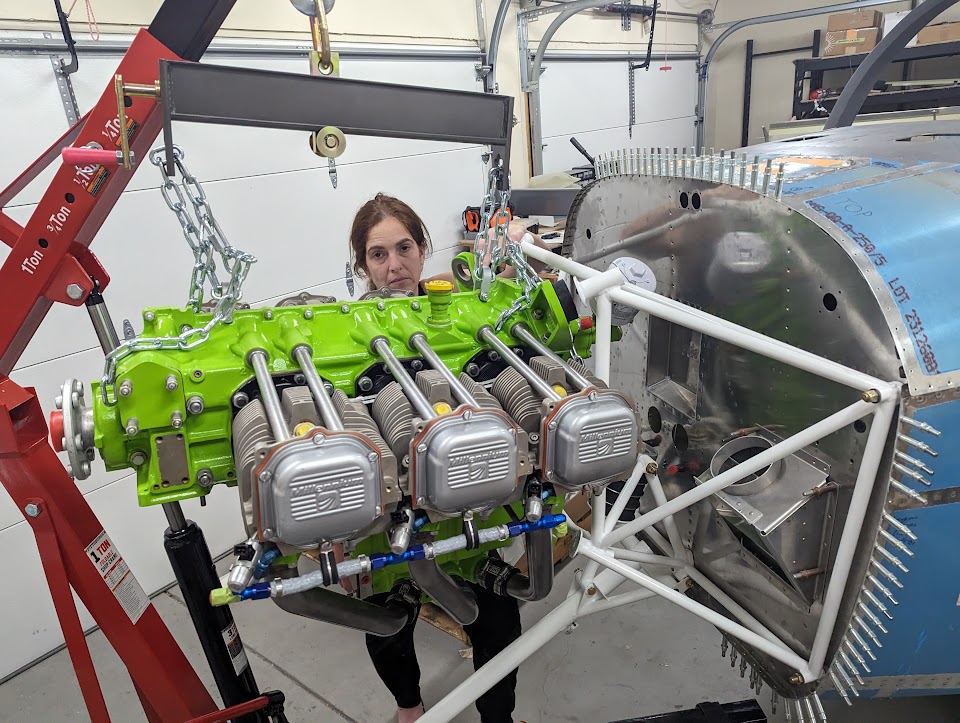 |
| Lifting the engine into place |
 |
| Engine clearance from the firewall and mount, side view |
 |
| Engine clearance from the firewall and mount, top view |
When we did this, I also realized Vans sent me the wrong engine isolators as part of the FWF kit - two of them are a larger model that doesn't really fit - on another upside, they promptly shipped me the correct ones when I asked about it:
 |
| Two types of isolators received from Vans: the wrong one (left) and the right one (right) |
With the correct ones, we test-fit the engine, and it was actually a lot easier to attach the bolts/nuts than I expected (just based on hearing others complain about it), and used that to finalize various locations on the firewall which are part of other sections:
 |
| Engine attached with isolators and bolts/nuts for determining firewall locations |
Besides that, the larger 2007X oil cooler interferes with the engine mount, so like everyone that uses it, I had to trim the forward flange a bit for clearance (which means using a shorter bolt only on that hole):
For the cabin heat cables, since they come from the Aerosport center panel and the back of the center console, I decided to use another doubletree TTP-S fitting (this one with two holes), and used my puzzle jigs to add another hole for it:
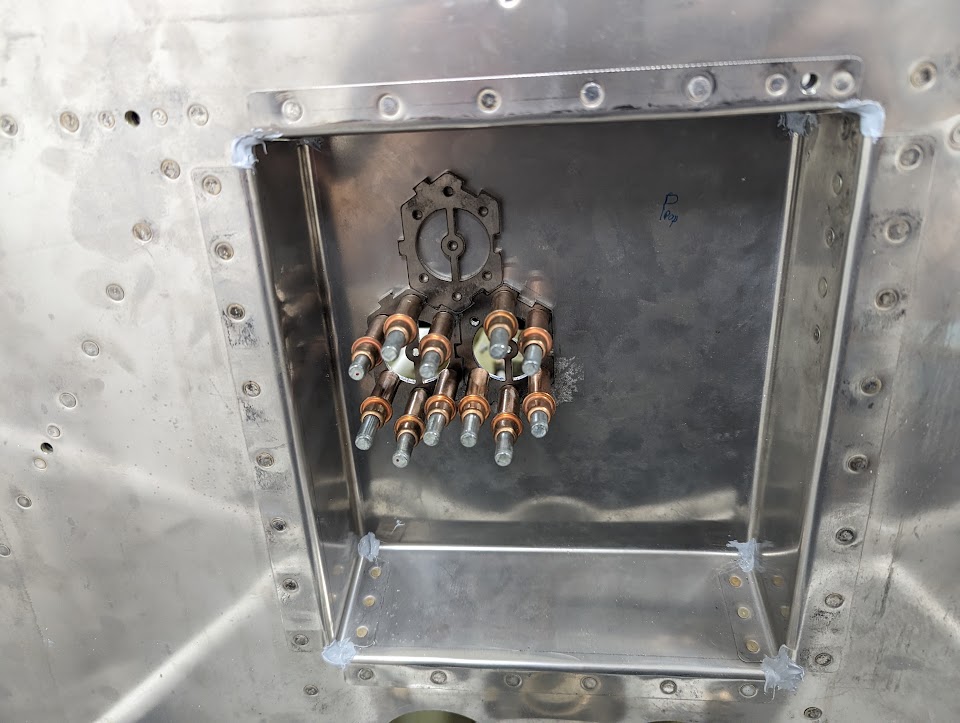 |
| Jigs in place to drill a heat control cable fitting hole |
Finally, I made a list of all the hardware I'll need for installing engine accessories, and ordered those, which made me realize how crazy expensive "certified" parts are, like this official Lycoming bolt (STD-2156) for only $35, used to attach the starter:
 |
| $35 Bolty McBoltface from Lycoming |
I'm sure there's a non-official bolt that'd be just as good and cost only a few cents, but my knowledge is too limited in this area to take the risk.
Time lapse:
Total engine installation rivets: 43
Total engine installation time: 11.4h

No comments:
Post a Comment