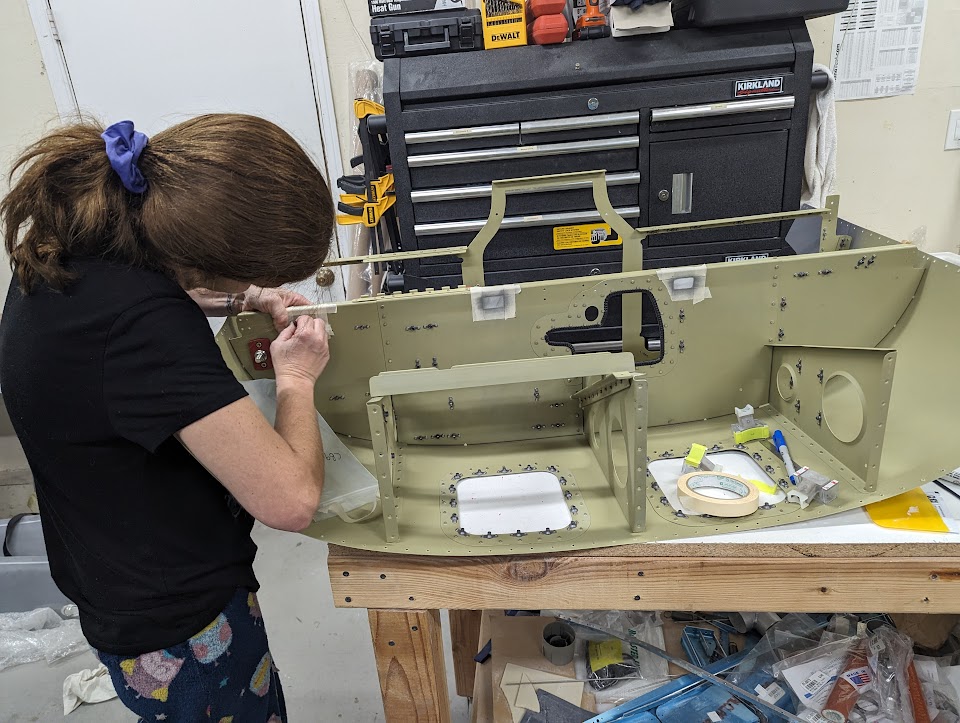
As a last step before attaching the panel, we installed some Clickbond fasteners to run cables forward:
 |
| Sanding subpanel for Clickbond attachment |
 |
| Clickbonds behind the subpanel to hold wires that pass to the back |
 |
| Clickbonds behind subpanel |
We then clecoed and riveted the panel in place:
 |
| Panel clecoed in place. Standard-size (well, on the short side) wife for reference. |
 |
| Panel firewall rivets in place |
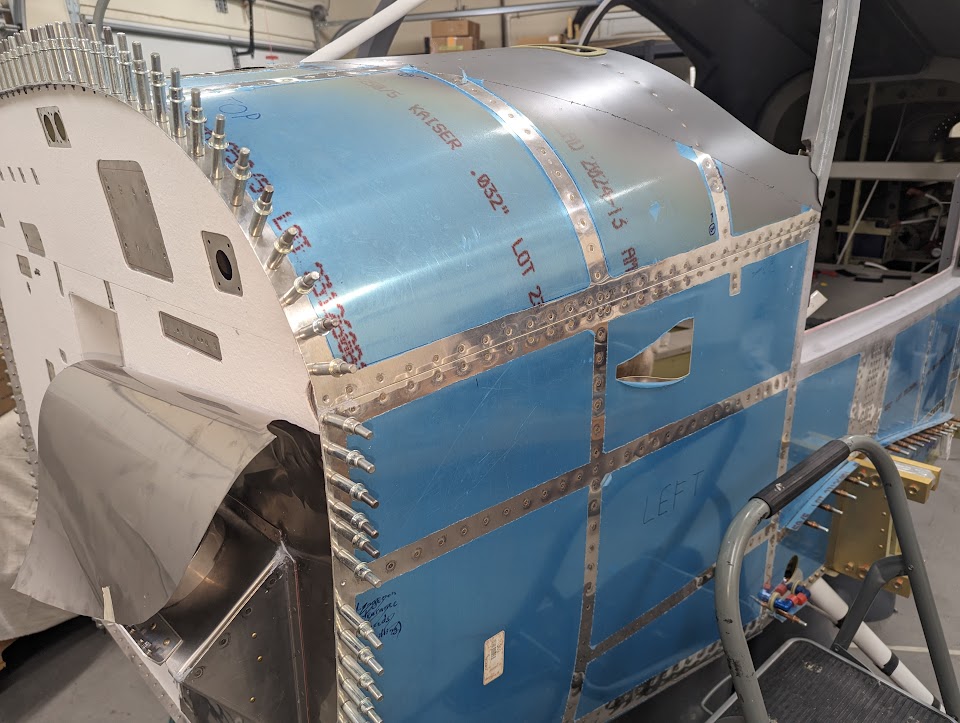 |
| Panel side rivets in place |
With this, we were able to continue insulating the firewall.
Time lapse:
Total upper forward fuselage installation rivets: 153
Total upper forward fuselage installation time: 26.7h


No comments:
Post a Comment