I attached the two battery boxes together and to the bellcrank mount:
Battery boxes attached to each other
Battery boxes attached to each other with double-flush rivets, and to the bellcrank mount with flush rivets
Battery boxes attached in place with battery mockup
Battery boxes attached in place with battery mockup
For the contactors, I wanted to extend the OP-48 AHRS support bracket to span both ribs:
Original OP-48 shelf plus a paper extension for taking measurements
It took a bit of measurement and fine-tuning to get the holes in the right positions:
Sketch of the modeled shelf's web with measured hole positions
Rendering of the modeled shelf
Before sending this for fabrication, I 3D printed a thin version of it to confirm the layout:
3D printed shelf model
3D printed shelf model screwed in place
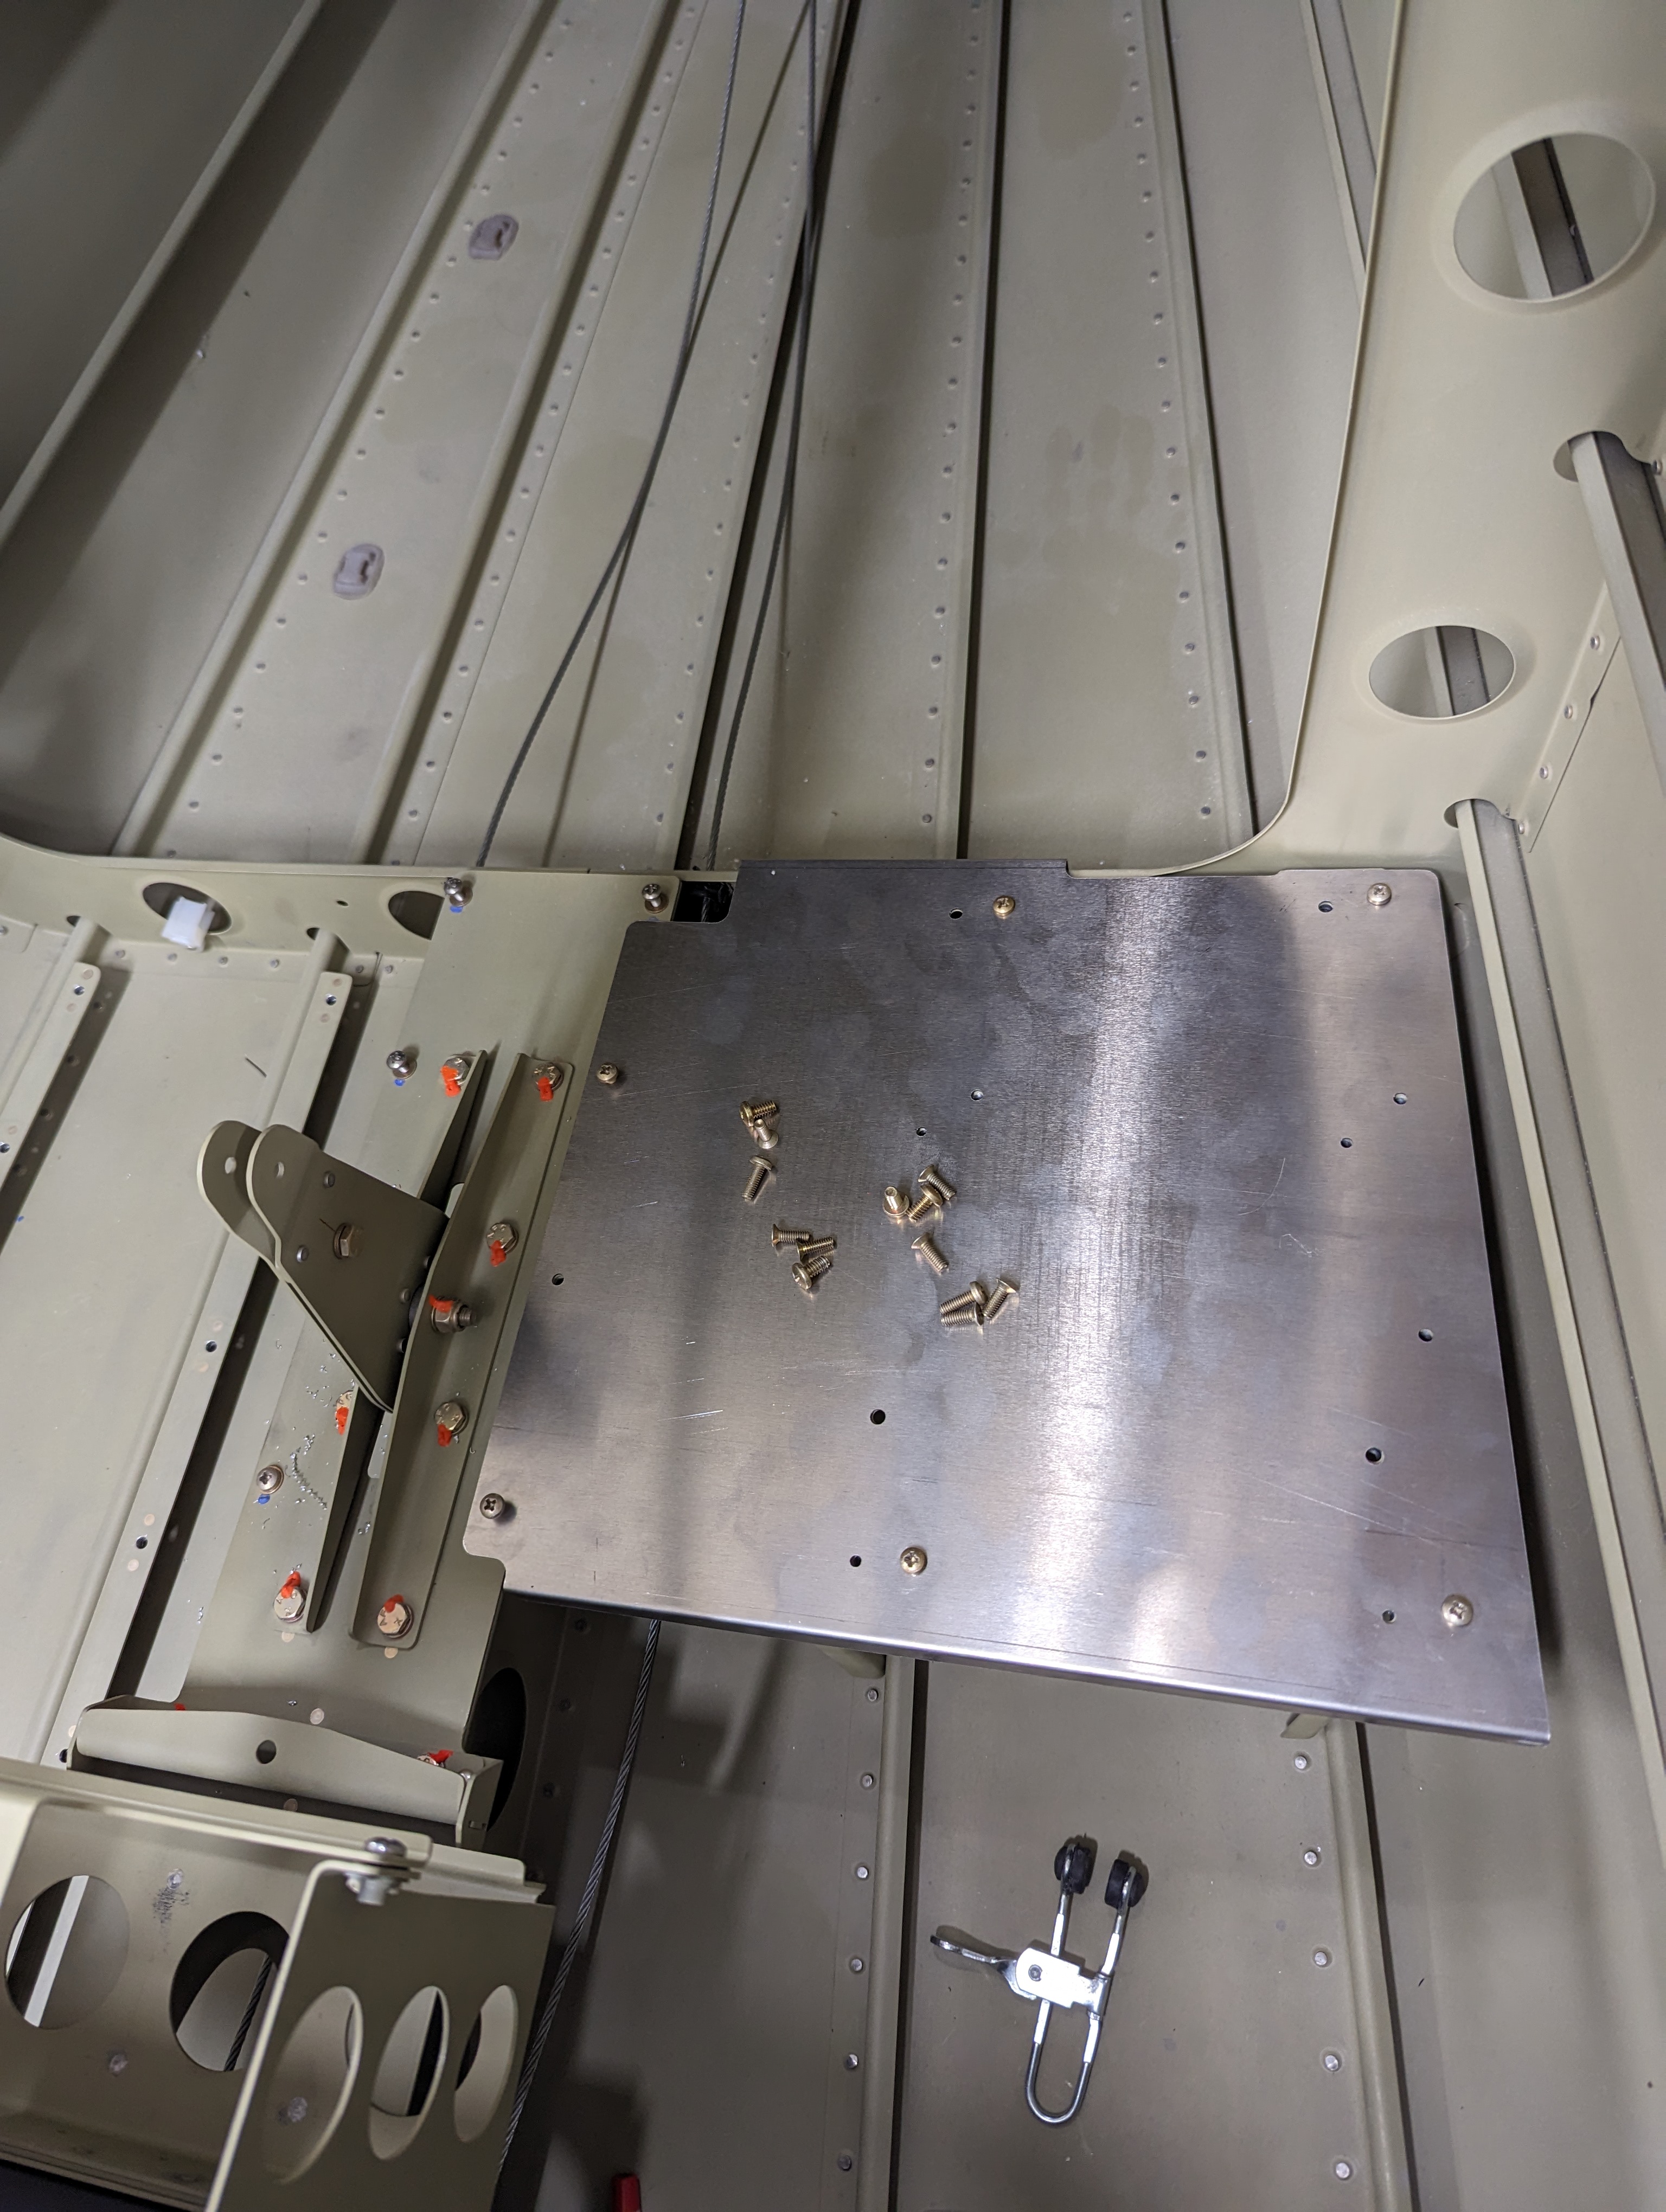
With just a few minor adjustments, I had the part laser-cut and CNC-bent in aluminum, and it fit pretty well:
Aluminum shelf screwed in place
Only exception was that the aft flange was too far aft (I tried to adjust both flanges slightly to not make the fit so tight as it was before, but clearly I adjusted too much, so I had to make a shim:
Shim for making aft flange of the shelf flush with the bulkhead
For connecting the 3 contactors (one for each battery and one for external power), I used a copper bar, which also held them in relative position for match-drilling the attachment holes into the shelf:
Copper bar with 5/16" holes for contactors
Contactors connected by copper bar, holding relative position
Contactors with attachment holes match-drilled in place
Last but not least, I cut a smaller right-side shelf for the GTS800 and WX500 (which I'll post about on my next avionics update).
Next on section 10 is just priming these parts, installing nutplates, and final-installing the relays and batteries in place.


No comments:
Post a Comment