I finished riveting the flap and aileron gap fairings:
Riveted aileron gap fairing
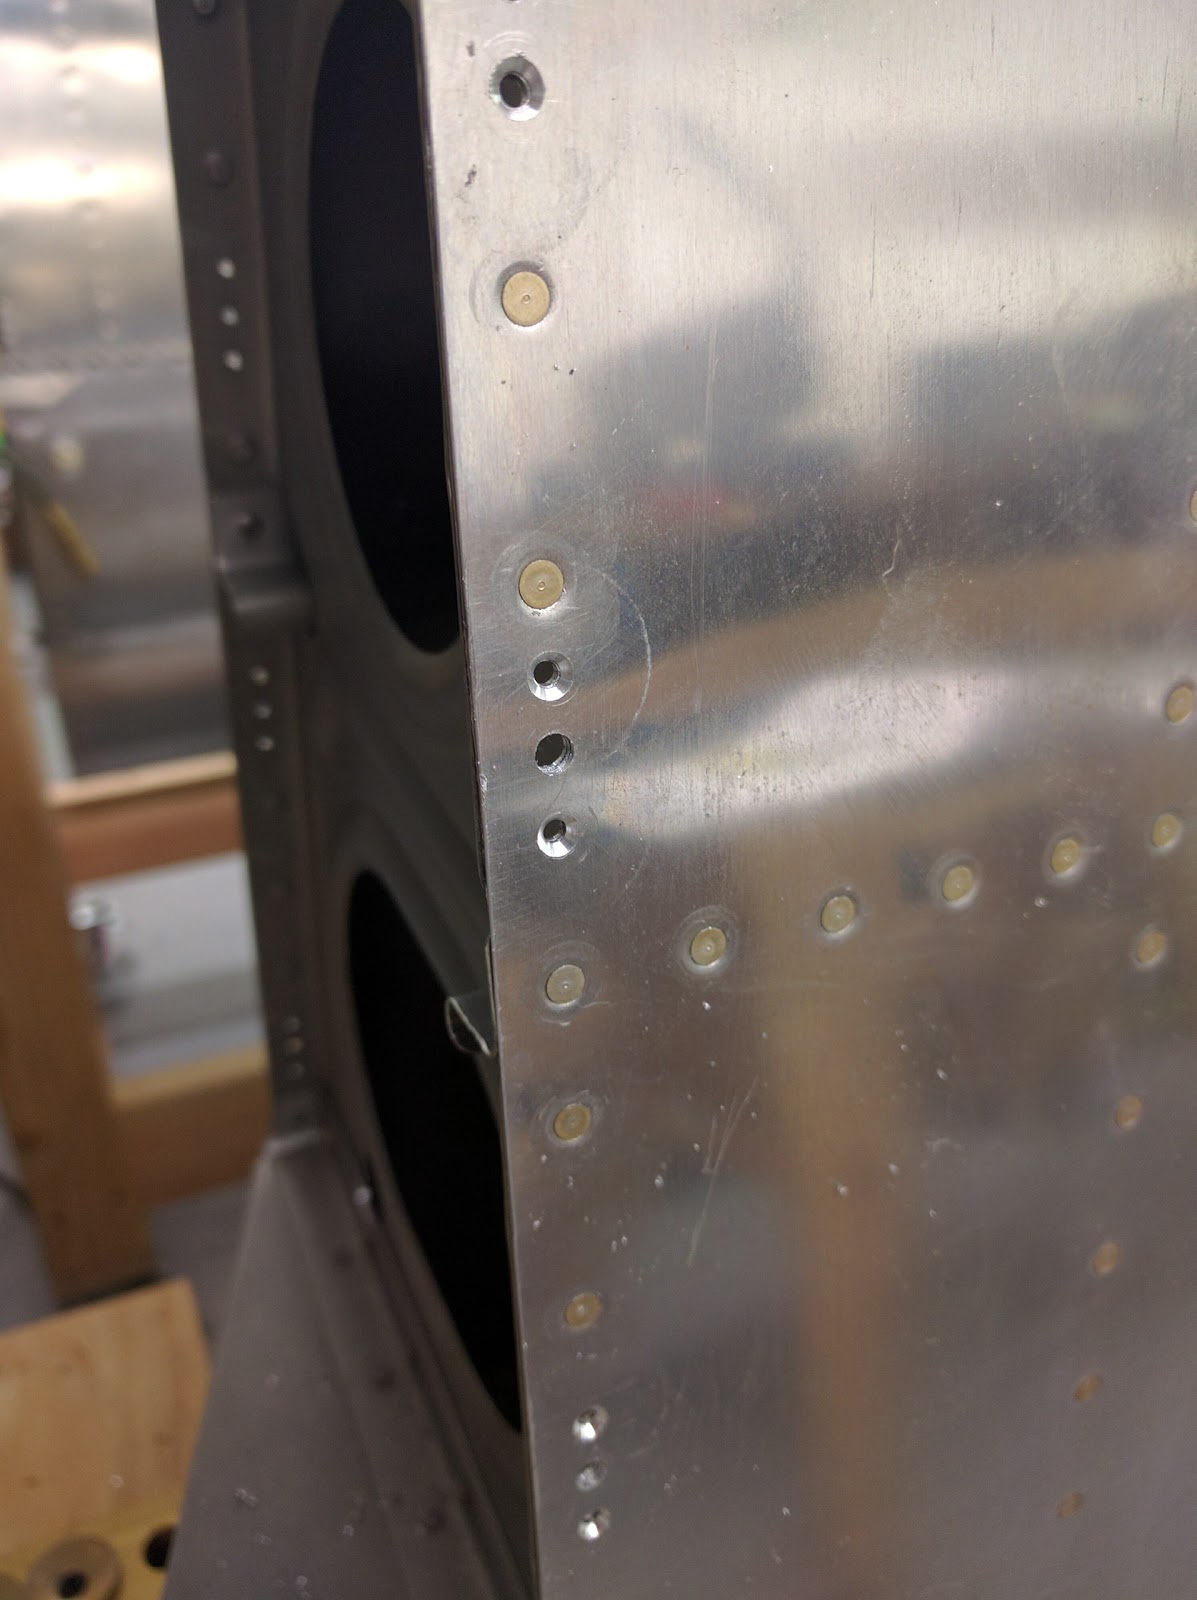
I initially tried my skills at riveting behind the attached inboard bottom wing skin using solid rivets, with horrible results:
Bad riveting on the flap gap fairing
I then removed those rivets and will replace them with CR3212s, per VAF post (I'm waiting for the rivets to arrive as of this post). The other holes behind the inboard wing skin will receive MSP-42s.
I also started installing the pitot tube mount from Gretz:
Gretz pitot mast with nutplates attached
I match-drilled the backing plate, initially just to the spar:
Gretz pitot mount backing plate attached to spar
and then the other holes following the suggested pattern:
Gretz pitot mount backing plate with hole pattern drilled
I clecoed and match-drilled the skin to the stiffeners, ribs and spars:
Right bottom skin match-drilled
Both bottom wing skins match-drilled
With a very good timing, my friend from whom I had borrowed the compressor asked to have it back just as I finished this, so I won't be doing any (air) drilling for a bit until I get a new one (also giving him a chance to catch up with me since he's also building a -10 ;) ).
Next I'll match-drill the pitot mount backing plate through the skin - using a strap duplicator if I can, but if that's not feasible I'll drill from the inside while lifting the skin.
Time lapse:
Total bottom wing skins time: 25.8h Total bottom wing skins rivets: 362
I trimmed the flap gap fairing stiffeners, then clecoed and match-drilled the flap gap fairings. The aileron gap fairings needed some grinding on the ends to fit, then I did the same to them:
Aileron and flap gap fairings in place
Countersunk inboard flap gap fairing holes
I then primed the gap fairings:
Primed fairings
And then clecoed and started riveting them to the top skin and rear spear:
Flap and aileron gap fairings clecoed back in place
Flap and aileron gap fairings riveted to top wing skin
I recruited an intern to help with riveting, and she did 120 of them:
Silvia tbe riveter! :)
Fairings mostly riveted
I need to fix a few of the fairing rivets and finish others. I expected to have a huge pain bucking the inboard rivets behind the bottom skin, but thanks again to a VAF post, I'll just use pop rivets for those. After these are fully riveted, I'll start match-drilling the actual skin and the J-stiffener.
Time lapse:
Total bottom wing skin time: 17.3h Total bottom wing skin rivets: 342
I drilled, deburred and primed the aileron trim assembly parts:
Primed aileron trim assembly parts (and others)
I then assembled and riveted those:
Riveted aileron trim assembly
and then installed the servo in place:
Servo installed into trim assembly
Completed trim assembly
Next steps will be attaching it to the cover plate and drilling the pushrod tube for the trim spring brackets, which I'll do after I'm done installing the aileron actuation (since it depends on finding the neutral position).
Time lapse:
Total aileron trim time: 4.5h Total aileron trim rivets: 4
This is another section that's not "quick built" and all steps have to be completed. Finally something to rivet!
I started by cutting all the pushrod tubes:
Various pushrods and torque tube cut to length
Match-drilled and assembled the bellcrank-to-aileron pushrods:
Bellcrank-to-aileron pushrods match-drilled
I cut the torque tubes in half (which is a piece of information missing from the manual - VAF saved me again) and build the torque tube assemblies with them:
Torque tubes temporarily assembled
This required carefully adjusting the relative angles of the two sides with a 5/16" block:
Drilling the torque tubes at the correct angles
I match-drilled the ends into the main torque-tube-to-bellcrank pushrods:
Torque-tube-to-bellcrank pushrods and rod ends match-drilled
I installed the bellcrank in the wing temporarily:
Bellcrank in place
After applying primer to the inside of the tubes, riveting began:
Bellcrank-to-aileron pushrods riveted
Torque tube ends riveted
With another batch of primer, the rod ends and tubes were primed (along with parts from other sections):
Primed rod ends and other parts
Primed pushrod tubes
I riveted the rod ends and bolted the forward portion of the torque tubes:
Riveted torque-tube-to-bellcrank pushrods and rod ends
Torque tube ready to install
The next steps involve actually installing the aileron actuation into the wing, which I'll hold off on until the bottom skins are ready to rivet (though I'll likely test fit it just to look at the placement of the pitot tube and other components).
Time lapse:
Total aileron actuation time: 17.7h Total aileron actuation rivets: 40
and fabricated a bracket for the CPC connector (for trim servo and ELT wires):
Tail connector bracket attempt 1
I enlarged the main connector hole, and then realized that the 4 surrounding holes were completely misaligned with the rivnuts on the connector, so I started over :) this time starting with the connector hole, and getting much better results:
Tail connector bracket attempt 2
I cut the bracket, primed and riveted it to the main trim assembly:
Trim assembly with CPC connector
This position seems to be very convenient as it gives easy access to the connector through the aft deck holes (the downside is that the servo wires will need some splicing to reach the connector):
CPC connector in place
I also trimmed the elevator pushrod and drilled the headers using the technique recommended by Van's:
Drilled pushrod end
I primed the inside and outside of the pushrod and pushrod end, then riveted them together and finally installed it in the tailcone:
Elevator pushrod in place
Aft end of the elevator pushrod
Most next steps involve actually attaching the stabilizers, rudder and elevators, which I don't have room to do for now.
Time lapse:
Total empennage attach time: 9.2h Total empennage attach rivets: 26
The top skins come pre-installed, but still require the drilling, countersinking and installation of inboard edge nutplates. Should be a simple task, had I not screwed up - one of the many nutplates is a single-lug nutplate:
I happily drilled it just like all the other nutplates:
Ooops
VAF to the rescue once again - some good suggestions, and I ended up deciding to make a backing plate to support it. I removed the next rivet, and made a 1 5/8" x 1/2" plate with one dimpled hole to match that:
Nutplate doubler
Clecoed it through that hole, with the center line aligned:
Nutplate doubler in place
Nutplate doubler center aligned
then match-drilled the next AD3 rivet hole as well as the #19 screw hole. For the oversize hole, I attached a nutplate and drilled through it:
Drilling the last hole through the nutplate
I primed and installed the backing plate:
Backing plate/nutplate installed
Later I may still use some epoxy paste to cover the hole and add some additional attachment to the nutplate.
Time lapse:
Total wing top skins time: 4.4h Total wing top skins rivets: 32
Another section that had almost nothing left to do from the QuickBuild - the only two tasks were to countersink a pair of holes (one in each aileron) and then select the attachment hardware:
There wasn't much to do in the quickbuild rear spars. I had to drill and dimple a few holes, including this tricky corner hole next to the flap bracket:
I was also worried about the latest Service Bulletin (SB16-03-28) from Van's, which required modification of the rear spar and the aileron bracket. I was happy to find that they had already addressed it for me:
Time lapse:
Total rear spar time: 0.6h Total rear spar rivets: 0