I finished all the drilling associated with the tailcone:
Fully-drilled tailcone
except enlarging two of the aft deck holes to #12 - I'm waiting for a longer #12 drill bit to arrive so I can reach them:
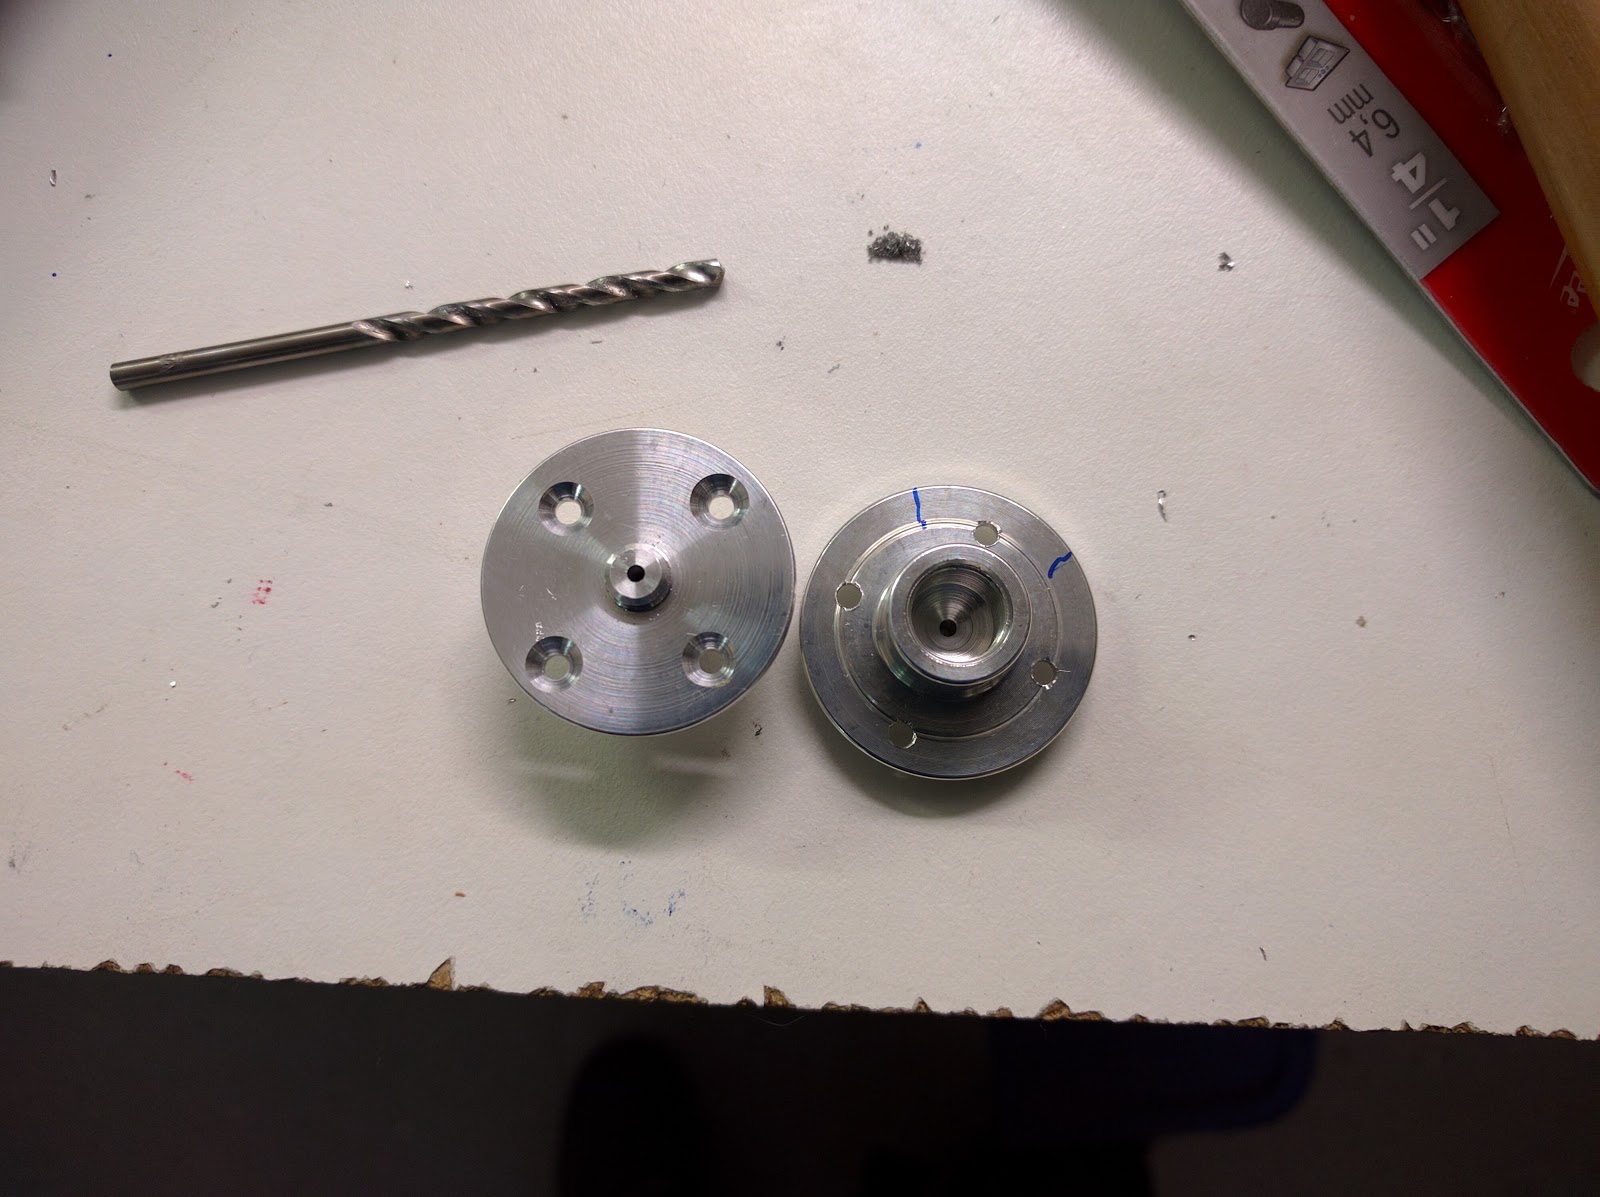
I also built the bellcrank:
I match-drilled the shoulder harness anchors:
Shoulder harness anchors in place
and also match-drilled the cover plate screw holes:
Match-drilled cover plate
After this, I started deburring the top skins, the shoulder harness anchors and the bellcrank and battery mount parts - those are ready for primer. More deburring and primer application to follow.
At this point, I started looking at the various mods - I'll make a separate post with more details and updates on them, but for now I installed the SafeAir static ports:
Static port (inside)
Static port (outside)
Countersunk static ports
I then started (and took a long time doing) planning for the other systems that will go in the tailcone, thinking where cables, wires and tubes will go - those details will be in the follow-up post on that subject.
Drilling is the order of the day - there are thousands of holes in the tailcone to be match-drilled, final-drilled, pre-drilled, etc.
Aft deck secured in place
Before drilling, I had to ensure the right longeron alignment:
Longeron alignment to top edge of skin
Longeron alignment to skin and aft deck
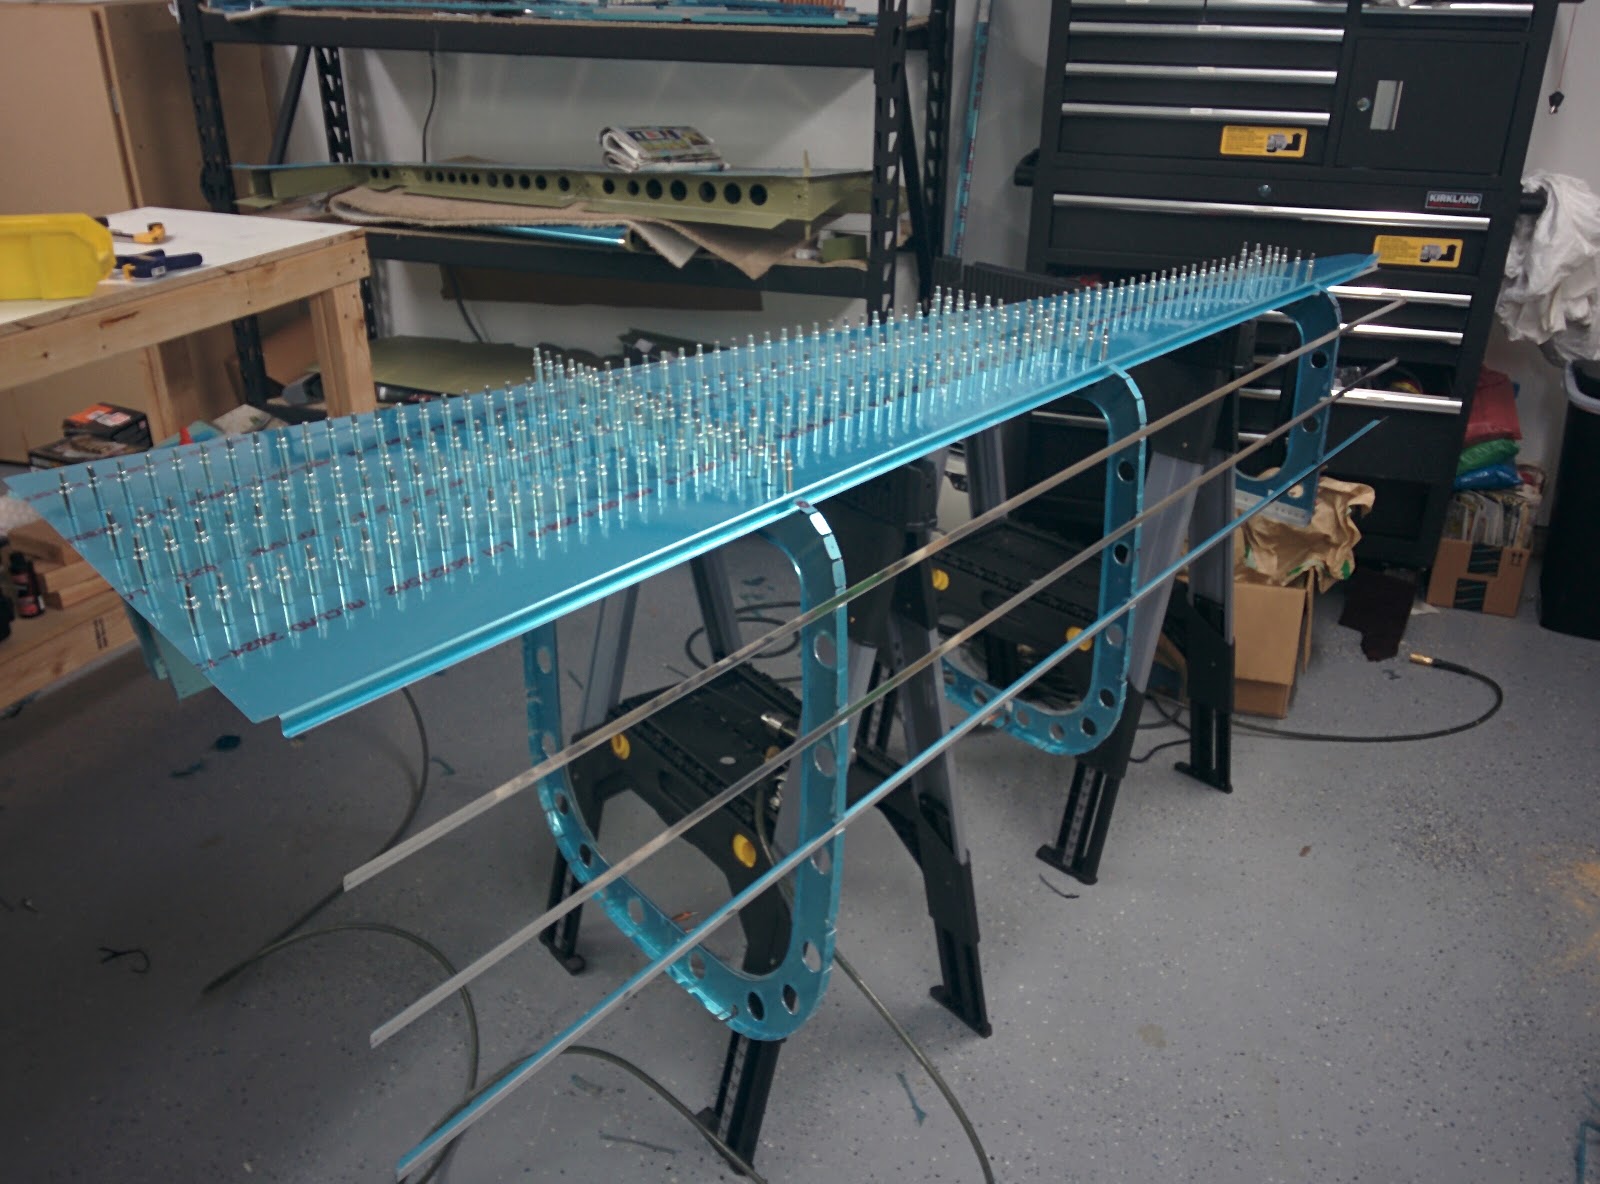
Next was the top section - first the stiffeners:
Top stiffeners in place
then the skins, which I found easier to work with after turning the whole tailcone sideways:
Top skins in place (mostly)
Access to the inside of the tailcone is becoming much harder, and I can see that riveting these skins will be "fun":
Inside the tailcone with the top skins in place
Next comes a little more drilling (still need to finish match-drilling those top stiffeners), then working on the aft deck and a few smaller details (shoulder harness anchors, cover plate, tiedown eyebolt, etc.), and then finally on the bellcrank/battery case.
I'm also spending some considerable time planning the various systems that will go into the tailcone - static ports, transponder, ADS-B, Stormscope, APU plug, autopilot and trim servos, ELT, etc.
The next few steps in the tailcone involved trimming the stiffeners and longerons. Their tips are cut at 45 degrees, which left me with 45-degree knife-like sharp edges, that I then had to deburr:
Before (sharp!)
After (smooth)
The longerons get a hole in them (which later will go around the HS attachment bars), and are then bent by 2˚ - the bending was considerable work with the mallet:
Hitting that longeron hard to get it to bend 2˚
Once that's done, the actual assembly begins - I procured the required 38" sawhorses, and attached the bottom skin to the bulkheads:
Tailcone assembly
I added and match-drilled the stiffeners that go just under that skin, then installed the side stiffeners:
Tailcone assembly with left-side stiffeners in place
Added the skins, then match-drilled the side stiffeners:
Side stiffener alignment for drilling
I then added the left-side stiffeners and the last 2 rear bulkheads:
Left side stiffeners in place
and covered them with the left skin:
Left skins in place
Both skins and all rear bulkheads clecoed together
It gets really tight in the back
Next is finishing the drilling of the side stiffeners (which I suspect will make me run out of clecos again) as well as fabricating a few more small parts.
After over 6 months of postponing the rolling of the rudder leading edges, we finally did it (following the rolling of the elevator leading edges):
Rolling the leading edges
Rolling the leading edges (pipe + improvised extension with lever)
and riveted it:
Completed rudder, with rolled and riveted leading edges
The last remaining step was attaching the counterweight, which involves bending the skin around it:
Bent skins around the counterweight
then securing it with screws:
Installed counterweight
Installed counterweight
With this, the rudder itself is complete!
Now to the one gotcha - I had installed a nutplate on the vertical stabilizer to attach the bonding strap. When I did a test fit between the rudder and the VS, however, it became clear that the clearance between the two is not enough for the screw and washers required :/
Not enough clearance for the bonding strap screw :/
Technically I only have to worry about this in the "Empennage Assembly" section, but the two solutions I see are to either open up the VS again and install a nut plate closer to the attachment gap (though it doesn't seem to have enough room anyway) or to remove a small section of the rolled leading edge to allow the clearance required. It seems Mouser went with the latter (per "29 Nov 2009" post).
Time lapse:
Total rudder time: 53.9h Total rudder rivets: 503 Total empennage time: 496h Total empennage rivets: 3707
I finished riveting and bending the trim tab bottom flanges:
Bottom flange of the trim tab spars riveted to the skins
as well as the tip ribs:
Tip rib assembly riveted to the front spar
Then riveted the elevator half of the trim tab hinges:
Trim tab hinge riveted to the elevator
Riveting elevator hinge
Finally, it was time for sealant, which we did on both the elevators (foam ribs and edge wedges) and the trim tabs (foam ribs):
Wife applying tank sealant to the foam ribs
Wife spreading tank sealant in a thin layer
Foam rib set inside the elevator
I let the elevators rest with weight on them for the sealant to cure:
Weights on the parts with tank selant, for it to cure
and the trim tabs clamped between the clamp blocks (the countersunk holes on the spar were too large for clecos - not an issue later since they're squeezed between the skins and hinges, but I had to use regular clamps for now):
Clamped trim tabs left to cure
After a few days of sealant curing, I riveted those trailing edges:
Riveted trailing edge
as well as the shear brackets and tip ribs:
Riveted tip ribs
Riveting the tip rib aft of the rear spar
Finally, I drilled andthe trim tab half of the hinges:
Test fit of the drilled trim tab hinges
then trimmed the trim tab hinges to match their shape:
Deburred/trimmed trim tab hinges
and riveted them to the trim tabs, which I attached to the elevators:
Elevator with trim tab in place
Rinse, repeat for the other elevator:
Two elevators with trim tabs in place
Next are a few non-riveting tasks, like bending and securing the hinge pins, securing the counterweights and folding the leading edges (yes, there are rivets there, but those are pop rivets so they barely count :) ).
Time lapse:
Total elevators time: 186.8h Total elevators rivets: 1504