Fuselage side skins: woodwork, twisting, countersinking, bending, and some drilling
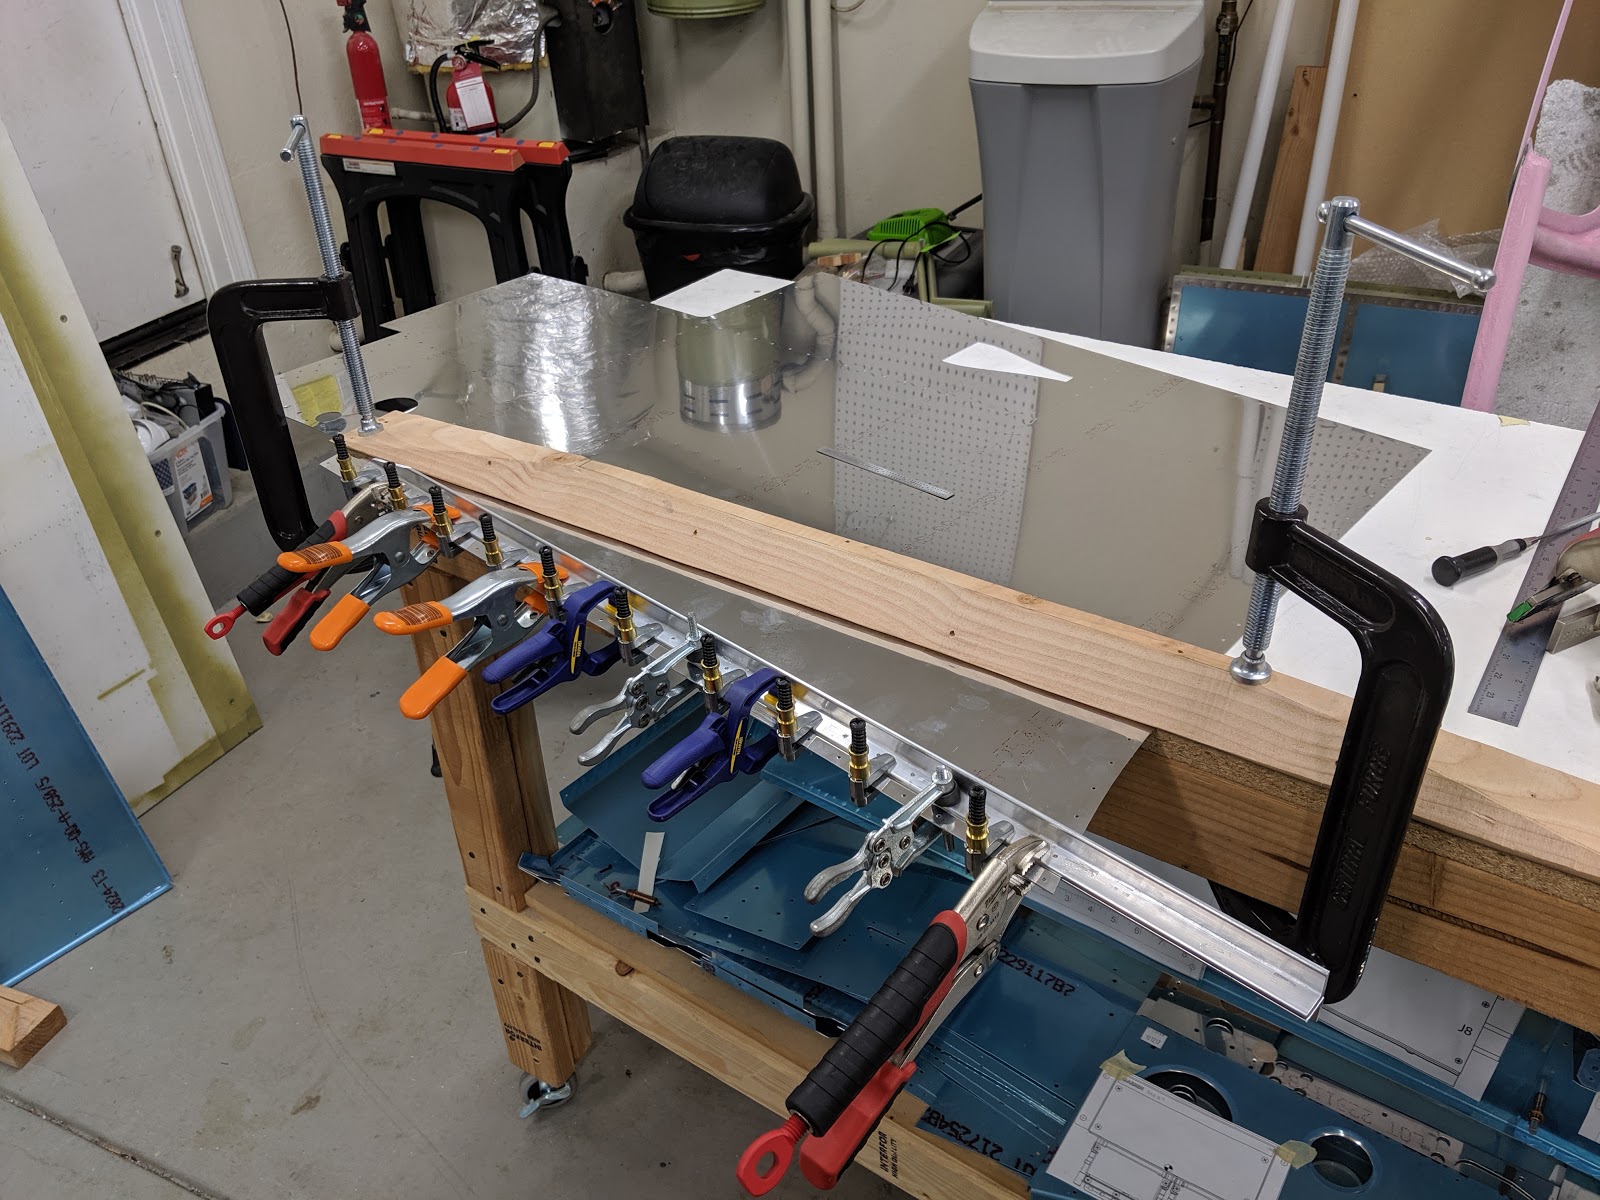
I twisted the ends of the longerons by the required 2 degrees:
Longeron end twist at exactly 2 degrees
I installed them back and started countersinking the mid-cabin decks - first the screw holes:
Countersunk mid-cabin deck screw holes
then the rivet holes on top:
Countersunk mid-cabin deck rivet holes
For the skin clamping blocks, I couldn't find hardwood 2x4s anywhere local, so I ordered them online (here) and got some very precisely-cut pieces by mail. I got one hard maple and one red oak since I wasn't familiar with working with either and wanted a second one in case I screwed up:
Maple and oak 2x4s I ordered
Just to be sure we had some idea what we were doing, we started by making the same cut on a 2x4 (which we can still use for the other skin, where a radius is required in the clamping block), before cutting the maple:
Cutting the hard maple at just the right angle
Clamping block (one from a regular 2x4, one from hard maple)
The cut was far from perfect, but likely good enough for the intended purpose of bending the skins.
Since the second clamping block needed a radius and could be done with a 2x4, we made the additional cut on that as well:
Modified clamping block made with regular 2x4
We then started the repetitive work of bending the bottom parts of the skins with those blocks, to make them fit the curve at the aft end of the fuselage:
Bent and clecoed mid-fuselage skin
Rinse, repeat for the forward skins, except that for these, the roll construction angles aren't attached with clecos, and we didn't have any single clamp strong enough to hold them in place while twisting, so we had to use several clamps and mount it backwards:
Clamps for bending the forward fuselage skins
Bending the forward fuselage skins
The result was also quite good:
Bent and clecoed forward fuselage skin
Fuselage skins clecoed in place
Fuselage skins clecoed in place
I then started final-drilling the holes, including those of the baggage floor angles:
Right-side baggage floor angle attached to skin
Left-side baggage floor angle attach to skin with shims
The forward sides of the mid-fuselage longerons are attached to the gussets, which I also match-drilled:
Gusset match-drilled into mid-fuselage longeron
Since we were doing wood work, I also used the excess tip from the 4' maple beam to make a couple of blocks for twisting the fuselage channels:
Fuselage channel with spacer blocks for twisting
Fuselage channel spacer block height
Twisted fuselage channel
On a completely unrelated part (done while I waited for the wood), I separated, partially deburred, clecoed and final-drilled the side vent parts:
Separated vent parts
Deburred and final-drilled vent parts
Still a ton to do for the fuselage sides, but I'm glad that the most-hated parts of bending, twisting, etc. are over. I'll likely only do anything else significant after I'm back from Airventure.
Time lapse:
Total fuselage side skin rivets: 0 Total fuselage side skin time: 44.2h


No comments:
Post a Comment