Right door fitting and Aerosport latch assembly

After a LOT more sanding of the right door edges (OMG will the sanding ever end?), we got to the point where they fit reasonably well within the cabin cover:

Lower aft corner of the door, sitting flush with the fuselage

Lower forward corner of the door, sitting flush with the fuselage

It was then time to attach the hinges. The parts were WD-1018-L/R and WD-1019-L/R, and the plans are slightly confusing about what "L" and "R" mean - they show L and R on the left door, but then no hint as to whether the right door is a mirror or the same. Facebook rescued me (they're the same - R is forward on the passenger side and aft on the pilot side), so I made 1/8" shims and drilled them into place:

Labeled door hinges

Door hinge positioning shims

Door hinge in position for drilling

Door hinges attached to cabin cover

With the door in place, we finally match-drilled the hinges into it:

Door trimmed to fit sitting in the cabin cover

Preparing to match-drill the hinges to the door

Door swung open on its hinges

Hinges bolted to the door

Door sitting flush with the cabin cover

I also got to work on assembling the handle/latch mechanism (for which Ed's video is extremely helpful, except they mount the e-ring on the opposite side - seems to be an older version of the same kit?):

Door handle plates with nutplates riveted 

Handle aseembly with handle plates, spur gear and Aerosport inner ring

Handle mechanism attached to delrin spacer, strike plate, lock and cam

Trimmed lock cam to rotate freely

With this, the handle and lock mechanisms work!


Finally, I trimmed the openings and edges of the Aerosport door handle cover a bit, to fit better and to not interfere with the latch spring when mounted:

Enlarged handle cover hole to not interfere with spring

Some additional trimming of the covers will still be required to fit the lock.

Now on to repeat all the cutting and sanding for the other door...

Time lapse:


Total cabin door rivets: 40
Total cabin door time: 84.9h

Door trimming progress

I did the initial trimming of the edges of both doors with the Dremel:

Trimming off outside door edges

All door edges trimmed off

Then started the real journey of fitting the doors - I started by making small notches with the Dremel, slowly making them deeper until I reached inner surface of the cabin cover all around the door:

Notches around door to find proper trimming depth

Door in place after initial trimming

After this I trimmed off the index hole "flaps", and now I have a TON more sanding/trimming ahead to get the doors to actually fit in the cabin cover. Sand, try it on, still doesn't fit, take it off, rinse, repeat - that's my life now :)

In the meantime, I also 3D printed the door strut placeholder, which will be used for drilling the gas strut attach brackets into the door:

3D printed gas struct placeholder next to the actual gas strut

Time lapse:


Total cabin door rivets: 32
Total cabin door time: 69.6h

Baggage door mostly completed

With the baggage floors riveted on, I moved to the next section, riveted the door hinge frame, and attached the door (using the split pin mod that others have also used):

Baggage door installed in place

Door attach pin, split in the middle and folded into the door

Baggage door strike plate


Door seal applied around the door borders


The only thing left on this section is to attach the left baggage cover, which I'll do later along with the section 35 panels.

Time lapse: 


Total baggage door rivets: 173
Total baggage door time: 14.3h

Rear seat floors and mid seat rails installed

Along with installing the baggage floors, I also installed the rear seat floors. I started by painting the seat belt attachment points, which I hadn't before for some reason:

Painting the protruding rear seat belt attachment points

Then protecting the conduit hole so the conduits don't get damaged by the edges:

Grommet edging to protect the rear seat floor conduit hole

And finally, actually riveting the floors, which was kind of annoying to do without getting inside the plane (which I'm avoiding since it's still on sawhorses):

Riveting the rear seat floors

Riveted rear seat floors

The mid seat rail support doesn't really have attachment instructions (an omission in the manual), but since this section calls for installing the seat floors over them, I also installed them at this time - they were a royal pain to get bolted down and torqued, and required 3 hands and a lot of contortionism:

Mid seat rail installed in place

I'm starting to look at my interior options so I can work on the other cover panels.


Time lapse: 


Total access cover and floor panel rivets: 516
Total access cover and floor panel time: 31.7h

Baggage area conduits and floors installed

The baggage area is mostly complete! It was also great to get a break from sanding fiberglass.

I ran and temporarily attached all the conduits underneath the rear seat and baggage floors:

Conduit run through side walls and underneath baggage floors

Conduit run underneath rear seat floors and baggage floors

Conduit runs underneath baggage floor and into tailcone

Right-side conduit runs underneath rear seat floor and baggage floor

Conduit going underneath step and being tied away from the bolt

After over a year waiting, I finally received the GripLockTies that will fit through the Clickbonds, so I got to work attaching the conduits:

GripLockTies are here!

Conduit runs attached with GripLockTies

I then proceeded to install and rivet the floors:

Rear seat and baggage floors being lowered into place

Baggage floors fully riveted

The right floor angle definitely requires two people to rivet:

Right baggage floor angle riveted in place

And, finally, I riveted the door channels:

Door channels and cover riveted in place

With this, I can actually install the baggage door.

Time lapse:


Total baggage area rivets: 635
Total baggage area time: 55.7h

Empennage fairing progress

I continued to make slow progress on the various fairings - I got the rudder top fairing ready to rivet:

Rudder top fairing match-drilled and clecoed in place

Backing strip attached to rudder top fairing

For smoothing the face of the elevator fairing and filling the pinhole, a nice layer of resin with cab-o-sil was used, followed by patiently sanding down to 2000 grit:

Elevator fairing with tons of pinholes to fill!

Elevator fairing after filling pinholes

We glued foam to the horizontal stabilizer fairings, and proceeded to mold it to be slightly concave to preserve the gap from the elevator fairings. The vertical stabilizer fairing didn't need that and was just flat:

HS fairing with foam plug glued in place

Sanding foam to fit the HS fairing

Concave-sanded foam plug for the horizontal stabilizer fairing

VS foam plus, which was mostly flat

Adding a layer of fiber to it was easy, but removing the foam afterwards took a bit of work, first cutting chunks off, then sanding, then cleaning up the remaining bits with acetone:

Layer of fiber applied to the HS fairings, following the shape of the foam

Removing bits of foam from the HS fairings

Remaining little bits of foam on the layer of fiber

Layer of fiber after cleaning with acetone

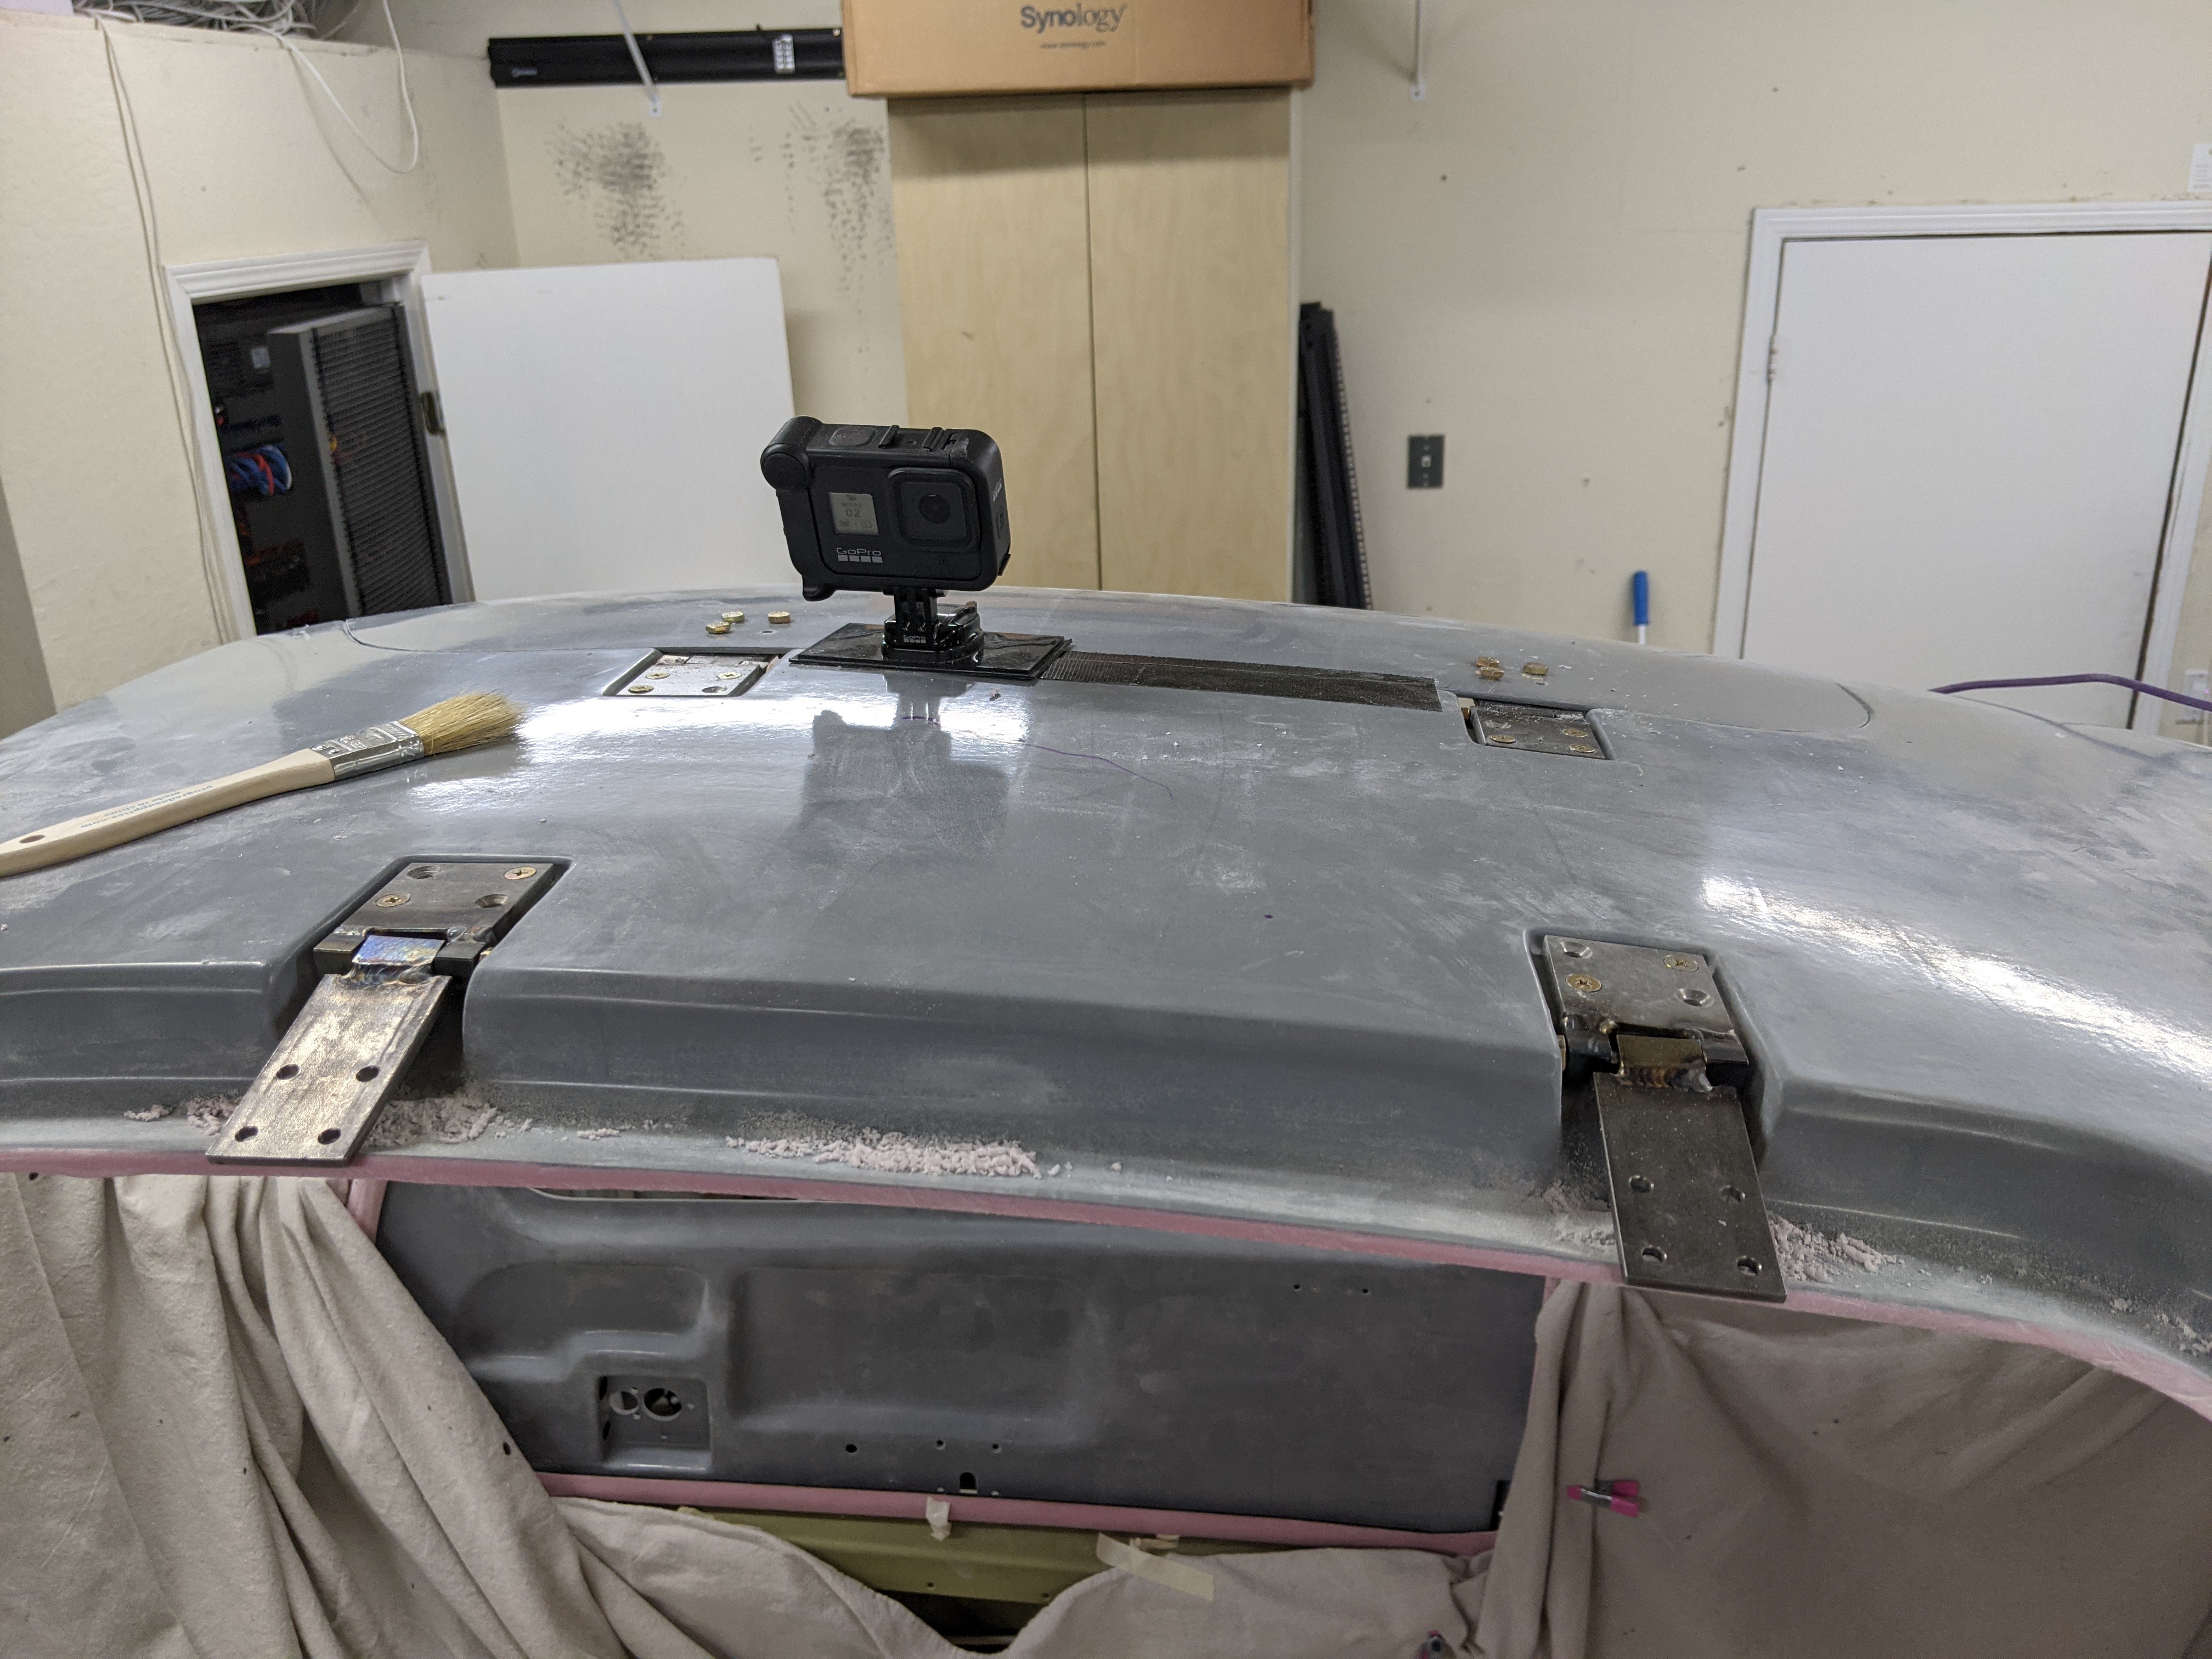
I last-minute decided that I wanted to use screws to attach the vertical stabilizer fairing (since I'm running conduit up there, may as well make it easy to install something - be it a camera or a NAV antenna if the Bob Archer one doesn't work well), so I added those, but of course overlooked the fact that I didn't have any K2000-06 nutplates for the last hole, so that'll get finished and glued on later:

Vertical stabilizer fairing backing strip with nutplates for attaching with screws

I then added the two layers of fiber to the inside of each of those fairings. Working in that tight space was not the easiest and getting the fiber to not fold on itself required some contortion, but it worked out well:

Tip fairings atop fiber layers to be added to their inside

Tip fairings after adding the inside layers

Next will be finishing the outside face of those layers, attaching them to the stabilizers, then smoothing the joint so there's no gap. After the above steps I'm also able to detach the HS and elevators, and finish drilling/tapping the holes underneath it.

Time lapse:


Total empennage fairing rivets: 116
Total empennage fairing time: 65.2h